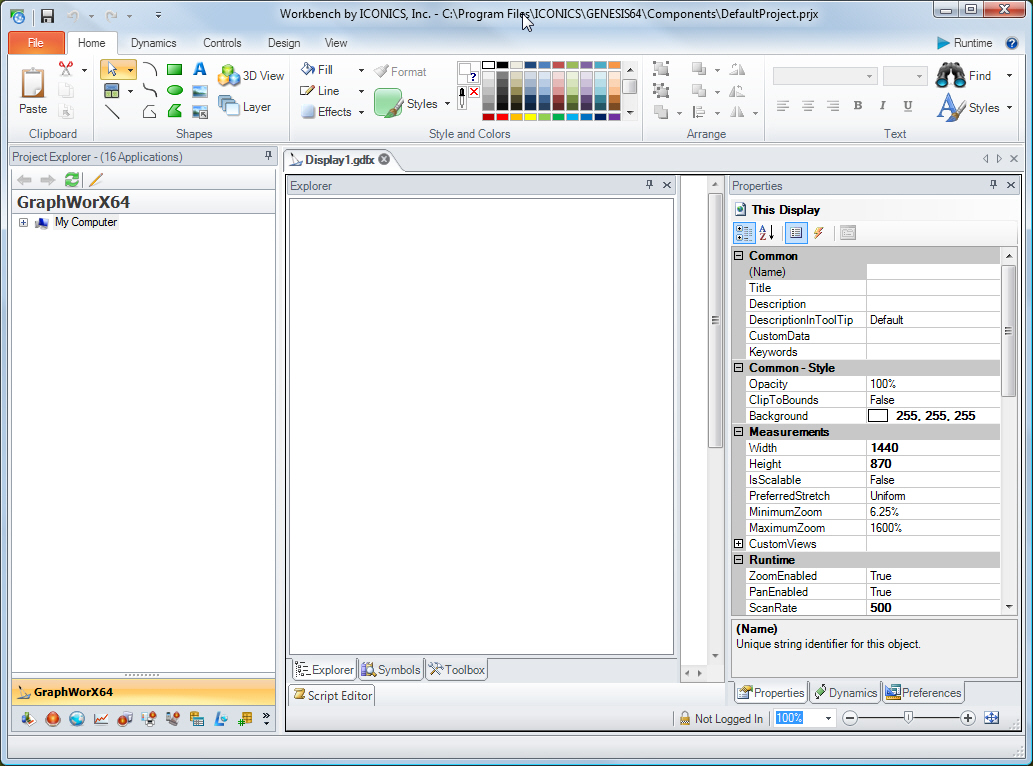
Opening GraphWorX: click Start > Programs > ICONICS GENESIS64 > GraphWorX64 > GraphWorX64. This opens the GraphWorX64 2D main window. You are by default brought to a New Display with the Home ribbon showing.
To start GraphWorX64 (if you have not started GENESIS64):
Opening GraphWorX: click Start > Programs > ICONICS GENESIS64 > GraphWorX64 > GraphWorX64. This opens the GraphWorX64 2D main window. You are by default brought to a New Display with the Home ribbon showing.
- or -
To open GraphWorX in the Workbench, from your Desktop, double-click the Workbench icon or click Start > Programs > ICONICS GENESIS64 > Workbench. This will start the GENESIS64 Workbench.
On the ribbon, go to the Applications tab and click the GraphWorX64 icon.
Or from the Project Explorer tray, click the GraphWorX64 provider button.
On the Workbench ribbon's Home tab, click the New Display button to open a new GraphWorX64 display and enable the GraphWorX64 ribbon.
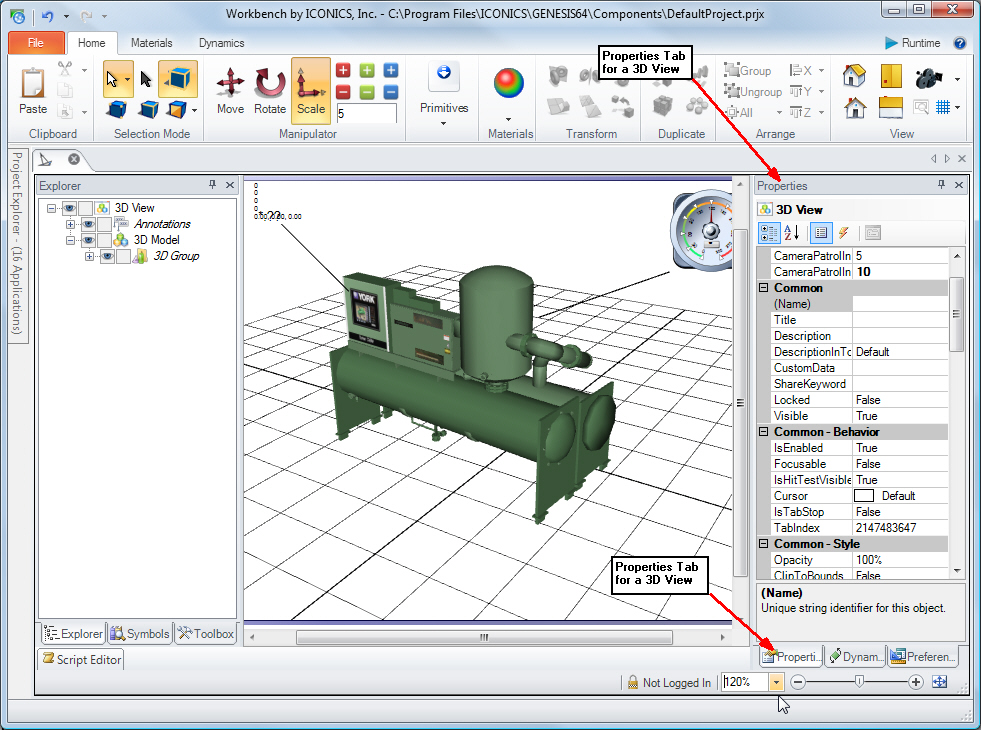
Once in GraphworX64, you can use the File menu to open an existing display, add shapes, access the 3D viewport, add examples and text, and work in GraphWorX64. There are five 2D ribbons: Home, Dynamics, Controls, Design and View. (When working in a 3D view, there are four 3D ribbons, which you can read more about in 3D Viewport Ribbons.)
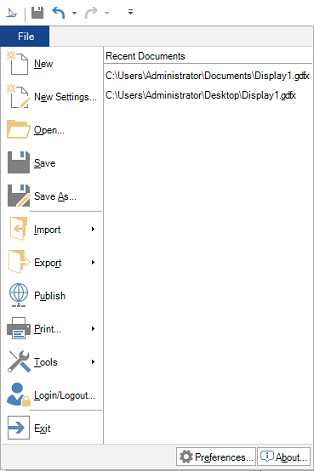
Note the blue File button to the far left on the GraphWorX64 ribbon. Clicking the File button opens the GraphWorX File menu which provides additional functions and access to GraphWorX features. From this menu you can:
Create a new display, new settings, open an existing display or template, save/save as a current display
Import and Export display files from GENESIS64 format using the display translator
Print displays
Access the Carousel (from Tools)
Edit Local Aliases (from Tools)
Create a file of local aliases and their values to be passed to a pop-up window (from Tools)
Log in or log out of GraphWorX64
Access preferences for all objects and dynamics in GraphWorX64
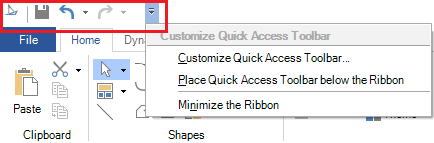
You can also use and customize the Quick Access toolbar.
The Default Quick Access Toolbar, Showing Customization Options
In the GraphWorX64 status bar (for both runtime and configuration modes), it shows the currently logged in user. Clicking in that area in the status bar opens the login/logout dialog.
There is a local simulation variable for GWX64 that gives the name of the currently logged in user (localsim::currentUser). This can be used in a GWX process point to show the name of the currently logged in user within a display. For help using it, refer to the Simulation Tab on the Data Browser topic.
There is a pick command to open the Login/Logout dialog. This allows a button in a display to open the login/logout dialog without needing to write a script. For more information, refer to the Commands for Buttons, Pick Actions, and Function Keys topic.
You can create your own custom “file access denied” display to replace the “gray locks” security screen. For help doing this, refer to the Modifying the Access Denied Screen topic.
On the File > New menu, you can compress display files. Compressed displays yield smaller files which can download faster when loading over a network. However, these displays do need to be decompressed when loaded, so when loading from the local hard drive, compressed displays could take slightly longer to load.
|
|
Note: You can access an object's properties on the GraphWorX64 Properties tab. If the Properties tab does not appear, go to the 2D space, and from the View tab’s Show/Hide section, make sure the Properties check box is selected. |
See also:
Useful Tips for Working in GraphWorX64
Un-doing and Re-doing Operations
Password Protection for Saving