Templates are useful in changing the "look and feel" of your displays, as well as allowing you to impose display standards throughout an organization's displays or throughout an application. By using templates, you gain control of displays because you can apply a template to a number of files at once. A single template can be applied to multiple display files. Keep in mind that when a change is made to the template, the template must be reapplied to the display files where it is being used so that the displays are updated with the current template. All objects already in the display are preserved. If you apply a template to a display that already has a template, the former template will be replaced by the new one. Objects in the applied template cannot be edited (they are essentially frozen background elements).
A template is comprised of a collection of display properties, objects and their formats, controls, dynamics, or any other GraphWorX64 elements that are applied to any display in the configuration mode. You can create templates for normal monitor displays and also for Windows Phone displays. Anything you can create in a GraphWorX64 display can be saved to a template file. When you apply a template to a display, all of the elements of the template are applied in a single layer behind all of the objects that are on the display and the template's elements can't be modified unless you are in the template group object in the Explorer window. If the template was saved with more than one layer of objects, then the template is applied with all of those objects combined into the template layer in the display it is applied to.
There are pre-defined Templates that come with GENESIS64 and are stored in the template gallery. You can also create your own templates, as described below in this topic.
All templates are saved to disk and are stored in the Templates folder:
%SystemDrive%/Program Files/ICONICS/GENESIS64/Templates
Templates for normal Windows displays are saved with a .TDFX file extension (or .TDFXZ if the file is compressed), while Windows Phone templates are saved with a .TDFXP file extension (or .TDFXPZ if the file is compressed). Templates may also be saved as GraphWorX64 display files; for more about display file extensions, refer to the Displays and Templates topic.
|
|
Tip: Hold your cursor over a template in the Template Gallery to learn the name of the template's file. The template's name appears in the tool tip. If the template that is open in your work area, by default the template's name is its ShareKeyword property; go to the template's Properties tab to its ShareKeyword property.
Tip: If you are creating several templates, you can set your preferences so that one specific type of template is created by default. Go to the Preferences tab, select General Settings, and specify your preference in the DefaultNewFileType property. |
What you can do with templates:
Add new templates to the template gallery
Apply a template to a display that is open on your work surface
Limit the template properties that are applied to an open display
Globally apply one template to a list of GraphWorX displays of your choosing
Create the GraphWorX64 display with all of the features you desire.
Select the Save As command from the GraphWorX64 menu.
Navigate to the Templates folder, if necessary.
Provide a unique name for the template in the File Name text box.
From the Save as Type drop-down list, select GraphWorX64 Template (*. tdfx), Compressed GraphWorX64 Template (*.tdfxz), GraphWorX64 Windows Phone Template (*.tdfxp), or , Compressed GraphWorX64 Windows Phone Template (*.tdfxpz).
Click Save.
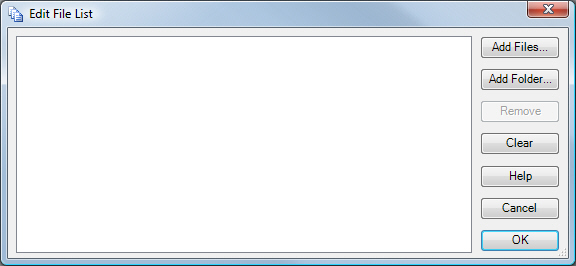
On the GraphWorX Design ribbon, select Insert Templates to Gallery from the Template menu Expand button. The Edit File List dialog box displays.
Click the Add Files button. Navigate to where you saved the template, select the template file and click Open. This lists the template in the Edit File List dialog box. You can select more template files if you wish.
Click the OK button. The template is added to the Template gallery for you to select and apply to any display.
Select the New command from the GraphWorX64 menu to create a new work surface. This is because you cannot have a display open when you modify a template.
Select the Open command from the File menu; the Open dialog box appears. Navigate to the location of the template you want to edit.
From the drop-down list at the bottom right of the dialog box, select GraphWorX64 Templates (*. tdfx, *.tdfxz) for normal Windows templates or GraphWorX64 Windows Phone Templates (*.tdfxp, *.tdfxpz) for Windows Phone templates.
Select the template file you want; then click the Open button.
Make any changes you want to the template.
When you are done, close the template by clicking the X on its tab in GraphWorX64. A dialog box will ask if you want to save changes.
Click the Yes button. This opens the Save As dialog box.
At this point you can save the changes to a new location if you like. Otherwise, leave the file in its current location.
If you also want to rename the file, compress the file, or change its extension, from the Save as Type drop-down list, select GraphWorX64 Template (*. tdfx), Compressed GraphWorX64 Template (*.tdfxz), GraphWorX64 Windows Phone Template (*.tdfxp), or , Compressed GraphWorX64 Windows Phone Template (*.tdfxpz).
Click the Save button. The template is saved.
Make sure the GraphWorX display is open on your work surface.
Click the Design tab to go to the Design ribbon.
To view the available templates, click the Expand button on the Templates section's vertical scroll bar.
Click the template you want to apply to the display.
You can limit the number of properties that are applied to a GraphWorX display that is open on your work surface.
Click the Template menu Expand button and select the Apply Template with Properties from File command.
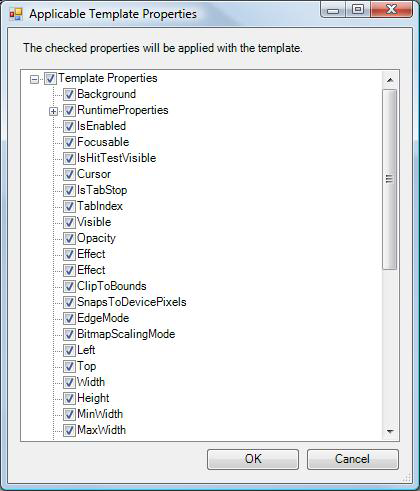
In the dialog box that opens, navigate to and choose the template to be applied, then click Open. The Applicable Template Properties dialog appears.
Deselect the properties that are not to be applied, then click OK. The selected properties will be applied.
You can apply a template universally to any number of files at one time, and at the same time you can limit the template properties that are applied.
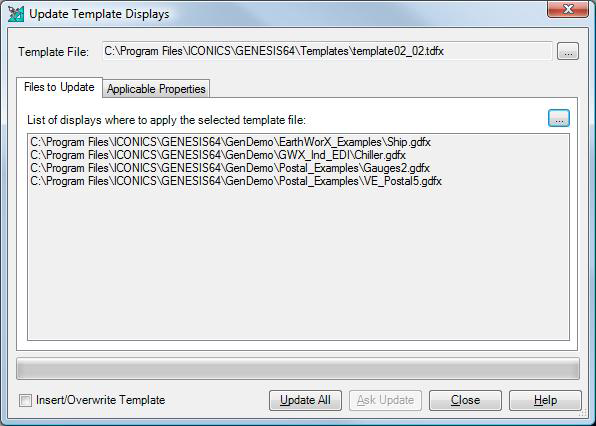
On the Design ribbon, click the Template section's Expand button and select Update Template in Multiple Displays. The Update Template Displays dialog box appears; if you need help using this dialog box, click its Help button.
In the Update Template Displays dialog box, click the Template File ellipsis button ![]() then navigate to and select the template file that you will be applying to one or more GraphWorX display files. Template files are saved to disk with a . TDFX file extension. If you are using a predefined GraphWorX64 template, you can find it in the Templates folder %SystemDrive%/Program Files/ICONICS/GENESIS64/Templates.
then navigate to and select the template file that you will be applying to one or more GraphWorX display files. Template files are saved to disk with a . TDFX file extension. If you are using a predefined GraphWorX64 template, you can find it in the Templates folder %SystemDrive%/Program Files/ICONICS/GENESIS64/Templates.
On the Files to Update tab, click the ellipsis button ![]() to open the Edit File List dialog box.
to open the Edit File List dialog box.
In the Edit File List dialog box, you can add individual files (click the Add Files button) or individual folders (click the Add Folder button) of GraphWorX displays that the template will be applied to. Click the appropriate button, then select the display file(s) and folders. Continue to add all appropriate files and folders. To remove a line from the list, select the line and click the Remove button. Click Clear to start the list from scratch. Click Cancel to close the dialog without saving your changes.
When you have created the list of files or folders, click OK. The list is added to the Update Template Displays dialog box. (To modify the list, click the ellipsis button ![]() again to modify the list in the Edit File List dialog box.)
again to modify the list in the Edit File List dialog box.)
On the Update Template Displays dialog box, if you wish to overwrite the existing templates in all of the files and folders in the list, then select Insert/Overwrite Template check box.
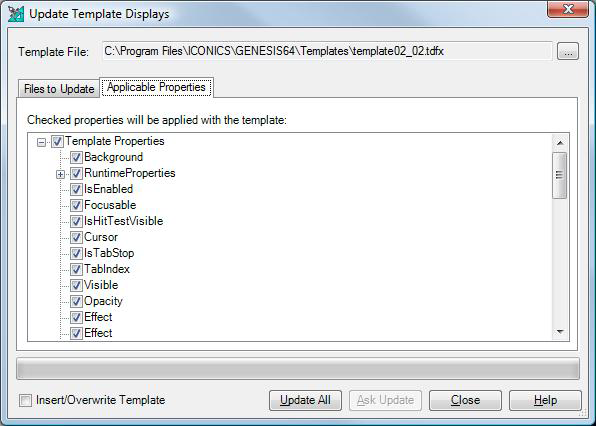
All of the template's properties will be applied unless you go to the Applicable Properties tab and deselect the properties that you don't want to be applied.
At any time you have the option to click Close, which closes the dialog and saves the list without applying the template.
When you are ready, apply the template to the files by clicking Ask Update (which prompts you for a confirmation before updating each individual file, but only if you put a check mark in the Insert/Overwrite Template check box) or Update All (which updates all of the files without prompting you).
See also: