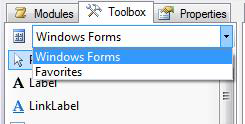
Drop-Down List on the Toolbox Tab
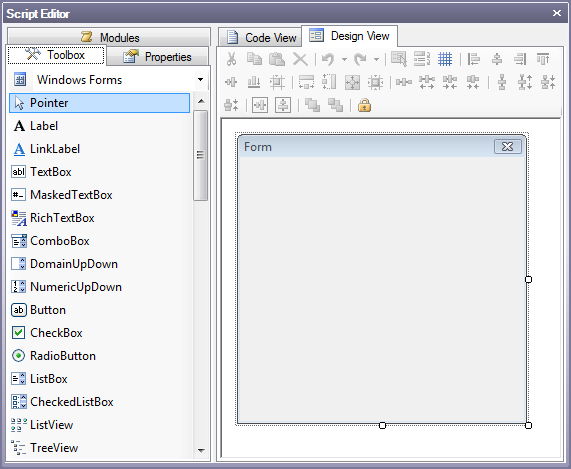
When you are creating a form in the Script Editor's Design View tab, use the Script Editor's Toolbox tab, shown in the figure below, to import .NET Windows forms controls into your scripting forms. To add a control, click the control then drag it onto the form designer in the Design View tab. (You can choose from the Windows Forms or Favorites. To create a list of favorite controls that you use frequently, refer to Creating Toolbox Favorites, below.) To edit the controls’ properties, click the Script Editor's Properties tab. To modify the code for a component, go to the Script Editor's Code View tab. For an example of how to create a form, refer to Scripts that Use a Form or Dialog Box.
Toolbox Tab
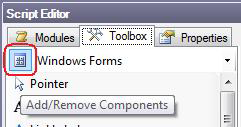
You can manage both the Windows Forms or Favorites lists in the Script Editor's Toolbox tab. Clicking the Add/Remove Components button next to the drop-down list in the Toolbox opens the Components dialog box, shown in the figure below. Here, you can manage the controls in the Toolbox tab by removing or adding components, or by clicking the Default button to restore the list to the default that was installed with GENESIS64. You can view any of the Name, Namespace, and Assembly information for each of the currently available .NET Windows forms controls.
To add a component:
Click the Browse button, then navigate to and select the component. For example, navigate to C:\Windows\Microsoft.NET\Framework64\v2.0.50727\System.Windows.Forms, and select the component you are looking for.
To remove a component from the .NET Controls Toolbox:
Highlight the component and click the Remove button. (Clicking the Default button restores the full set of components.)
Components Dialog Box

There may be other toolbar components you use frequently and would like easy access to. You can create your own list of favorites for just such a purpose.
Choose Favorites from the drop-down list in the Script Editor's Toolbox tab.
Click the Add/Remove Components button next to the drop-down list in the Toolbox. The Components dialog box appears.
Click the Browse button, then navigate to a .NET DLL that contains WinForms controls, then click Open. For example, navigate to C:\Windows\Microsoft.NET\Framework64\v2.0.50727\System.Windows.Forms. The components appear in the Components dialog box.
Remove any unwanted components by selecting them then clicking the Remove button. Note that you can hold down the Ctrl or Shift key to select multiple components at a time.
At any time, you can repopulate the entire list by clicking the Default button.
Click OK when you are done.
Components that are typically available by default are listed below. These are the Windows .NET System Forms components available in Windows. For information about any of these components, go to the Script Editor's Toolbox tab and hold the cursor over the component to read the component's tooltip.
|
Label LinkLabel TextBox MaskedTextBox RichTextBox ComboBox DomainUpDown NumericUpDown Button CheckBox RadioButton ListBox ListView TreeView |
GroupBox PictureBox TabControl Splitter TrackBar ProgressBar DateTimePicker MonthCalendar HScrollBar VScrollBar DataGridView PropertyGrid WebBrowser |
Panel FlowLayoutPanel TableLayoutPanel SplitContainer ToolStripContainer MenuStrip ContextMenuStrip ToolStrip StatusStrip ImageList ToolTip Timer BackgroundWorker |
FileSystemWatcher SerialPort EventLog NotifyIcon HelpProvider ErrorProvider OpenFileDialog SaveFileDialog FontDialog ColorDialog PrintDialog PrintPreviewDialog PrintPreviewControl PageSetupDialog |
See also:
Scripts that Manipulate Objects at Runtime
Scripts that Use a Form or Dialog Box