X and Y Locations of Your Cursor
Being able to see the grid, and controlling an object's location on the grid becomes important when placing objects in your display, but also when you are using dynamics such as the Location dynamic (to move objects at runtime) or the Hide dynamic (to show and hide objects under circumstances that you specify). Knowing an object's exact location on the X-axis (the horizontal axis) and Y-axis (the vertical axis) can become essential to making sure objects don't overlap improperly or interfere with each other.
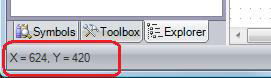
An interesting feature of GraphWorX64 is that the X and Y locations of your cursor are always displayed in the status bar, at the bottom of the GraphWorX64 work surface. You can use this information to place objects in the grid. The X and Y locations are measured in grid points (not inches, centimeters, or pixels) from the left along the X axis and from the top down the Y axis.
Furthermore, during runtime it may become important to determine the user's location if the display is vast and requires users to zoom and navigate around. If you are writing scripts for use in your GraphWorX64 displays, there are two predefined, local variables that can determine the X and Y points at the center of the user's frame. They are localsim:currentPanX and localsim:currentPanY; for more information about these variables, refer to Simulation Tab on the Data Browser.
In 2D GraphWorX, the View ribbon has a Grid/Ruler section you can use to:
show or hide the grid on the 2D design surface,
control the spacing and color of the grid,
show or hide a ruler along the edge of the 2D design surface, and
make objects snap to the grid.
The tools that are available to you in the Grid/Ruler section are described below.
|
|
Note. Default values for the grid options are set in the Preferences tab; for more information, refer to Grid Settings. For a discussion of the grids in a 3D viewport, refer to Grid Options in 3D. |
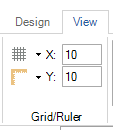
You can control the spacing of the grid as well as the color of the grid points using the X and Y boxes. Having the ruler display may make this task easier.
To set the spacing of the grid, go to the View ribbon's Grid/Ruler section. In the X and Y boxes, enter the number of pixels between grid marks: for horizontal spacing enter the number in the X box, and for vertical spacing enter a number in the Y box. You may want to enter the same value in both X and Y, but you don't have to.
Note that the Grid/Ruler section changes based on the Grid Layout selected.
X and Y Boxes on the View Ribbon
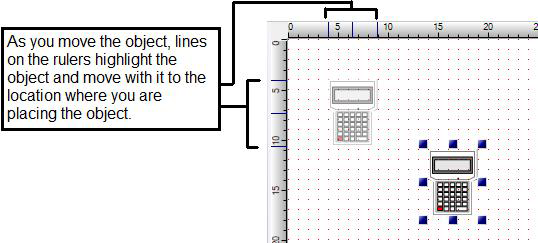
You can display a ruler that gives you a better idea of where you are placing object in the work area. The ruler measures the number of grid points (not inches, centimeters, or pixels), so the spacing of your grid points determines the granularity reflected in the ruler.
The following example shows the ruler displayed. In this example, the selected object is being moved; the opaque object shows the preview of where the object is being moved. Note how the ruler shows lines that align to the preview object so that you can see the precise placement of the object as you move it.
Horizontal and Vertical Rulers in 2D GraphWorX
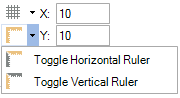
To display the rulers, go to the View ribbon's Grid/Ruler section and drop down the Ruler menu, as illustrated below. Select either or both of the rulers. To hide the rulers, deselect them. (These options are also available as Grid Setting preferences; see Grid Settings for more information.)
Ruler Menu
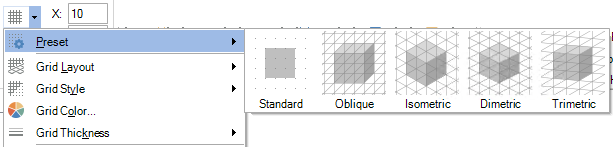
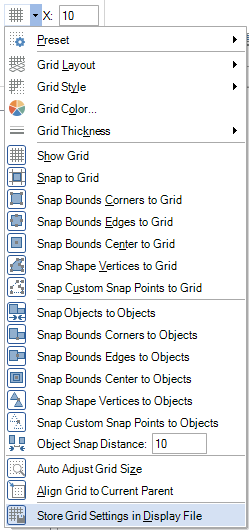
One-click settings for common grid layouts. Use the side menu to select from Standard, Oblique, Isometric, Dimetric or Trimetric. For more information, click HERE.
Preset Menu Options
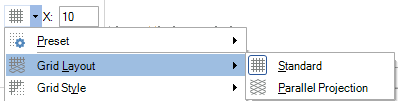
Specifies "Standard" grid mode (Width, Height) or "Parallel Projection" grid mode (Width, Angle1, Angle2).
Grid Layout Menu
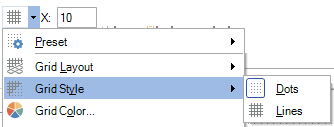
Specifies how the grid is drawn: dots or lines. For more info, click HERE.
Grid Style Menu
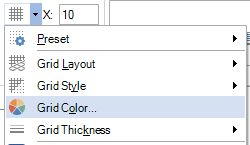
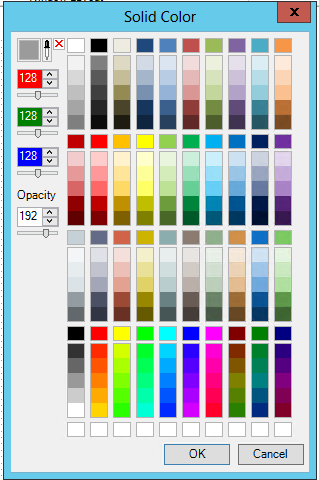
Choose a new color for the Grid. Clicking on this option opens the Solid Color window shown below.
Grid Color Menu Option
Solid Color Window
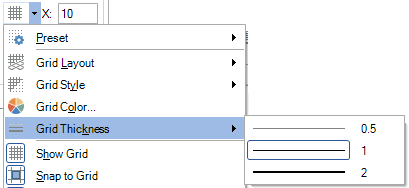
Specifies the thickness of the grid lines/dots. For more info, click HERE.
Grid Thickness Menu
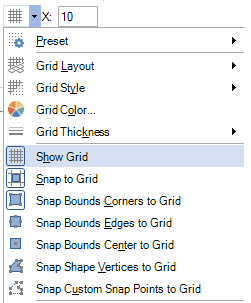
Shows or Hides the Grid.
Show Grid Menu Option
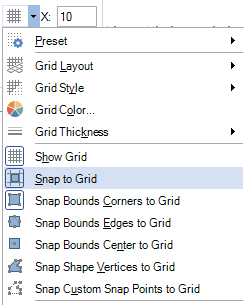
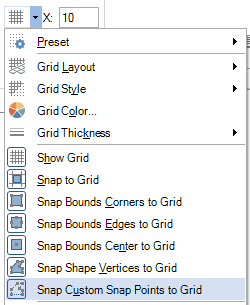
Toggle the snap to grid on or off. Created and resized shapes will be aligned with the grid lines. Note that selecting to snap the grid off will inactivate the Snap Bounds Corners to Grid, Snap Bounds Edges to Grid, Snap Bounds Center to Grid, Snap Shape Vertices to Grid, and Snap Custom Snap Points to Grid options.
Snap to Grid Menu Option
When snap-to-grid is selected as you move an object, a preview of the object snaps to horizontal and vertical grid lines as you move the object around. In the following illustration, the preview object on the left aligns to the grid no matter where you move it.
The Snap To Grid Feature

Note that the grid does not have to be showing in order for you to use this option. Also, the grid's spacing will affect the position of objects that are snapping to the grid. You can adjust the grid spacing, as described later in this topic.
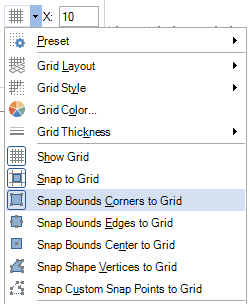
Snap the corners of the bounding boxes of objects to the grid when moving/resizing.
Snap Bounds Corners to Grid Menu Option
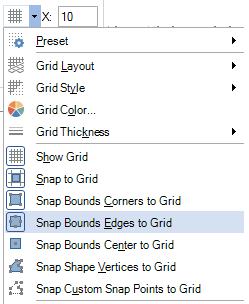
Snap the midpoints of the edges of the bounding boxes of objects to the grid when moving/resizing.
Snap Bounds Edges to Grid Menu Option
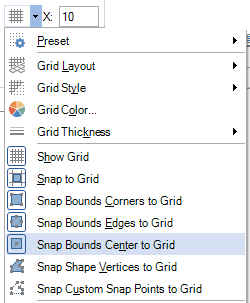
Snap the center of the bounding boxes of objects to the grid when moving.
Snap Bounds Center to Grid Menu Option
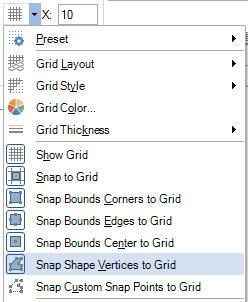
Snap the vertices of objects' geometries to the grid when moving.
Snap Shape Vertices to Grid Menu Option
Snap the custom snap points of a symbol to the grid when moving. Custom snap points for symbols can be defined by including polylines with no fill and no line color in the symbols.
Snap Custom Snap Points to Grid Menu Option
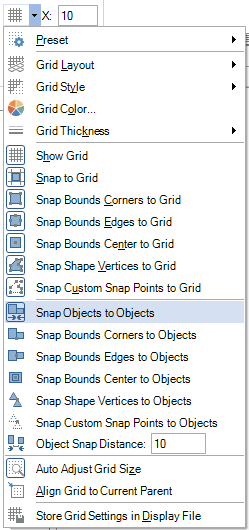
Toggles the option to snap objects to other objects in the display when moving, resizing, etc. Note that when this option is not selected that the remaining menu options are unactivated, including Snap Bounds Corners to Objects, Snap Bounds Edges to Objects, Snap Bounds Center to Objects, Snap Shape Vertices to Objects, Snap Custom Snap Points to Objects and Object Snap Distance.
Snap Objects to Objects Menu Option
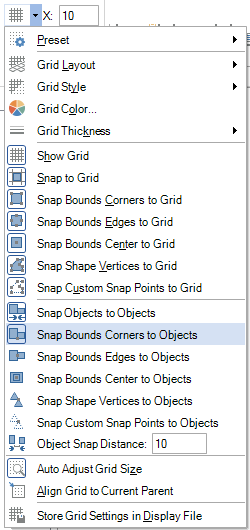
Snap the corners of the bounding boxes of objects to other objects in the display when moving, reisizing, etc.
Snap Bounds Corners to Objects Menu Option
Snap the midpoints of the edges of the bounding boxes of objects to other objects in the display when moving, resizing, etc.
Snap Bounds Edges to Objects Menu Option

Snap the center of the bounding boxes of objects to other objects in the display when moving, resizing, etc.
Snap Bounds Center to Objects Menu Option

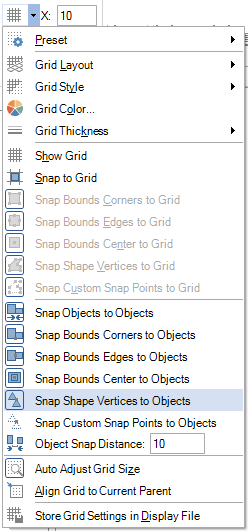
Snap the vertices of objects' geometries to other objects in the display when moving, resizing, etc.
Snap Shape Vertices to Objects Menu Option
Snap the custom snap points of symbols to other objects in the display when moving, resizing, etc. Custom snap points for symbols can be defined by including polylines with no fill and no line color in the symbols.
Snap Custom Snap Points to Objects Menu Option
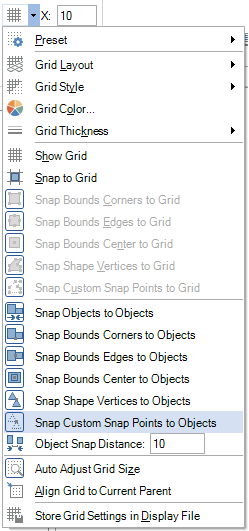
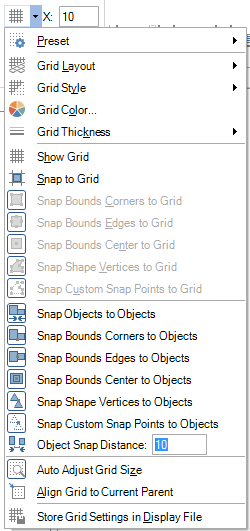
The distance from another object in a display at which an object being moved will snap to that other object. Enter a length of distance in the text entry field.
Object Snap Distance Menu Option
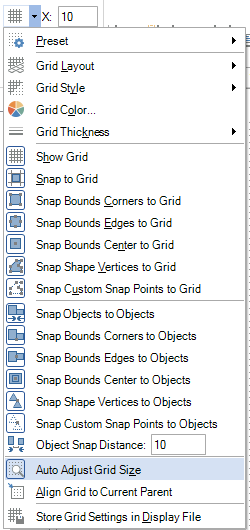
Adjust the grid size automatically based on the current zoom level.
Auto Adjust Grid Size Menu Option
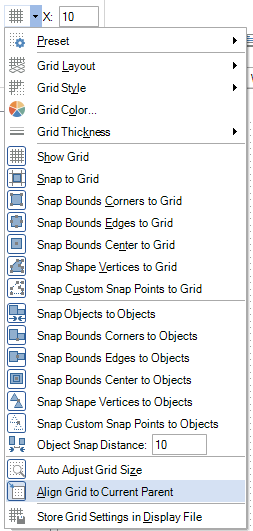
Automatically offset the grid to match the origin of the currently active parent Panel.
Align Grid to Current Parent Menu Option
Optionally stores the configuration grid settings in the display file. This can be useful if the layout of the display file relies on specific grid settings for future modifications. This option can be turned off if no specific grid settings are needed for editing the file.
Store Grid Settings in Display File Menu Option
See Also: