![]()
![]()
The Hyper Alarm Server address space can be configured within the Areas section of the provider in the Project Explorer in the Workbench (Project-level > Alarms and Notifications > Hyper Alarm Server > Areas). The actual address space consists of “Areas” and “Tags (Alarm Sources)”. “Areas” defines the tree hierarchy structure, while “Tags (Alarm Sources)” define the sources of alarms.
Areas are simple, folder-like entities to determine tree hierarchy. As such, there are just a few properties.
To Add an Area
Start the Workbench, then expand your project. Next, expand the Alarms and Notifications node to show the Hyper Alarm Server node. Expand the Hyper Alarm Server node to show the Areas node.
Right-click the Areas node in the navigation tree and select Add Area, as shown in the figure below.
Add Area from the Project Explorer

-OR-
Select the Areas node in the Project Explorer, then click on the Add Area button, shown below, in the Edit section of the Home ribbon in the Workbench.
Add Area Button

This opens the Area properties window, shown below, beneath the Project Details section in the Workbench. Enter a unique name in the Name text entry field.
Area Properties
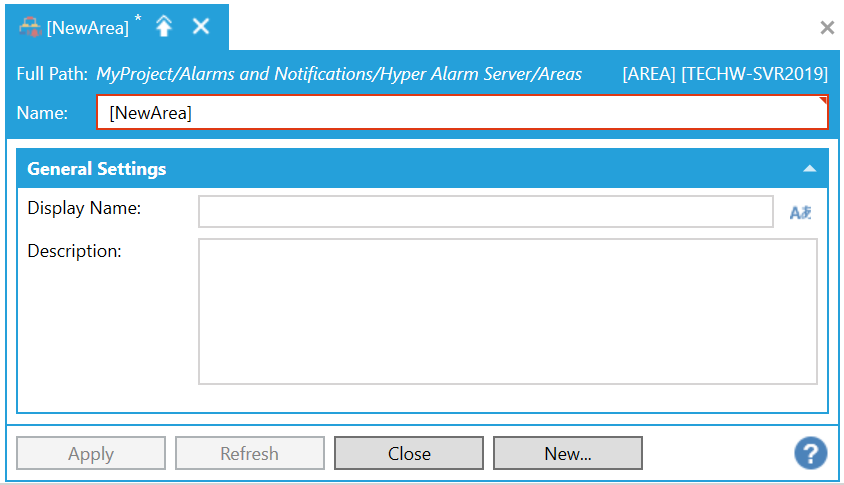
Name – Identification of this area. Name must be unique within the same area level – underneath the same parent area.
Display Name – Optional, a text, that clients can see in the browser. When not specified, the Name is used instead. Click on the  button to open the Data Browser to navigate to your preferred Display Name.
Description – Optional, a descriptive text.
Once you have completed setting the properties, click Apply to save them and then Close to return to the Workbench.
See Also: