To Create a New SNMP Trap:
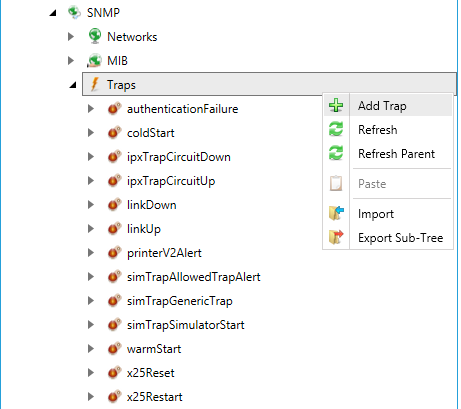
Right-click on the Traps node of the SNMP Connector project explorer and click on Add Trap, as shown in the figure below.
Creating a New Trap within the SNMP Provider in the Workbench
-OR-
Select the Traps node then click on the Add Trap button, shown below, in the Edit section of the Home ribbon in the Workbench.
Add Trap Button

This opens the SNMP Trap properties window in the right-pane of the Workbench, as shown below.
Setting the Properties for the New SNMP Trap
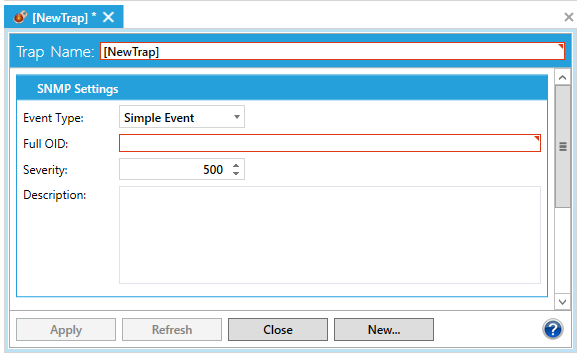
In the Trap Name field, type a name for the new trap.
Use the fields on the tab to configure the new trap. Refer to the Trap Properties topic for more information.
When you have finished configuring the trap properties, click the Apply button. The new trap appears under the Traps branch of the SNMP Connector project explorer in the Workbench.
See also: