ICONICS TrendWorX64 Silverlight Web Part, shown below, allows you to display trends remotely using PortalWorX-SL.
TrendWorX64 Silverlight Web Part
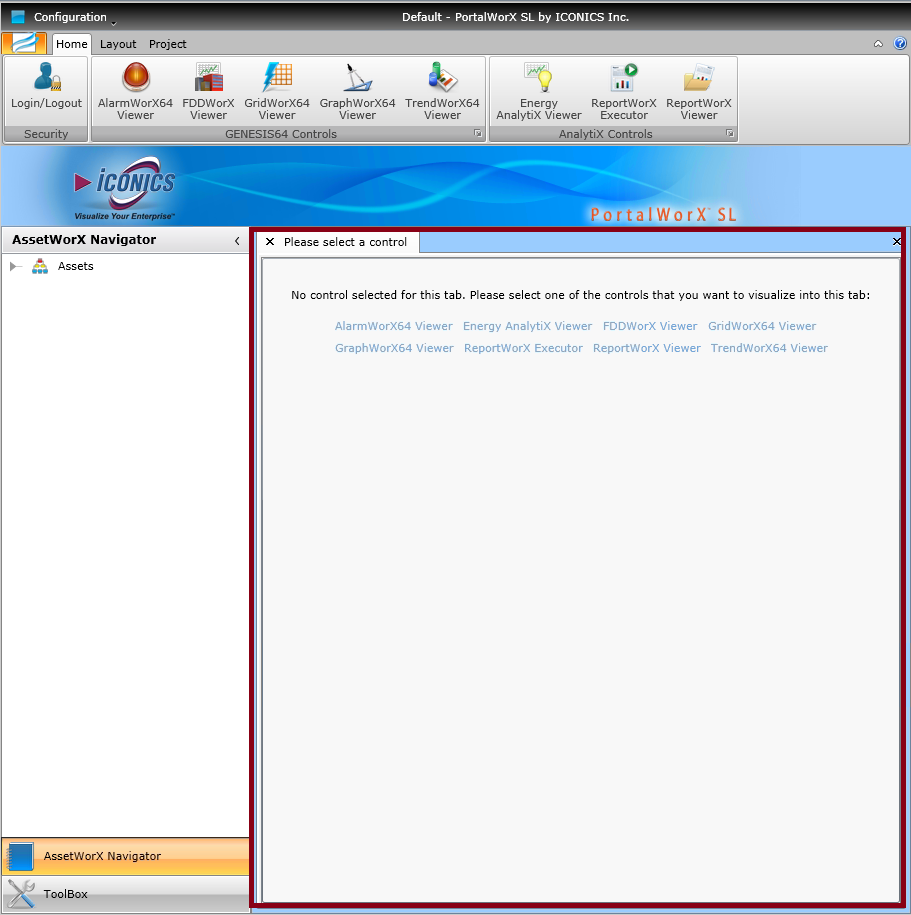
Open the PortalWorX-SL application by navigating to Start > All Programs > ICONICS > PortalWorX-SL. Enter your credentials if a login dialog box appears.
Once in PortalWorX-SL, you can add a TrendWorX64 Viewer by clicking TrendWorX64 Viewer in the Please select a control tab within the viewer/executor window or by clicking the TrendWorX64 Viewer button in the GENESIS64 Controls group on the Home ribbon.
When first added to the page, the TrendWorX64 Silverlight Web Part prompts you to select a TrendWorX64 Silverlight (.twxxs) file in the Configure Web Part dialog box, as shown below.
"Configure Web Part" Selection

Enter the URL path corresponding to the location where you have placed a TrendWorX64 Silverlight display file in the URL box and click OK.
|
|
Note: By default, the PortalWorX "localhost" represents the location where you have placed the GENESIS64 installation on your machine. For example, if you have saved the file "ArmRotation.twxxs" in the following folder: C:\Program Files\ICONICS\GENESIS64\WebSites\PubDisplay ...you can enter the following URL in the Configure Web Part dialog box: http://localhost/GENESIS64/WebSites/PubDisplay/ArmRotation.twxxs
|
It may take a few moments for the trend file to load. In this case, a status window such as the one below will appear.
Loading the TrendWorX64 Silverlight Display File

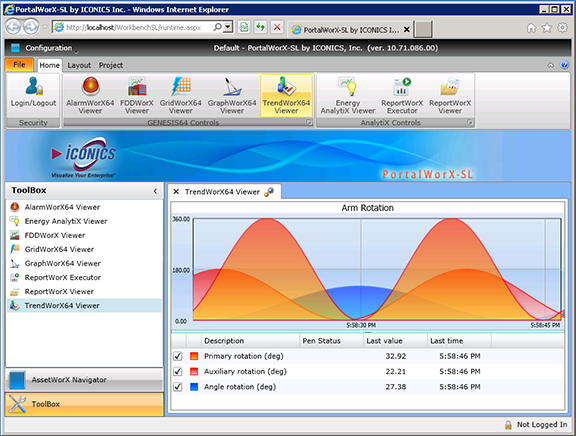
Once the file has completed loading, you will then see your selected trend file displayed in the TrendWorX64 Silverlight Web Part, as shown below.
TrendWorX64 Silverlight Web Part with Loaded TWXXS File
To edit the properties of the TrendWorX Silverlight Web Part, click on the Configure button to the right of the title on the control tab. You can also select the Configure command in the Layout Controls group on the Layout ribbon and choose the control that you wish to edit.
The Configure Web Part dialog box appears:
Editing Control Properties with "Configure Web Part" Dialog Box
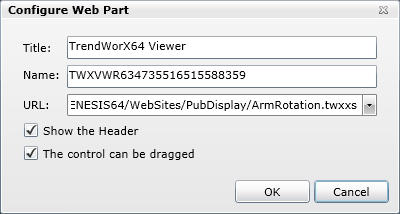
This dialog box allows you to edit the following properties of the TrendWorX64 Viewer control:
|
|
Note: By default, the PortalWorX "localhost" represents the location where you have placed the GENESIS64 installation on your machine. For example, if you have saved the file "ArmRotation.twxxs" in the following folder: C:\Program Files\ICONICS\GENESIS64\WebSites\PubDisplay ...you can enter the following URL in the Configure Web Part dialog box: http://localhost/GENESIS64/WebSites/PubDisplay/ArmRotation.twxxs
|
Once you have successfully loaded your TrendWorX Silverlight (.twxxs) file, you will be able to interact with the Web Part in several ways. For instance, you can show or hide a selected trend color pen by clicking on the check box in the Visibility column on the far left of the legend grid beneath the main trend display.
When you double-click inside the TrendWorX64 Silverlight Web Part, the runtime toolbar appears. See the TrendWorX64 Runtime Toolbar topic for a discussion of the options on this toolbar.
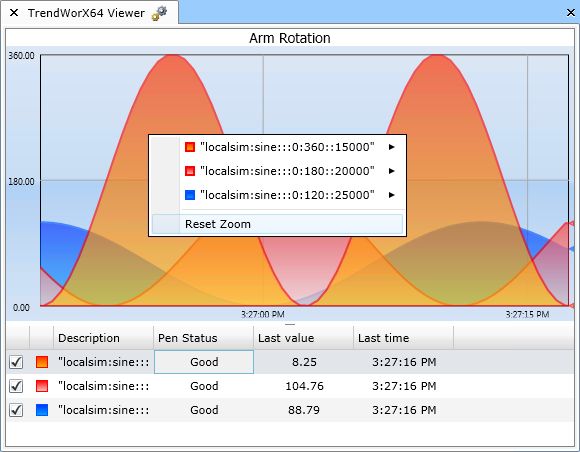
In addition, when you right-click inside the TrendWorX64 Silverlight Web Part, you are able to select from several other options:
If you have zoomed into the trend display, you can return to the original view setting by clicking on Reset Zoom.
Returning to Original Zoom Level
You can also click on a pen color (which also lists the data source description) and then on Stack to New Chart to move that particular pen onto its own separate display within the control, as shown below. Once additional charts are created, you can move pens to a new chart or one of the other existing charts.
Selected Pen Color Stacked to a New Chart

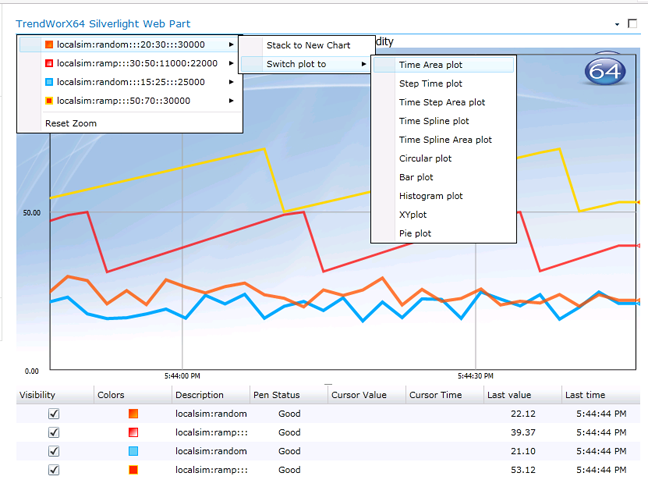
Finally, you can select Switch plot to in order to use a different plot from the one originally loaded (where applicable), including: Time plot, Time Area plot, Step Time plot, Time Step Area plot, Time Spline plot, Time Spline Area plot, Circular plot, Bar plot, Histogram plot, XY plot, and Pie plot.
Switching to a New Type of Plot
See also: