
To Attach an Existing Database:
From the Project Explorer in the the Workbench, right-click the Host server name, then click "Attach Database..." from the pop-up menu -or- select the server name in the Project Explorer, then click the Attach Database... button in the Home ribbon, as shown below.
Attaching an Existing Database via the Project Explorer
You may see a warning notifying you that a change to a database in AssetWorX will be propagated to other AnalytiX providers in the the Workbench. If so, click OK to proceed.
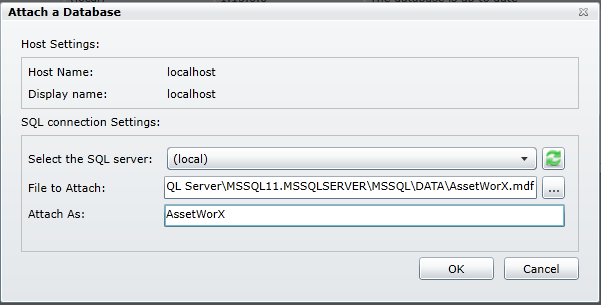
The Attach a Database window opens. The Host Settings are automatically filled. You can change the SQL connection Settings (including selecting the SQL server and/or Database name). Make your selections then click OK.
Connect an existing Database window
The attached database now appears in the Project Explorer.
Other Database Options Include:
Creating an AssetWorX Configuration Database
Connecting an AssetWorX Configuration Database
Activating an AssetWorX Configuration Database