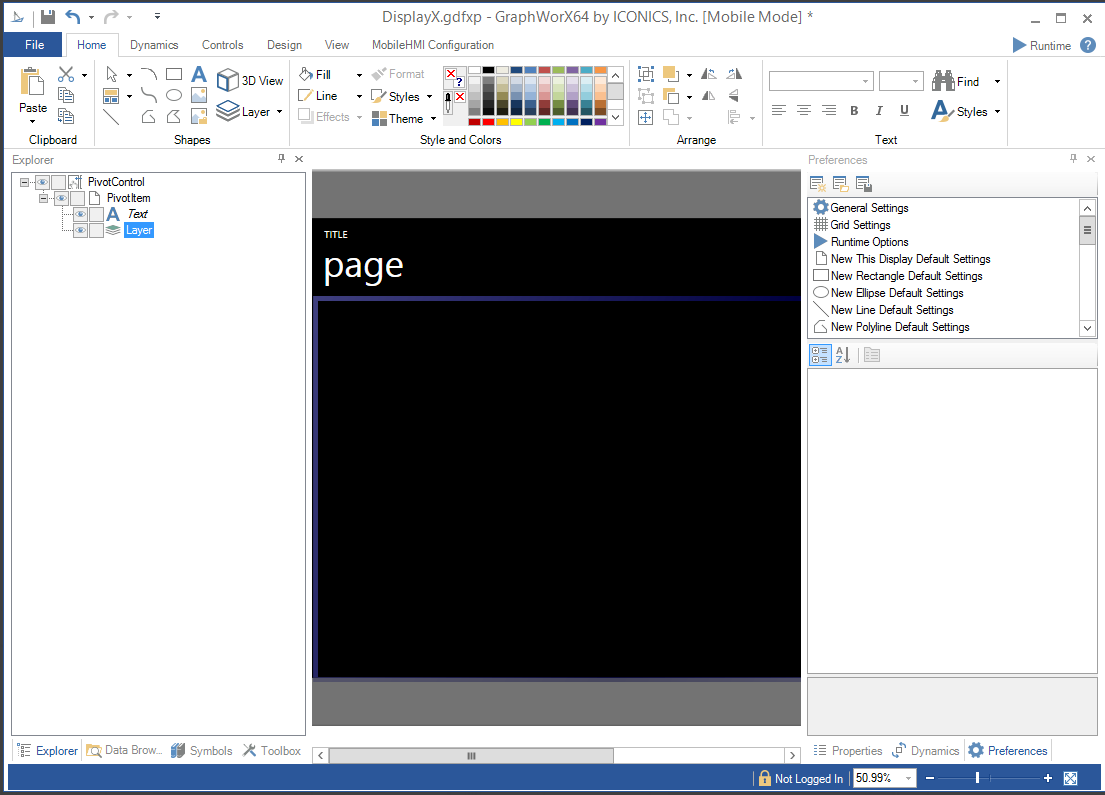
Pivot Controls let you integrate the a smart device's menu style into GraphWorX64, allowing you to swipe between multiple pages of information. This feature is analogous to the tab control in traditional desktop applications, but mimics the style of the device's native menus.
Follow these Steps to Create a Pivot Control in MobileHMI:
On your computer, open GraphWorX64 for MobileHMI through the Start Menu > All Programs > ICONICS > MobileHMI or open a new display in GraphWorX64. Select the MobileHMI Configuration ribbon tab and click on the Pivot Control button.
Pivot Control Selected in the MobileHMI Configuration Ribbon

Use your cursor to drag an outline of a Pivot Control onto your screen. The word "TITLE" appears on the upper left part of the screen and a new tab in the Ribbon appears entitled Pivot Control and gives you the option to Add or Remove pages.
Pivot Control Item

Select Add Page (indicated) from the second Ribbon menu. The word "page" appears on the device's screen.
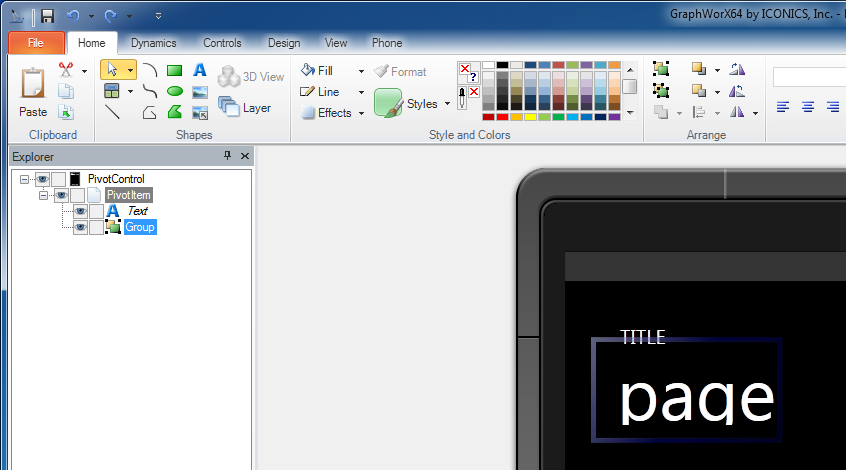
The word "page" beneath "TITLE" acts as a place holder. Modify this page to create your Pivot Control. Each Pivot Control item or page contains a GraphWorX64 canvas and therefore allows you to draw objects within the bounds of the screen.
To add objects to a specific page, make sure that the Group under that Pivot item in the Explorer tree is selected. Users can also double-click on the page.
Pivot Control Item and Page

Note: You may have to double-click on the word "page" if you have no objects within the canvas as the canvas auto-resizes to the smallest bounding box of objects.
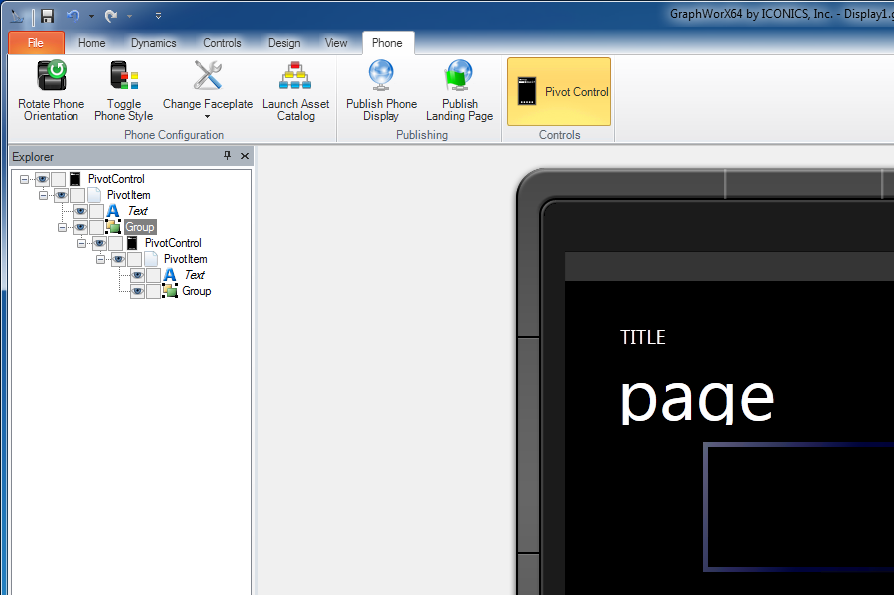
Repeat these steps to create additional Pivot Controls or Pivot Items. In the following screen, a second Pivot Item page has been added to the Pivot Control.
Pivot Control Item and Pages

Click on the following links to learn about Creating New Mobile Displays/Templates and Publish Mobile Display.
See Also
Downloading the Application from Windows Marketplace