Follow the set of instructions below to successfully install the ICONICS MobileHMI software. To begin the MobileHMI installation, insert the product installation DVD. You will have the option of selecting the MobileHMI installation. The following splash screen will appear:
MobileHMI Installation Splash Screen

To Proceed with Installation, Complete the Following Steps:
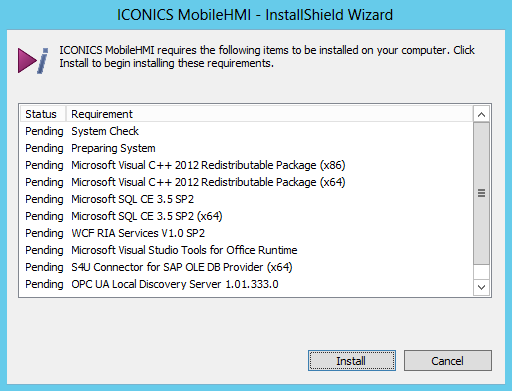
A list of items required for the MobileHMI installation appears in the InstallShield Wizard box. These prerequisites will prepare the operating system with any updates necessary to run ICONICS software. Click Install.
InstallShield Wizard
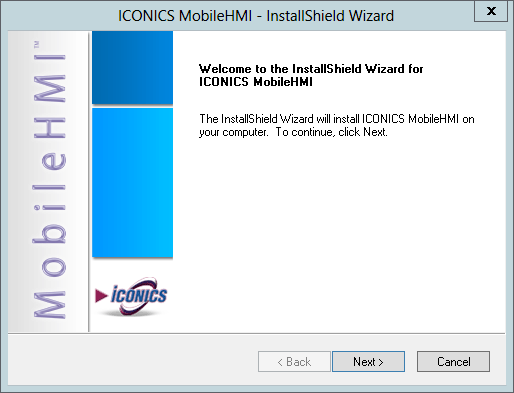
2. The ICONICS MobileHMI Installation box will appear. Click Next to proceed.
InstallShield Wizard
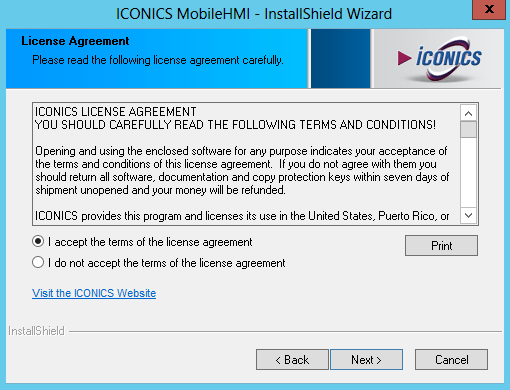
3. The License Agreement appears. Read the agreement and select the "I Accept" circle. Click Next.
InstallShield Wizard: License Agreement
4. Choose the destination folder you want ICONICS MobileHMI to install into. Click Next.
InstallShield Wizard: Setup Type
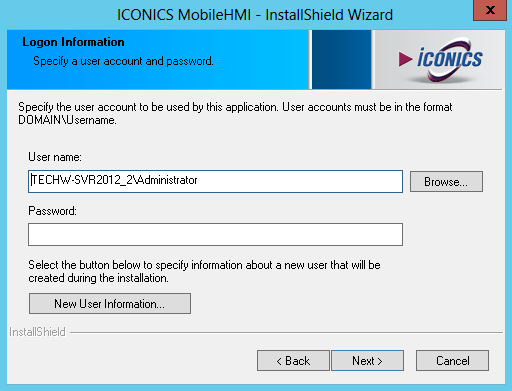
5. Select the database server and authentication method you want to use for installation. Click Next.
InstallShield Wizard Setup Type Select
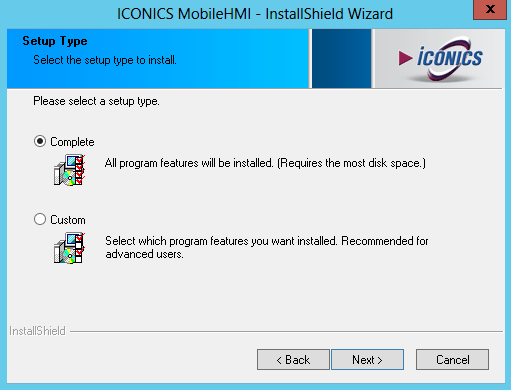
6. Select the location for the database and connection. Click Next.
InstallShield Wizard: Database Server
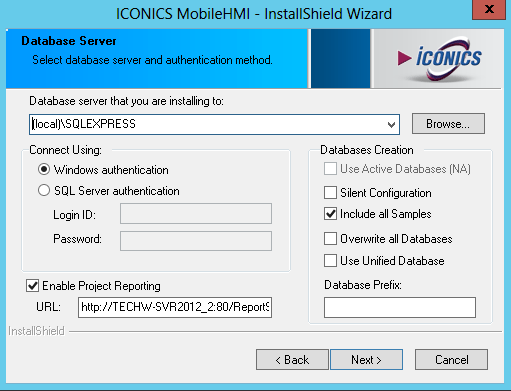
7. Select to install the GenDemo. Click Next.
Setup Type
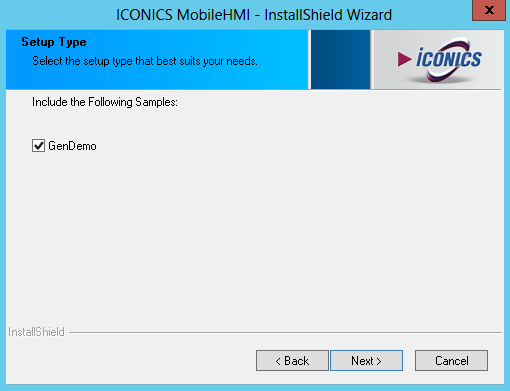
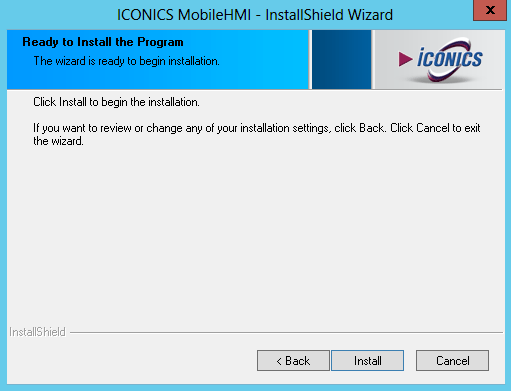
8. Click Install to begin the installation.
InstallShieldWizard: Ready to Install the Program
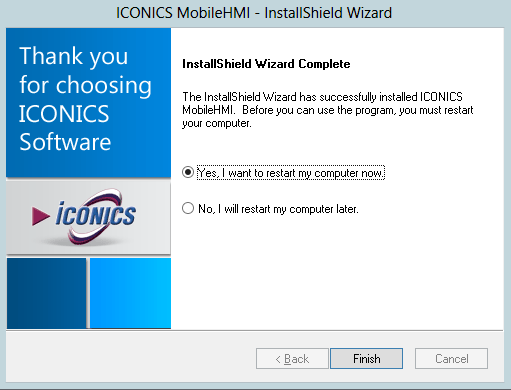
9. InstallShield Wizard box appears after a successful installation. Select circle button to restart the computer. Click Finish.
InstallShield Wizard: Complete
See Also
Configuration/Phone Ribbon Menu
Downloading the Application from Windows Marketplace
Publishing from GraphWorX for Mobile