|
|
The features on this page require an add-on to work with GENESIS64 Basic SCADA. |

![]()
|
|
The features on this page require an add-on to work with GENESIS64 Basic SCADA. |
![]()
To Create a New Group:
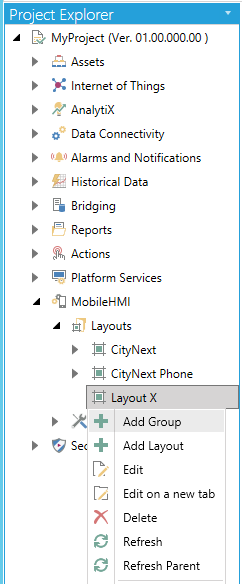
Expand the MobileHMI node in the Project Explorer to reveal the Layouts branch. Right-click on your selected Layout within the Layouts branch within the MobileHMI provider (in the Project Explorer) in the Workbench and then on Add Group, as shown below:
Adding a Group from the Project Explorer in the Workbench
-OR-
You can also add a group by clicking on a Layout within the Layouts branch and then clicking on the Add Group button (as shown below) in the Edit section of the Home ribbon at the top of the Workbench window.
Add Group Button
![]()
This will open the Group properties window, as shown below.
Group Properties Window (with Existing Tiles)
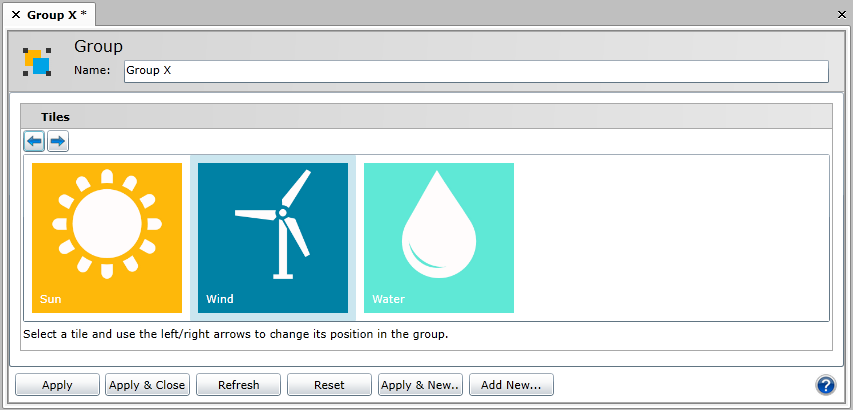
You will need to provide a name for this particular Group, and can then proceed to select existing tiles and change their position in the group by clicking and dragging them or using the Left/Right arrows on top. If you do not yet have Tiles to associate with this group, you can immediately save the Group, create or import Tiles and return to this Group for editing.
Once you have completed making your changes to the Group properties, click on the Apply & Close button at the bottom of the screen. Your new Group will now appear underneath your selected Layout within the Layouts branch in the MobileHMI provider's project explorer, as shown below.
New Group Added to MobileHMI Provider

See Also: