|
|
The features on this page require an add-on to work with GENESIS64 Basic SCADA. |

![]()
|
|
The features on this page require an add-on to work with GENESIS64 Basic SCADA. |
![]()
AlertWorX allows you to configure Vonage Configurations notifications within the Workbench.
Please Note: Due to a recent acquisition of Nexmo by Vonage you may see Nexmo and Vonage used interchangeably in the product as well as online.
To Configure Vonage Configurations Notifications:
Start the Workbench, then expand your project. Next, expand the Alarms and Notifications node to show the AlertWorX node. Expand the AlertWorX node to show the Configurations node. Expand the Configurations node to show the Vonage Configurations node.
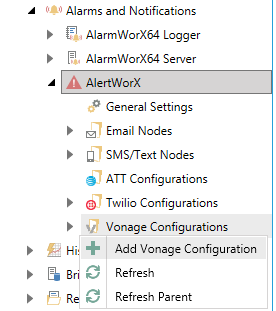
Right-click the Vonage Configurations node in the navigation tree and select Add Vonage Configuration, as shown in the figure below.
Add Vonage Configuration Node from the Project Explorer
-OR-
Select the Vonage Configurations node in the Project Explorer, then click on the Add Vonage Configuration button, shown below, in the Edit section of the Home ribbon in the Workbench.
Add Vonage Configuration Button

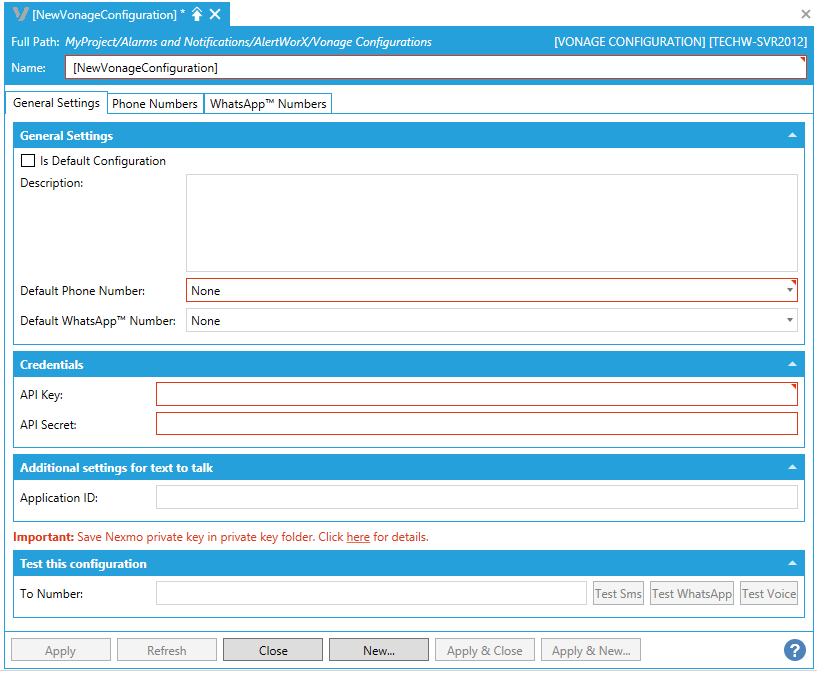
This opens the Vonage Configuration properties window, shown below, beneath the Project Details section in the Workbench. Enter a unique name in the Name text entry field.
Vonage Configuration Properties - General Settings Tab
Vonage Configuration Properties - Phone Numbers Tab
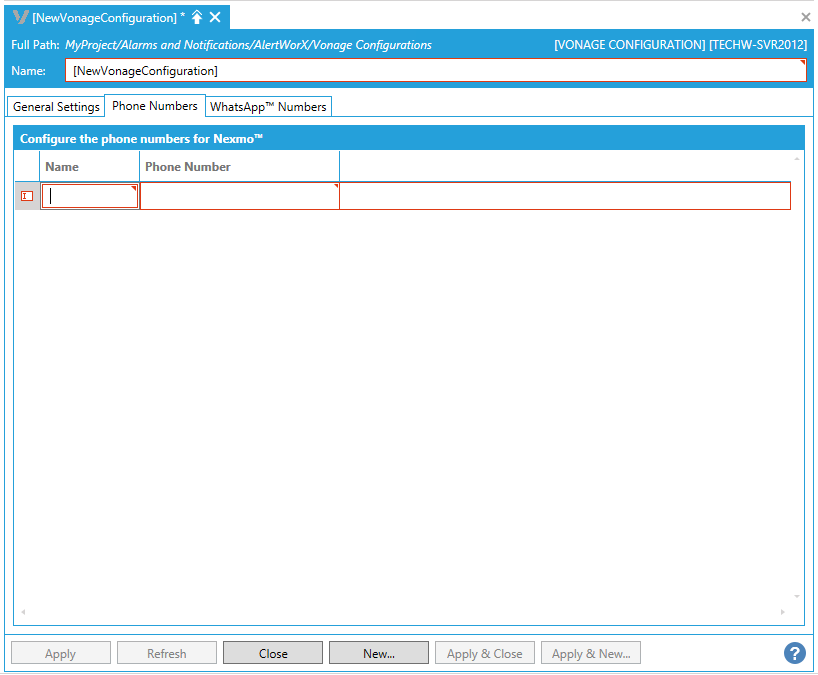
Click on the "+ Click here to add new item" link. This adds a new entry, where you can then enter a Name and Phone Number in the respective text entry cells. If you have not already done so, you can now select a Default Phone Number from any added Phone Numbers here in Step 6 above.
Vonage Configuration Properties - WhatsApp Numbers Tab

Click on the "+ Click here to add new item" link. This adds a new entry, where you can then enter a Name, WhatsApp Number, and Jwt Token in the respective text entry cells. If you have not already done so, you can now select a Default WhatsApp Number from any added WhatsApp Numbers here in Step 7 above.
Once you have completed setting the Vonage Configuration properties, click on the Apply button. The new Vonage Configuration will now appear in the Project Explorer.
See Also: