![]()
![]()
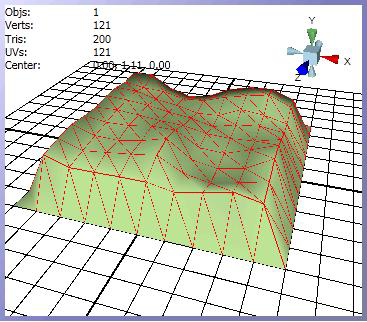
By default, the Terrain primitive looks like the terrain of hills or mountains and it can be utilized to achieve a highly-faceted surface that reflects light and creates shadows. Terrain primitives of topography can also be generated using data provided through EarthWorX.
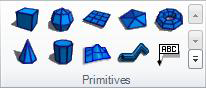
You can add a Terrain primitive to your 3D view by clicking the  icon in the Primitives section. Terrain is a two-faced primitive that has a front and a back; you can set different colors for each face. Note that you can create individual terrains and connect them in a view. Default property values for this primitive are set in the Preferences tab, in the New Terrain Default Settings.
Add a terrain primitive to your 3D view by clicking the terrain icon in the Primitives section of the Home ribbon. The terrain will appear in your 3D view, and you will see it listed in the Explorer and the Properties tab.
Use the tools in the Home ribbon's Manipulator section to change the shape, size, and orientation of the terrain; you can also use the properties to make other changes to the terrain. Many of the terrain's properties are described in Common Properties for All 3D Primitives. There are two primary ways to generate terrain primitives: The Elevation Bitmap property and the Random Seed property.
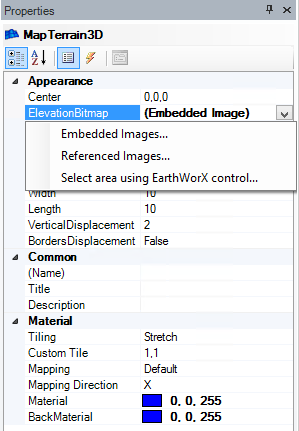
You can use the ElevationBitmap property to import a bitmap image that GraphWorX64 can use to generate the terrain. The elevation bitmap generates the terrain’s relief profile using Embedded Images, Referenced Images, or an area selected using an EarthWorX Control. To select a bitmap image, select the terrain primitive. Under the Appearance heading of the Properties Menu, select the scroll down menu next to ElevationBitmap. If you wish to create a terrain primitive of a an Embedded or Referenced Image, select that appropriate choice. Selecting Embedded or Referenced Image will open a window to allow the selection of the location of the image file. If the image can be generated using GIS, choose the Select area using EarthWorX control option.
This will open the Select area for elevation data window.
Select Area for Elevation Data Window
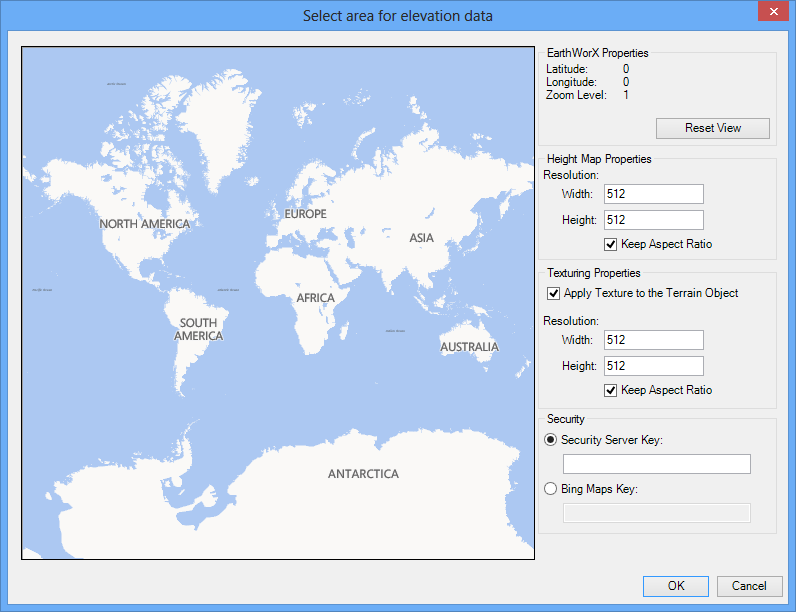
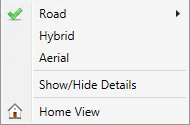
The Select Area for Elevation Data Window will offer a number of options in addition to a dynamic EarthWorX display. The EarthWorX display can be customized by zooming (holding the alt key and scrolling), panning, or right-clicking. Right clicking on the display will open a number of options allowing the user to change the map type to Road (No Shading) [Default], Road (Hill Shading), Hybrid, or Ariel. Selecting Show/Hide Details will add or remove map details. Selecting Home View revert the map back to the default display.
EarthWorX Properties
Latitude: Degrees of latitude of the current display.
Longitude: Degrees of longitude of the current display.
Zoom Level: Magnification level of the current display (ranges from 1 [least magnified] to 16 [most magnified]).
Selecting Reset View will return the EarthWorX display to the default (Latitude:0, Longitude:0, and Zoom Level:1)
Height Map Properties
Width: Alters the width of the map.
Height: Alters the height of the map.
Keep Aspect Ratio: Selecting this will lock the dimensions at an equivalent ratio.
Texturing Properties
Apply Texture to the Terrain Object: Selecting this option will apply the texture of the map to the 3D terrain primitive.
Width: Alters the width of the map texture.
Height: Alters the height of the map texture.
Keep Aspect Ratio: Selecting this will lock the dimensions at an equivalent ratio.
Security
Security Server Key: ........
Bing Maps Key: Enter a Bing Maps key here to directly receive Bing GIS information from the Bing database.
Selecting OK will begin the process of creating the elevation bitmap.
Once the elevation data is downloaded, a bitmap will appear on the 3D plane, and the object can be manipulated and modified like any other 3D primitive.
3D Terrain Primitive
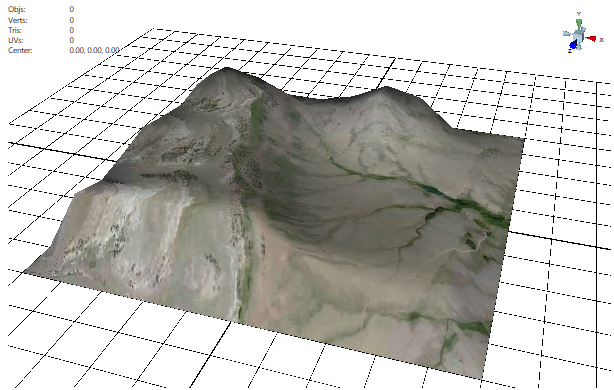
b. If you do not have an elevation bitmap, you can generate a random terrain using the terrain primitivities properties. Use the RandomSeed property to enter a number that generates different random profiles for the terrain.
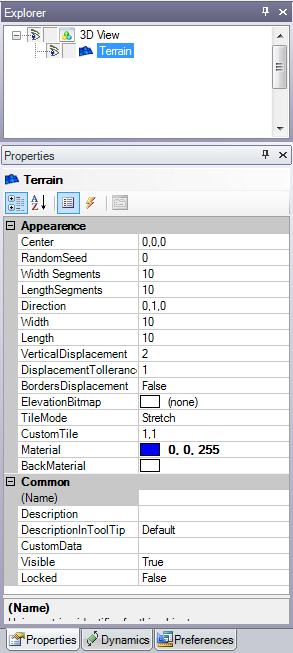
Other properties you can use in fabricating a terrain are described below:
VerticalDisplacement sets the maximum vertical disparity of peaks to valleys when randomly generating the terrain.
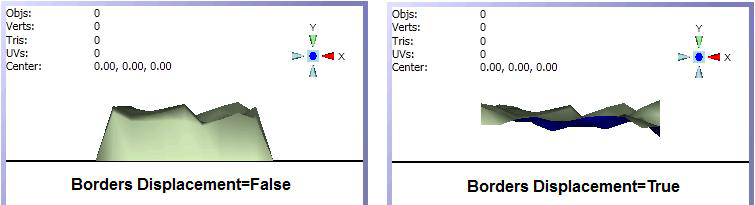
The default value of the BordersDisplacement property is False, which prevents the edges of the terrain from being displaced vertically; a value of True creates the opposite effect.
The Direction property is the X Y Z coordinate for the angle of the terrain in space. You can type coordinates for the property, or you can use the Rotate button in the Manipulation section, which is described later in this guide.
You can apply Material and Transformations.
You can:
Add a dynamic from the Dynamic ribbon
Move, scale, rotate, transform, or duplicate the terrain
Change the look (color, texture..)
See also: