![]()
![]()
To create a click knob:
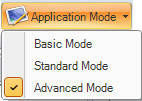
You must be in Advanced configuration mode. If you are not, first you must go to the 2D workspace if you aren’t there already. (You cannot switch modes using the 3D ribbon.) Then go to the View ribbon; in the Misc section drop-down the Application Mode button and selected Advanced Mode.
Return to the 3D workspace, and select the knob’s indicator, then select the indicator’s Rotation dynamic.
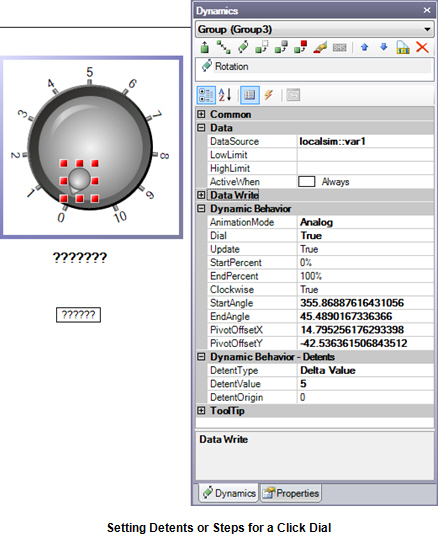
On the Dynamics ribbon, change the dynamic’s AnimationMode property to Analog if it isn’t Analog already.
For the DataSource, enter localsim::var1.
Set the Dial property to True; this lets runtime users rotate it.
Set the LowLimit property to 0, and the HighLimit property to 100.
Set the DetentType to Delta Value, the DetentValue to 5, and the DetentOrigin to 0. Example of settings in properties box.
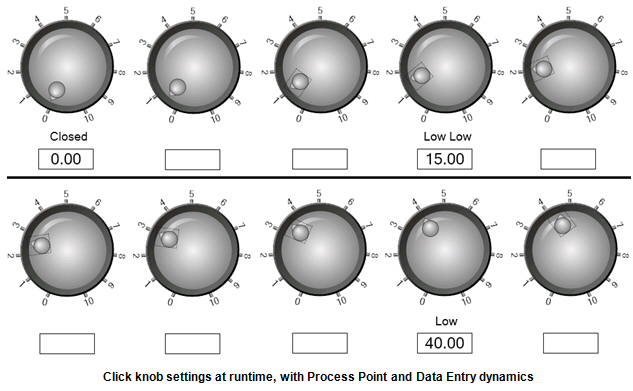
Return to Runtime mode by clicking the Runtime button. In runtime, click and drag the knob to the different positions. Notice how the dial clicks to positions in increments of 5, and whenever you reach one of the collection members, the value for that member appears in both the Process Point and Data Entry fields.
Setting the DetentType property to Number of Detents and the DetentValue to 20 would have created the same behavior.
When the knob points to values that are not part of the collection, nothing displays in the Process Point or Data Entry fields. Had we assigned the number 100 to the Number of Detents, the knob would click to each individual integer value (0, 1, 2, and so on, through 100) on the dial. A series of runtime settings for the click knob.
Examples:
Defining a Collection of States for a 3D Rotating Dial
Restricting the Rotation to Values in the Collection