![]()
![]()
When you configure a display using 3D objects, you work in a viewport on the GraphWorX64 work area. The viewport is a sub-area opens up when working with a 3D object in a 2D space, or when working in a 3D view. You can have multiple viewports in your work area.
You can activate a viewport for any 3D object in a 2D work area:
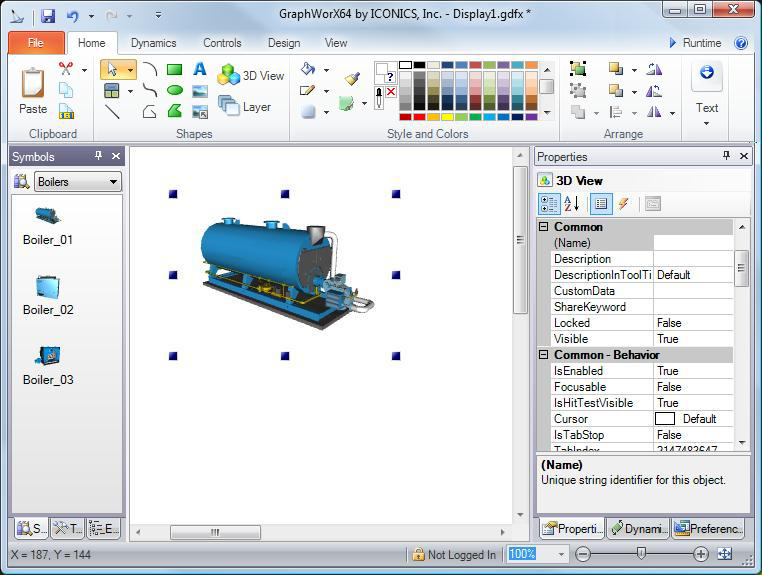
Add a 3D object to your 2D GraphWorX64 work area. For example, drag a 3D object from the Symbols Library onto the 2D work surface.
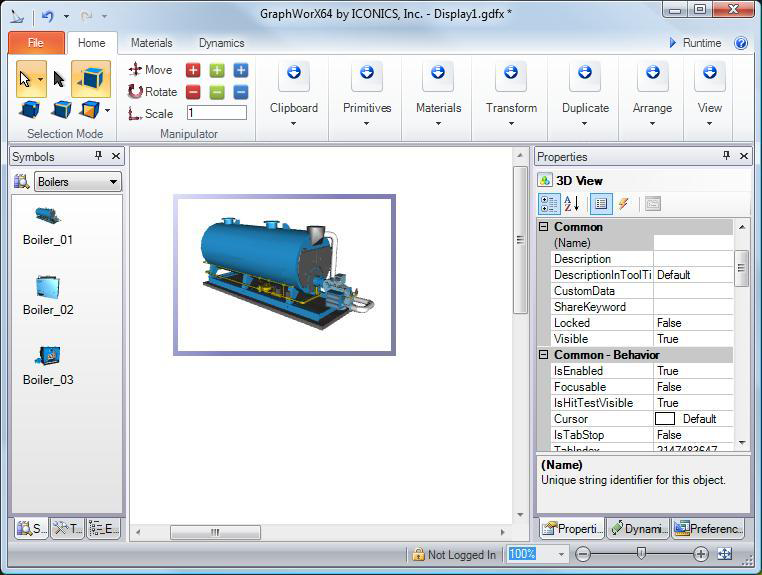
Double-click the 3D object to activate the viewport. A viewport box surrounds the object. The box shows the boundaries of the 3D viewport. The Home ribbon changes, too; when you work in the viewport, the ribbon changes to a specialized 3D ribbon.
Select the Home ribbon in the GraphWorx64.
Click the 3D View button  in the Shapes section.
Hold down the left mouse button, then click the GraphWorX64 work area, drag the cursor and release the mouse button to draw a 3D view inside an active viewport. The GraphWorX64 ribbon switches to the 3D ribbon. You can now add 3D objects and configure them using the features on the 3D tabs.
See also:
Grouping and ungrouping objects
Ways to manipulate objects by moving them, transforming them, and duplicating them