A Configuration database changes the manner in which data is collected from the data source on the server. This database is a set of connection properties for the connection between the data sources on the SQL server (the "input" for TrendWorX64 Logger) and the logger databases (the "output" from TrendWorX64 Logger). Properties such as how often data is refreshed, how timestamps are administered, and how the tag data and associated field information will be stored are part of a database Configuration.
To Edit a Configuration Database:
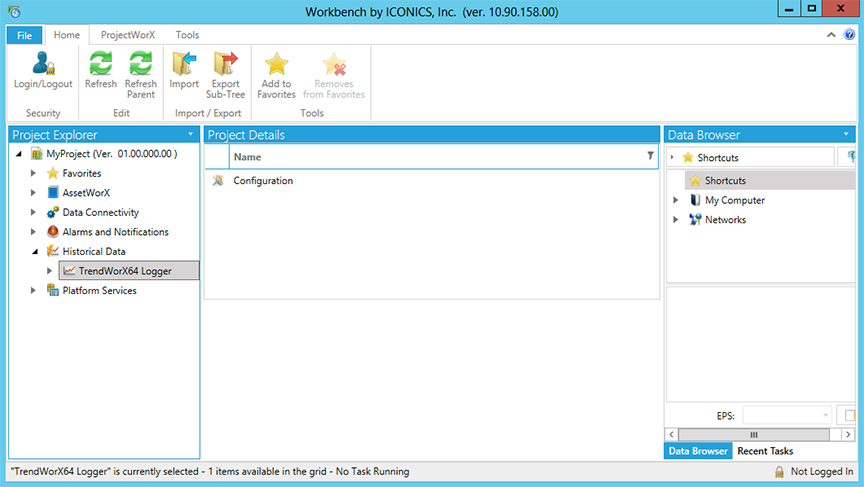
From the Workbench, expand your Project in the Tree Explorer, then expand the Historical Data node. You'll see the TrendWorX64 Logger node of the Tree Explorer.
TrendWorX64 Logger Provider in the Workbench
Expand the TrendWorX64 Logger node.
Double-click the Configuration node.
-OR-
Right-click the Configuration node in the tree explorer, then click on Edit, as shown below.
Editing the Configuration Node from the Tree Explorer

-OR-
Select the Configuration node in the tree explorer, then click on the Edit button, shown below, in the Edit section of the Home ribbon in the Workbench.
Edit Button

This opens the Configuration properties in the right side of the Workbench, as shown below.
Configuration Properties in Workbench
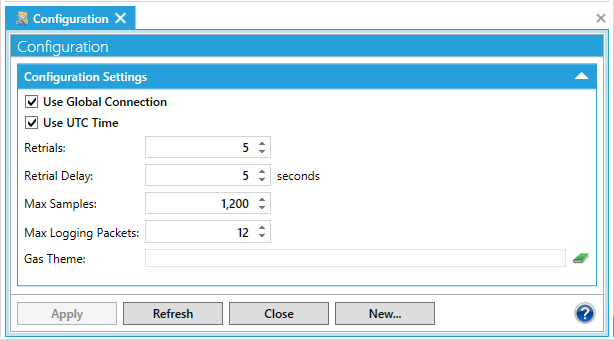
You can set the following parameters:
|
|
Note: All historical clients and reporting tools will always retrieve historical data in their local (non-UTC) time. |
 icon to browse for one. Clicking on the icon opens the Set Global Themes and Aliases window.
Themes
In the Themes section of this window, you can click on the Add button, which opens the Edit Global Themes window. You can first use the top pulldown menu to select a Theme (and click Refresh to update with any newly added theme in the Global Aliasing provider). Once the Theme is selected, you can also select from associated Theme Items (this list changes according to the Theme selected). Next, you can set the Scope as either Absolute (which activates the pulldown menu beneath it, allowing you to set the absolute scope level) or Relative to current document level (which activates the text entry field [and up/down arrows] beneath it, allowing you to set the relative scope. Note that the value can be positive (affecting children) or negative (affecting parents). Once you have completed your settings, click OK, which returns you to the Set Global Themes and Aliases window.
Aliases
In the Aliases section of this window, you can click on the Add button, which opens the Edit Global Aliases window. You can enter an Alias Name in the text entry field or click on the ellipsis button [...] to open the Select Global Alias window. In this window, you can expand the Global Aliases node, select one, then click OK to return to the prior window. Next, you can enter a Value in the following text entry field. Next, you can set the Scope as either Absolute (which activates the pulldown menu beneath it, allowing you to set the absolute scope level) or Relative to current document level (which activates the text entry field [and up/down arrows] beneath it, allowing you to set the relative scope. Note that the value can be positive (affecting children) or negative (affecting parents). Once you have completed your settings, click OK, which returns you to the Set Global Themes and Aliases window.
Once you have made your selections and returned to the Set Global Themes and Aliases window, you will see your selected Themes and Aliases added to the Gas Theme text entry field.
Click the Apply button to save your settings and then Close the form. If you made changes that you do not want to save, click the Refresh button. The settings will revert to what they were before you made any changes, as ong as you did not already click the Apply button.
See Also:


