Nodes in AlarmWorX64 Server
A node is the client's or PC's network name associated with a particular configuration. When the alarm server starts, it checks the database for its node name. If the server does not find an alarm configuration associated with its node name, it will run the default alarm configuration. A configuration can be run on multiple nodes; however only one configuration can be run on a node (PC) at one time. For more information, refer to Database Configurations.
To Add a New Node to a Configuration:
-
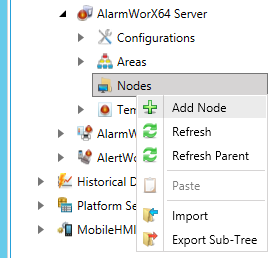
Right-click Nodes in the tree of the AlarmWorX64 Server configuration, then select Add Node from the menu, as shown below.
Add Node from Tree Explorer
-OR-
Select Nodes in the tree explorer, then click on the Add Node button, shown below, in the Edit section of the Home ribbon in the Workbench.
Add Node Button

-
This opens the Node properties, shown below, in the right side of the Workbench.
Node Properties

-
Enter a name in the Node Name text entry field.
-
Describe the node in the Description text box (optional).
-
Select an alarm configuration from the drop-down Configuration Name list. If the alarm server does not find an alarm configuration associated with its node name, it will run the default alarm configuration.
-
You can optionally describe the selected configuration in the Configuration Description field.
-
When you have finished configuring the node, click the Apply button. The new node appears under the Nodes tree control.