The following are initial steps to add ICONICS' Facility AnalytiX Web Part within Microsoft SharePoint 2010. There may also be a script to perform these actions automatically. Please review the additional documentation (ReadMes, Application Notes, etc.) accompanying this product for further info.
To Add the FDDWorX Web Part in SharePoint 2010
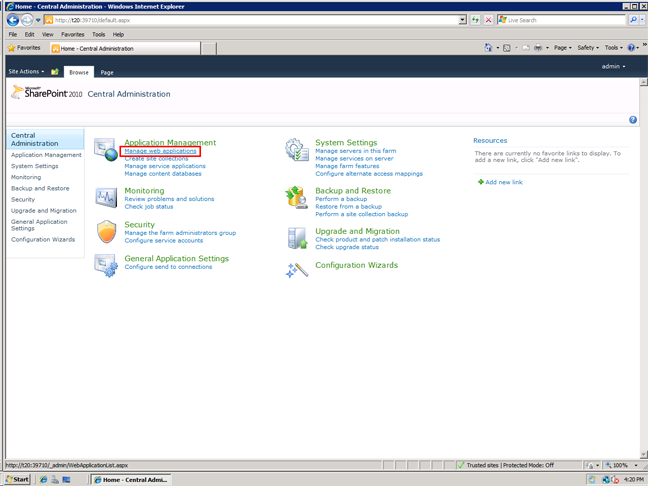
Open a SharePoint 2010 Central Administration page. Create a new site by clicking on "Manage web applications" as highlighted below.
Creating a New Site in SharePoint 2010
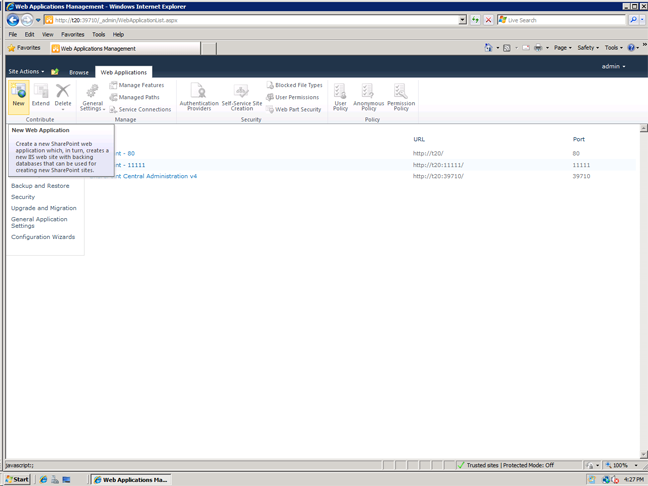
Next, click on the "New" button within the Web Applications ribbon (as shown below).
Clicking on the 'New' Button within the Web Applications Ribbon
NOTE: Once you have completed the settings for the new site, be sure you also click on Create Site Collections (Click on "Central Administration", then "Create site collections").
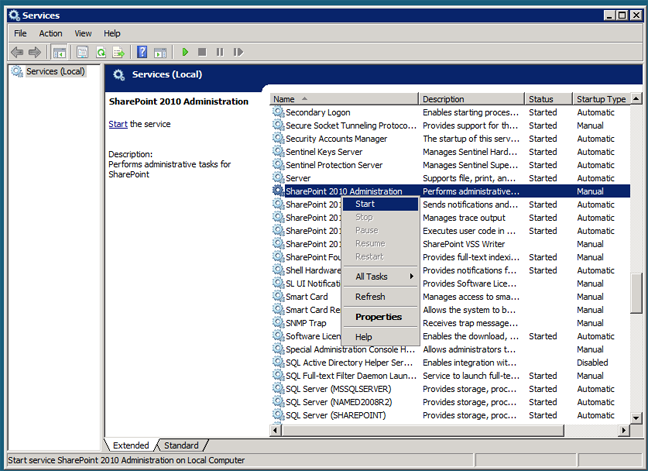
Start SharePoint 2010 Administration Service from the Services console (Start Menu > Administrative Tools > Services).
Starting SharePoint 2010 Administration Service
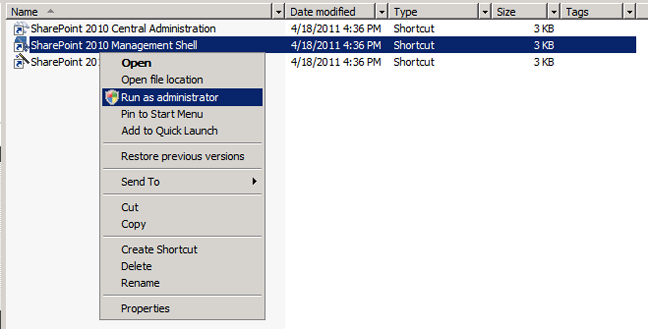
Run SharePoint 2010 Management Shell (C:\ProgramData\Microsoft\Windows\Start Menu\Programs\Microsoft SharePoint 2010 Products\SharePoint 2010 Management Shell) as Administrator.
Running SharePoint 2010 Management Shell as Administrator
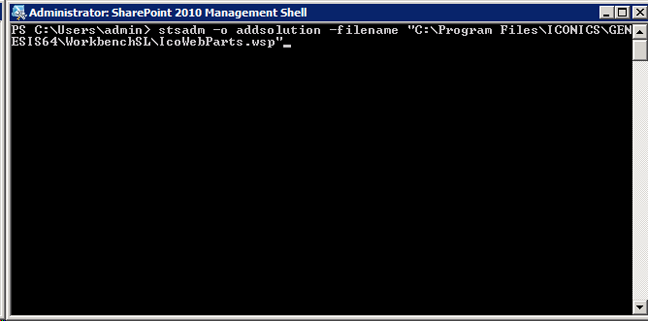
In the SharePoint 2010 Management Shell (that you are running as administrator), type the following:
stsadm -o addsolution -filename "C:\Program Files\ICONICS\GENESIS64\WorkbenchSL\IcoWebParts.wsp"
Typing in the SharePoint 2010 Management Shell
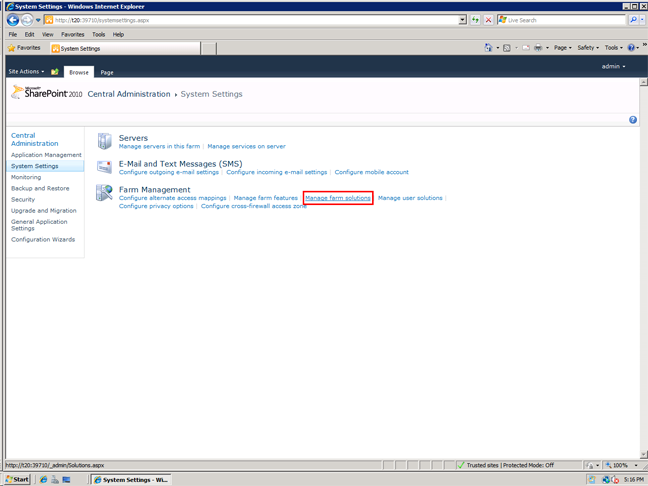
Returning to the SharePoint 2010 Central Administration page, click on "System Settings". This will open a new window. Next, click on "Manage farm solutions", as highlighted below.
Selecting 'Managing Farm Solutions' within SharePoint 2010 Central Administration
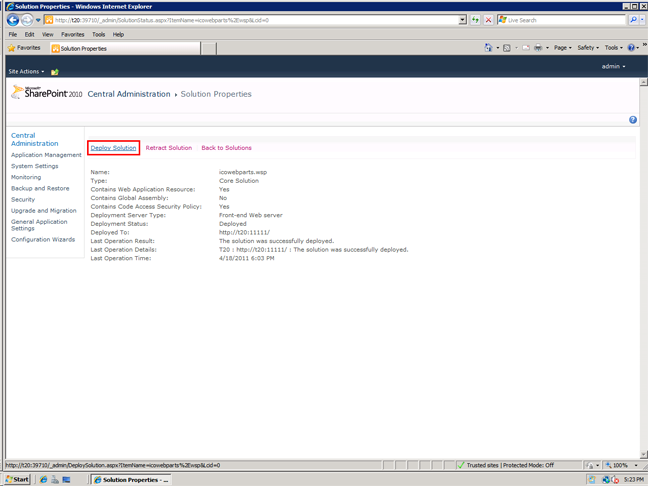
Click on the solution and then on "Deploy solution", as highlighted below. The remaining settings should be kept as default. Exit SharePoint 2010 Central Administration normally.
Deploying the icowebparts.wsp Solution in SharePoint 2010 Central Administration
Launch your selected browser, then open the created portal. In the example we've been using, that would be http://t20:11111.
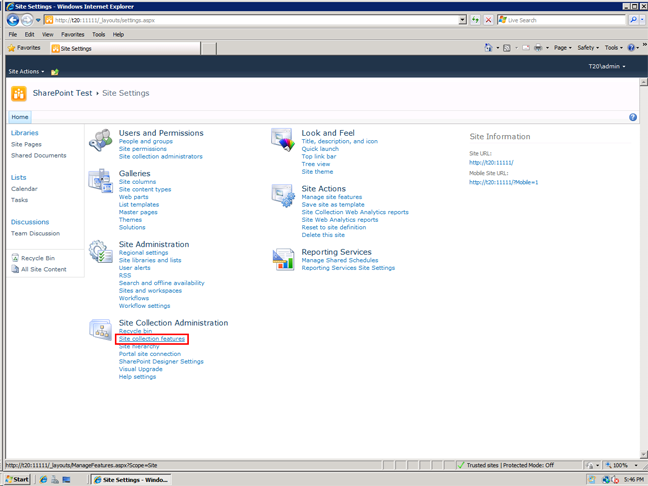
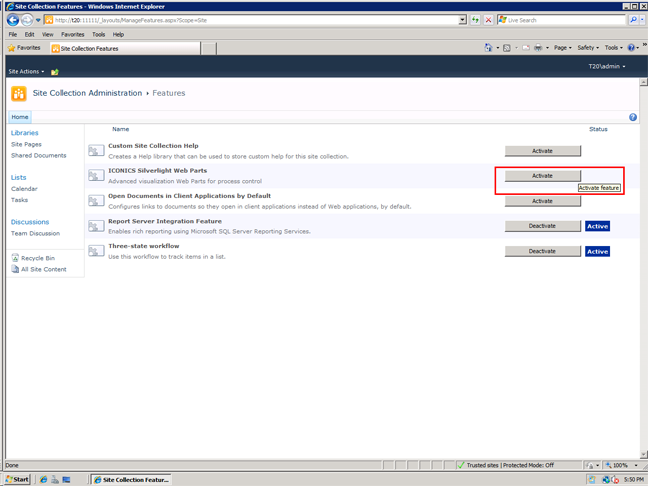
Once your main portal page is open, click on "Site Actions" in the top left corner and then on "Site Settings". A new page will open. Click on "Site Collection Features" under the "Site Collection Administration" section, as highlighted below. This will open another new page.
Site Collection Features in Site Settings
Click on the "Activate" button to the right of "ICONICS Silverlight Web Parts", as highlighted below.
Activating ICONICS Silverlight Web Parts
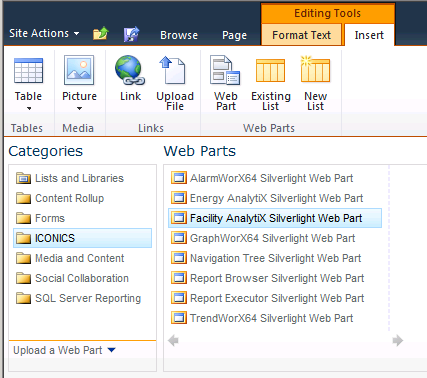
Add a Web Part to your site. From your site's Home page, click on "Page" in the top left navigation tools, then click on the "Edit" button in the top ribbon, then on the yellow "Insert" tab (under the newly appeared orange "Editing Tools" section in the top left navigation tools), then on "Web Part".
NOTE: It may take a few minutes for the Web Part button to be functional (no longer greyed out) in the ribbon at the top of the page. If this does not occur, be sure to make sure you have correctly performed the above steps up to this point.
Click on "ICONICS" in the Categories list in the left-side navigation pane, then on "FDDWorX Silverlight Web Part" in the Web Parts list, then click on the "Add" button on the right side of the screen.
Adding the FDDWorX Silverlight Web Part
See Also
Configuring the FDDWorX Viewer