You can import data into the AssetWorX database or into the asset tree or equipment class node. It is assumed that the data you want to import has been exported from an AssetWorX database and is stored in a .CSV (comma-separated values) file. Be aware of the data being imported so that you import it to an appropriate location in the Project Explorer. For example, do not import equipment classes into the asset tree.
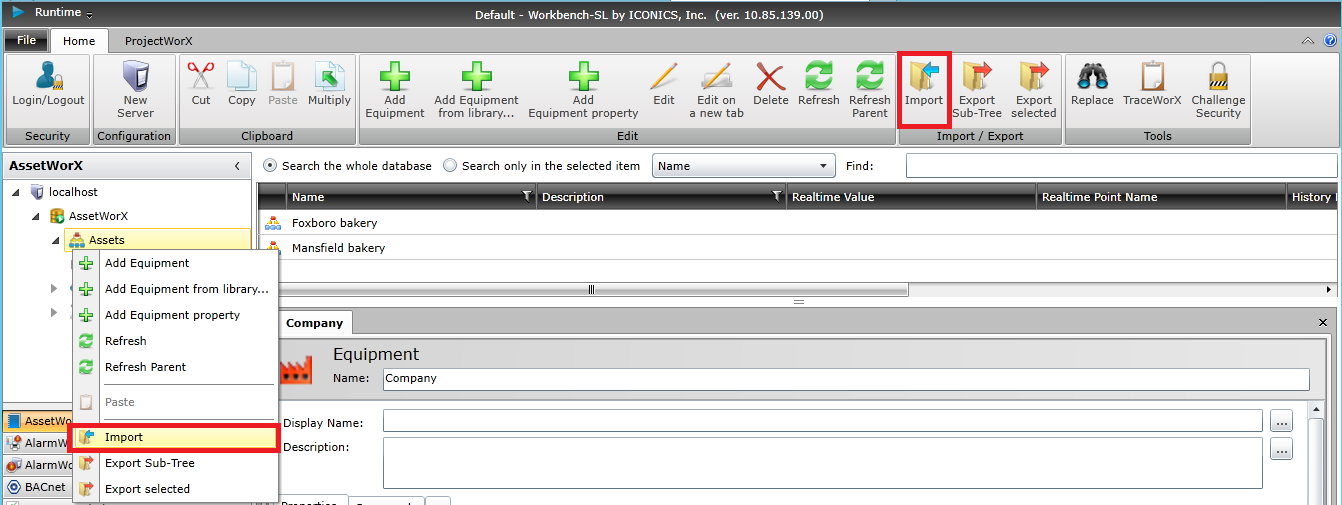
In the Workbench, go to AssetWorX's Project Explorer. Right-click on the node where data is to be imported, then select Import, as shown below. Or click on the node, then click the Import button in the Home ribbon.
Importing into AssetWorX
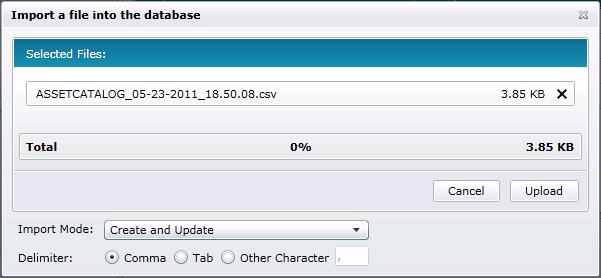
The Import a file into the database dialog box opens. Click Browse to navigate to your selected .csv (or other exported format) file. You can set the Import Mode by choosing Only Create new items, Only Update old items, or Create and Update. You can also set the Delimiter for the imported data (by choosing Comma, Tab, or Other Character).
Identify the File to be Imported

The dialog will look similar to the following example:
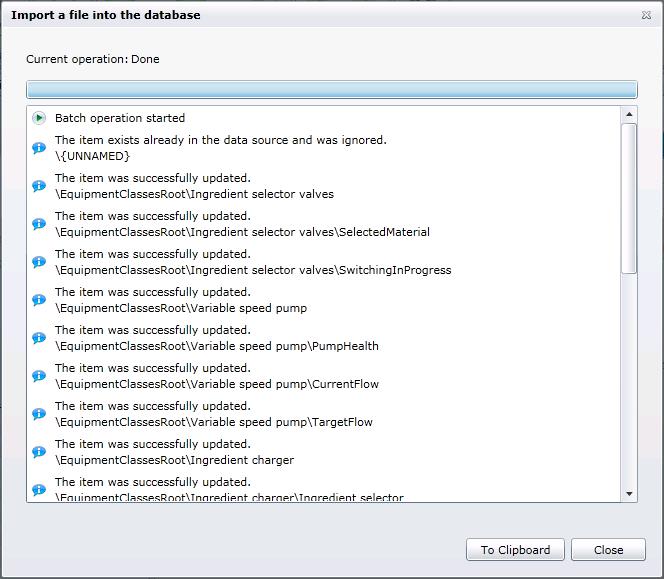
Click Upload to proceed. Once the import process has completed, you have the option of copying the status notices (by clicking To Clipboard) to paste into another application such as MS Word or MS Notepad for record-keeping).
Import Current Operations
Click Close to return to AssetWorX.
See Also: