Holiday Time Settings
When you define a holiday that is part of a holiday list on the calendar, the holiday is defined as a full-day event. You can create other types of holidays on the Holidays Time Settings tab below the Holidays tab.
To Specify a Specific Time of Day that a Holiday Event Begins and Ends
- Double-click on a schedule in the Project Explorer that contains the holiday(s) you wish to modify.
- Click on the Holidays tab and then click on the Holiday Time Settings sub-tab.
- Click the
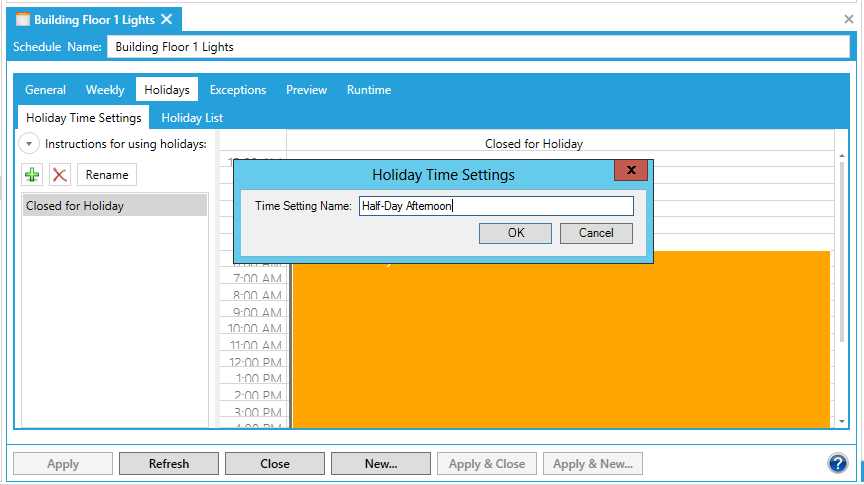
 button. The Holiday Time Settings dialog box will appear. Enter a name for the holiday time setting that you want to create.
Naming a Holiday Time Setting
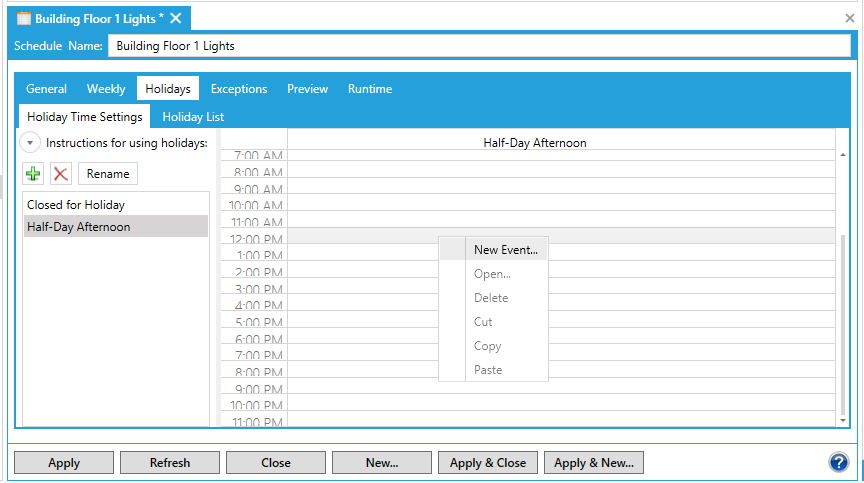
- Click OK. With that Holiday Time Setting selected in the left-side menu, you can select a time range for it in the right-side time listing, as shown below. For example, for the 'Half-day Afternoon' holiday time setting, we've selected between 1:00 PM and 5:00 PM, then right-clicked to activate the 'New Event' selection.
Select Time Period and Add a New Event
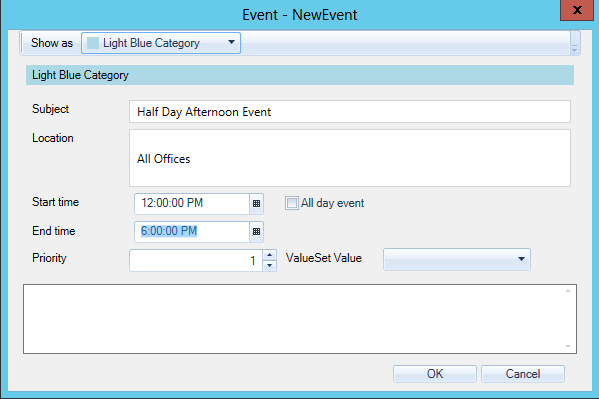
- When you click on 'New Event', the 'Event - New Event' dialog box is displayed, as shown below. Enter the subject of the event and its location. You can set a Start time and End time or make it an 'All day event'. You can also set a numerical Priority or a ValueSet Value. The text entry field allows for further personalization of the event.
Event Properties with Start/End time
- Click the OK button to return to the Holiday Settings tab. The new holiday time setting's 'event' now appears in the right-side time listing.
Holiday Time Setting after Event Properties are Set
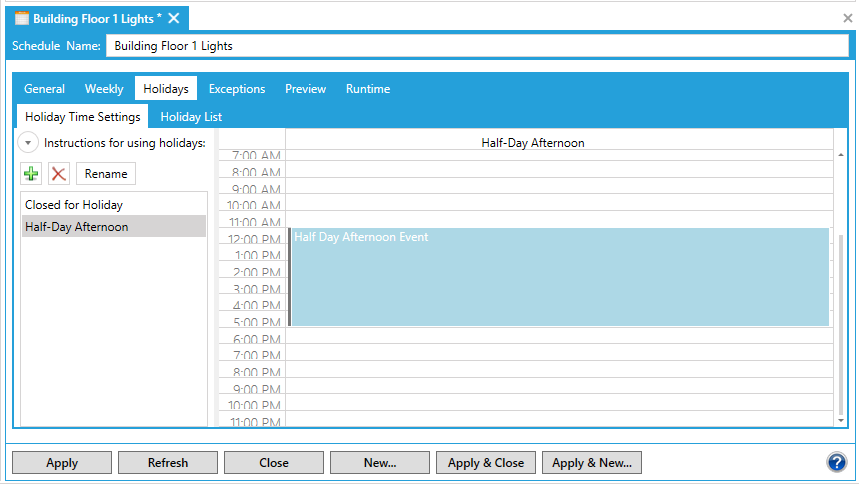
At this point, you now have a Holiday Time Setting that you can apply to selected holidays within the Holiday List tab.
See also:
General Tab
Calendar View Tab
List View Tab
Creating a Holiday
Applying a Holiday List to a Schedule
