Migrating Configurations from TrendWorX32 to Hyper Historian
If you are a TrendWorX32 site, but have purchased Hyper Historian, or if you are moving from TrendWorX32 to Hyper Historian, you can migrate your existing TrendWorX32 configurations to Hyper Historian using a wizard in Hyper Historian. Once your configuration has been migrated to Hyper Historian, you can use Hyper Historian to collect your trend data and use ReportWorX and the SQL Query Engine for reporting on that data and TrendWorX64 Viewer to display trends in GraphWorX64 displays. (For more information, refer to the Reporting on Hyper Historian Data and SQL Query Engine Quick Start topics.)
To facilitate your initial setup, there is a wizard that can migrate TrendWorX32 configurations to Hyper Historian configurations. The wizard creates a new configuration database in Hyper Historian, and populates the new configuration database with the TrendWorX32 data you are migrating.
Before You Begin
Before starting the migration:
-
Make sure that no data logging occurs during the migration. Stop the TrendWorX32 and Hyper Historian services and make sure they remain stopped for the duration of the migration.
-
Depending on the volume of data to be migrated, the migration process may take a significant amount of time to complete.
Running the Migration Wizard
To Migrate Your Configuration(s):
-
In the GENESIS64 Workbench, select the Hyper Historian provider button in the Project Explorer.
-
In the ribbon's Home tab, click the TrendWorX Migration button, circled in the following illustration.
TrendWorX Migration Button in the GENESIS64 Workbench Ribbon's Home Tab

-
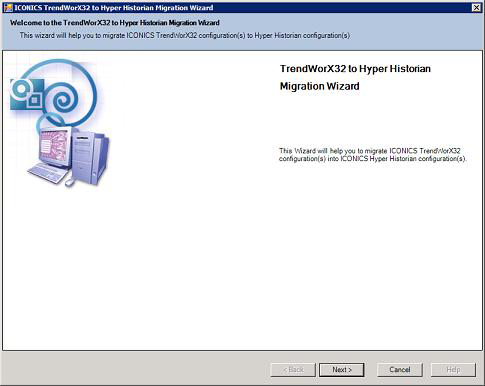
This launches the TrendWorX32 to Hyper Historian Migration Wizard, shown below.
TrendWorX32 to Hyper Historian Migration Wizard
-
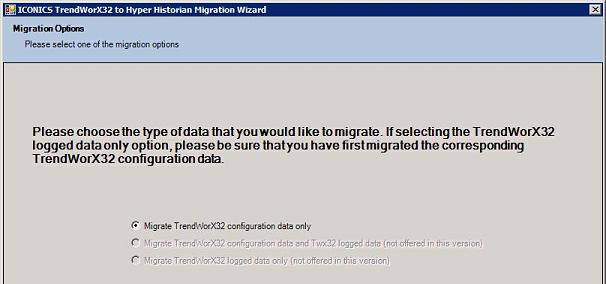
Click Next. The Migration Options dialog appears, as shown below. The Migrate TrendWorX32 configuration data only option is selected for you.
Migration Options
- Click Next. The TrendWorX32 Configurations dialog box appears, as shown below.
TrendWorX32 Configurations
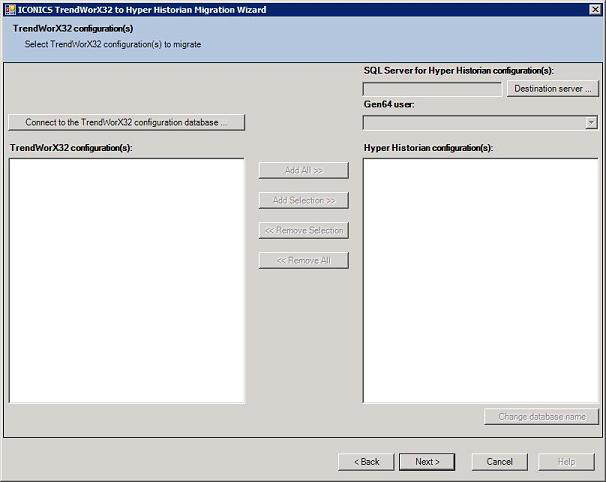
- Click the Connect to the TrendWorX32 Configuration Database button. This launches the Source Database Wizard, shown below. It is recommended that you check the Use Default SQL Server checkbox. If you cannot, uncheck the check box to expand the prompts; you will be prompted for the following information:
Select the SQL Server where the TrendWorX32 Configuration Resides

- Complete the information. Click Next. The Select the Database on the SQL Server dialog appears.
Select the Database where the TrendWorX32 Configuration Resides
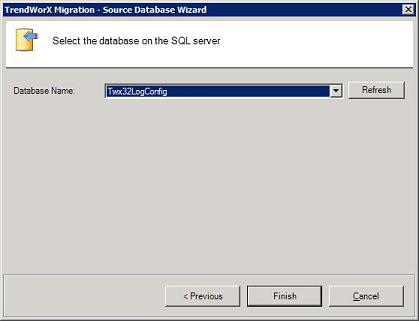
- Select the database where the data to be migrated resides, and click Finish. The Database Wizard closes and returns you to the TrendWorX32 to Hyper Historian Migration Wizard with the TrendWorX32 database populated and all of its configurations showing in the TrendWorX32 Configuration(s) box, as shown below.
The TrendWorX32 Configuration(s) box
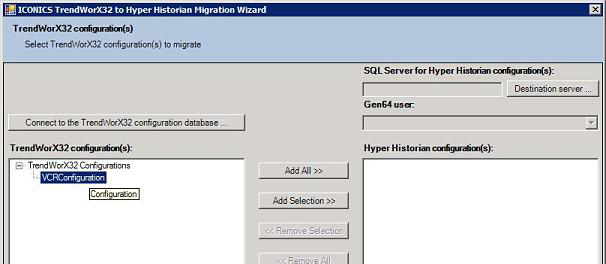
- From this list, select the configuration you want to import into Hyper Historian. If there are others, select those too. Then click the Add Selection button. This adds the selected configurations to the Hyper Historian Configuration(s) box on the right, as shown below. (Clicking Add All adds all of the database's configurations the to Hyper Historian Configuration(s) box.)
The Configuration to Be Imported

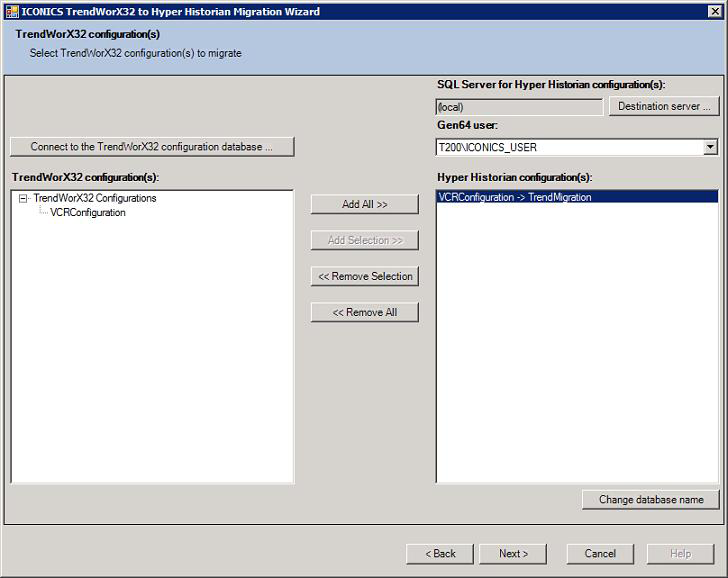
- Now you have to select the Hyper Historian configuration where the TrendWorX32 data is to be migrated to. To do this, in the top-right corner, click the Destination Server button and use the Destination Server Wizard to choose the server. Then, from the Gen64 User drop-down list, select the user ID -- it is recommended that you select the ICONICS_USER. Regardless, make sure that your GENESIS64 user that you choose has permissions to access the TrendWorX32 configuration database.
- You can specify the name of the Hyper Historian configuration database to which the TrendWorX32 configuration is to be migrated. By default, the Migration Wizard gives it the same name as the TrendWorX32 configuration database. (In the example above, you can see the entry as "VCRConfiguration -> VCRConfiguration".)
To change the name, first you must select the configuration's line in the Hyper Historian Configurations box, and then you can click the Change Database Name button in the lower-right corner of the Wizard. This opens the following dialog box:
Change Database Name Button
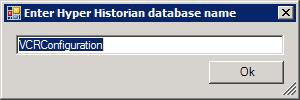
- Type the name that you want to give to the new Hyper Historian configuration database that will be created, where the TrendWorX32 data will be migrated to, and click OK. The dialog box closes and inserts the Hyper Historian database name into the Hyper Historian Configuration(s) box. The result should look something like the following:
Completed Form
- Click Next. The following confirmation page appears. Review the information. If any of it is wrong, click the Back button and correct it. When all information is correct, you can begin the migration by clicking the Finish button.
Confirmation

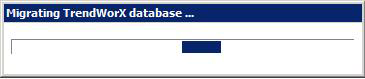
- If all the information is correct, begin the migration by clicking the Finish button. A status window like the one shown below will display until the migration is complete. Depending on the volume of data, this could take a while.
Status Window that Displays While the Migration Completes
- When the migration is complete, a message appears, and looks something like one of the following messages:
A Successful Migration Message (Left) and a Failed Migration Message (Right)

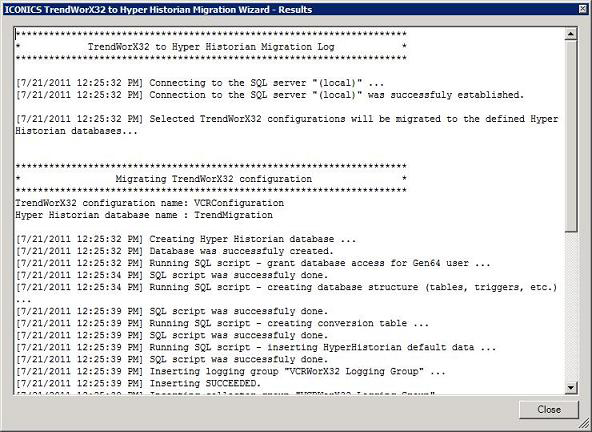
- Click Yes to see the log file. A successful migration looks something like the following. If there were errors or warnings, refer to the Troubleshooting section below. Otherwise, proceed with the migration steps.
Log File for a Successful Migration
- Click Close. The migration process is complete.
- Next, you have to connect to the new database. In Hyper Historian Project Explorer, right-click the server (for example, localhost) and select Connect Database. In the Connect Database Wizard, choose the server, click Next, and choose the database that the migration process created; it will probably be the last database at the bottom of the drop-down list. Then click Finish. The new configuration database will appear in the Project Explorer, as in the example shown here:
Connected Database Created by the Migration Wizard

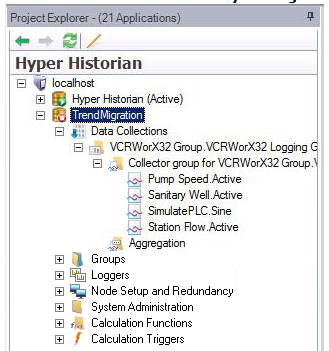
- Review the content of the new database configuration by expanding its navigation tree; a simple example is shown below. You can work in the configuration database as you would with any other Hyper Historian database, but it will not collect data until you make it active. At this point, it is still not an active database.
Connected Database Created by the Migration Wizard
- Proceed with normal initial setup of your Hyper Historian database, as described in the online help. (Go to the help's Contents tab, expand the Hyper Historian book and refer to the topics in the "Initial Setup" section.)
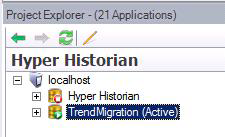
- When you are ready to make it your active database, select the database in the Project Explorer, right-click it and select Make Active. Notice that the database's icon turns from red to green and is given the "(Active)" designation.
Connected Database Created by the Migration Wizard
Troubleshooting
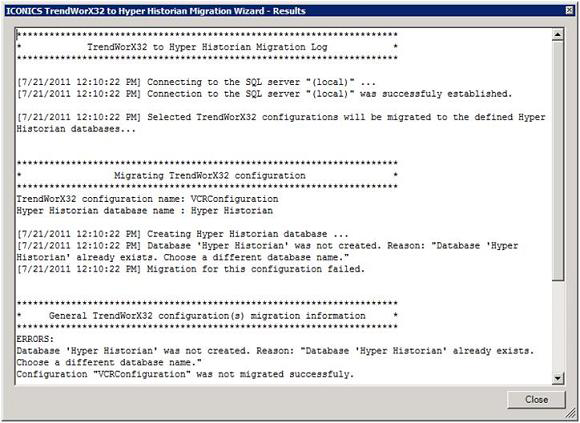
- If there were errors (as in the example shown below), review the log file for errors and warnings. Correct the problems and, if necessary, re-run the migration.
- If the wizard is unable to recognize any valid configurations from your TrendWorX32 configuration database, make sure that your GENESIS64 user (which by default is the “ICONICS_USER”) has permissions to access the TrendWorX32 configuration database. You can manage these permissions from within SQL Server Management Studio.
Log File for a Migration with Errors