For description of the Bulk Asset Configurator, click HERE.
To Use the Bulk Asset Configurator Utility:
Open the Bulk Asset Configurator utility from the Start menu (C:\ProgramData\Microsoft\Windows\Start Menu\Programs\ICONICS\Tools\Bulk Asset Configurator.lnk or C:\Program Files\ICONICS\GENESIS64\Components\AutoConfigurator.exe).
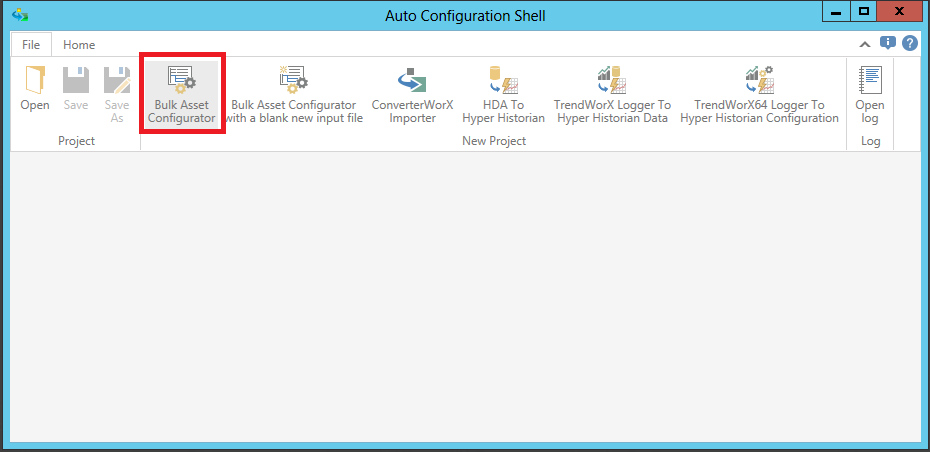
This opens the Auto Configuration Shell application, as shown below. Depending on the location from where you launched the utility, you may see the Bulk Asset Configurator by itself in the New Project section of the File ribbon in the Auto Configuration Shell or it may be accompanied by other utilities including components of ICONICS' ConverterWorX, as shown below. Click on the Bulk Asset Configurator button, highlighted below.
Bulk Asset Configurator in the Auto Configuration Shell
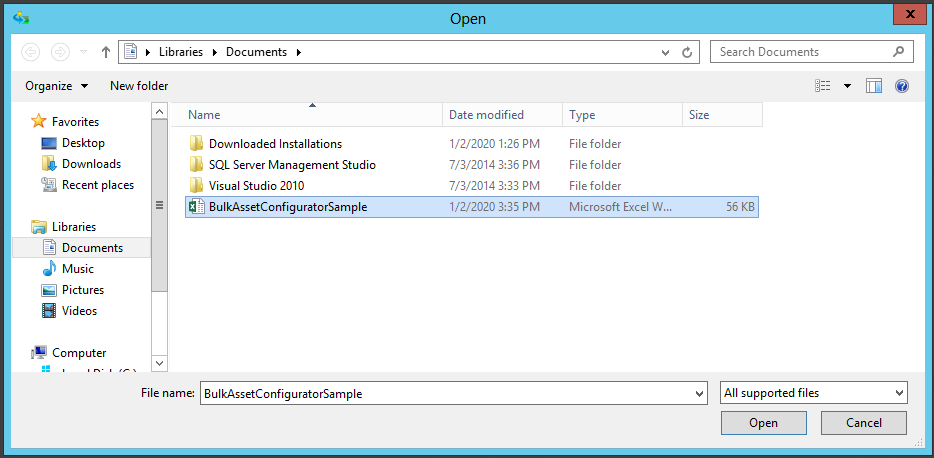
This opens a file explorer, which allows you to search for and open an Excel file (.xslx), containing existing Bulk Asset Configurator information, if one has been previously created.
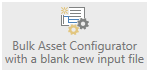
If no previous file exists, you can create a new one by Using the Bulk Asset Configurator with a Blank New Input File as shown below, else continue to Step 4.
Using the Bulk Asset Configurator with a Blank New Input File
'Bulk Asset Configurator with a blank new input file' Button
This opens the Save As window, as shown below.
'Save As' Window
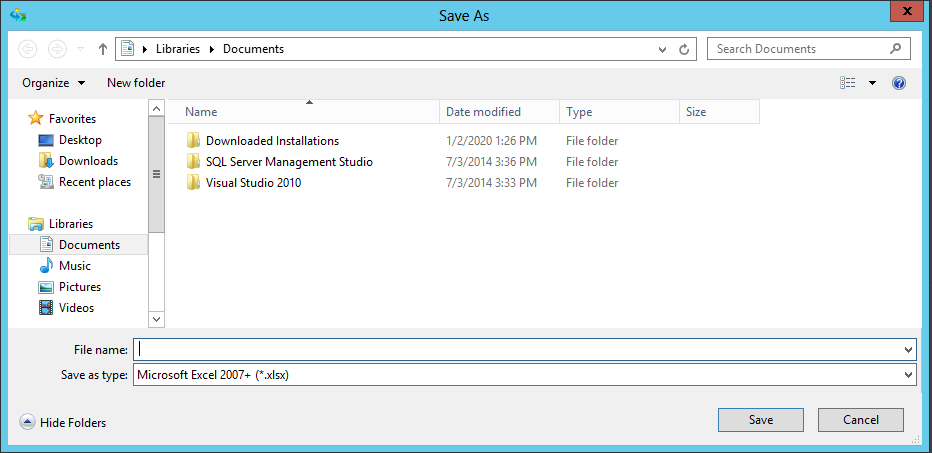
Select a location for your file. Name the Excel file and select a file type, then click Save. Proceed to Step 5 below.
File Explorer Used to Locate Excel File (.xslx) Containing Bulk Asset Configuration
This opens the Home ribbon of the Bulk Asset Configurator, as shown below. You can now make changes within the Properties tab.
Home Ribbon and Properties Tab within the Bulk Asset Configurator Utility
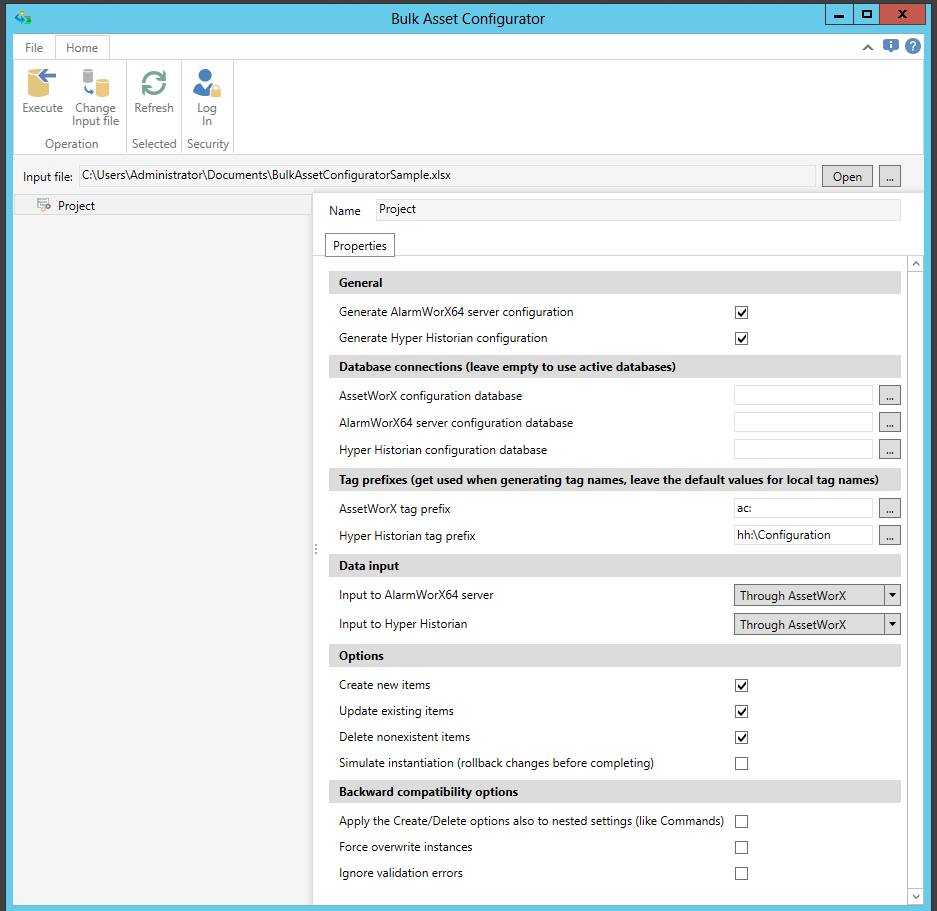
Input file - This shows the selected auto instantiation template Excel file. You can change the selected file by clicking on the ellipsis button [...], which opens a file explorer.
Open - This opens the selected auto instantiation template file in Microsoft Excel.
Name - Enter a name for this Bulk Asset Configurator project in the text entry field.
Generate AlarmWorX64 server configuration - Click this checkbox to generate alarms associated with the equipment located in the Excel file.
Generate Hyper Historian configuration - Click this checkbox to generate history associated with the equipment located in the Excel file.
AssetWorX configuration database - Enter the location of your preferred AssetWorX configuration database in the text entry field or click the ellipsis button [...] to open a database selection window. Leave this field empty to use the active database.
AlarmWorX64 server configuration database - Enter the location of your preferred AlarmWorX64 configuration database in the text entry field or click the ellipsis button [...] to open a database selection window. Leave this field empty to use the active database.
Hyper Historian configuration database - Enter the location of your preferred Hyper Historian configuration database in the text entry field or click the ellipsis button [...] to open a database selection window. Leave this field empty to use the active database.
AssetWorX tag prefix - You can optionally enter an AssetWorX tag prefix (e.g. "ac:"). Leave the default value for local tag names.
Hyper Historian tag prefix - You can optionally enter a Hyper Historian tag prefix (e.g. "HyperHistorian\\Configuration"). Leave the default value for local tag names.
Input to AlarmWorX64 server - Use the pulldown menu to select from either "through AssetWorX" or "directly from the data source, where possible".
Input to Hyper Historian - Use the pulldown menu to select from either "through AssetWorX" or "directly from the data source, where possible".
Create new items - Click this checkbox to allow for new items from the template.
Update existing items - Click this checkbox to update existing items from the template.
Delete nonexistent items - Click this checkbox to delete items that do not exist between the template and the AssetWorX database.
Simulate instantiation (rollback changes before completing) - Click this checkbox to simulate instantiation and to roll back changes before completion of importing items from the template.
Apply the Create/Delete options also to nested settings (like Commands) - applies to items that are configured in Workbench as a component of a bigger whole. It applies, for example, to Commands, Energy AnalytiX, and FDDWorX/Facility AnalytiX. It does not apply to Properties or nested Equipment because those are configured in a dialog separate from its parent Equipment (class). It also applies to Hyper Historian Calculated Tag Triggers, which are configured as a component of a Calculated Tag. When unchecked, the Bulk Asset Configurator will create/delete those items as necessary, even when the "Create new items and Delete nonexistent items" options are not checked. When this option is checked, the Create new items and Delete nonexistent items options apply. When checked, the Bulk Asset Configurator behaves as in Version 10.90.
Force overwrite instances - If unchecked, the operation will only overwrite items in the instance that came from the Equipment Class. If checked, the operation will overwrite everything. Items that came from the Equipment Class can be distinguished, as they are shown with a slightly transparent icon. Items directly on the Equipment instance, like Description, Commands, Energy AnalytiX and FDDWorX/Facility AnalytiX settings will always get overwritten, regardless of this setting.
Ignore validation errors - When this option is disabled, the Bulk Asset Configurator will do some of the value validation that the Workbench does. This means checking that the Equipment/Property/Command names do not contain invalid characters; that the Static value on Equipment Properties can be converted to the data type specified; etc.. In general, those are the errors that would show as a red square around the input field in the Workbench. The Bulk Asset Configurator provides a best effort attempt to validate all that the Workbench validates, but not necessarily at the same 100 percent that the Workbench would. When checked, the Bulk Asset Configurator behaves as in Version 10.90.
Once you have updated the Properties in the Home Tab of the Bulk Asset Configurator utility, click on the Execute button in the Operation section of the Home ribbon, as shown below. [Note: At any point, you can also switch the Excel archive by clicking on the Change Archive button. This brings you back to Step 3 above. You can also click the Refresh button, in the Selected section of the Home ribbon, to refresh any changes made within the utility. You can also click the Login button in the Security section of the Home ribbon if the utility has been set with log-in security. ]
Execute Button

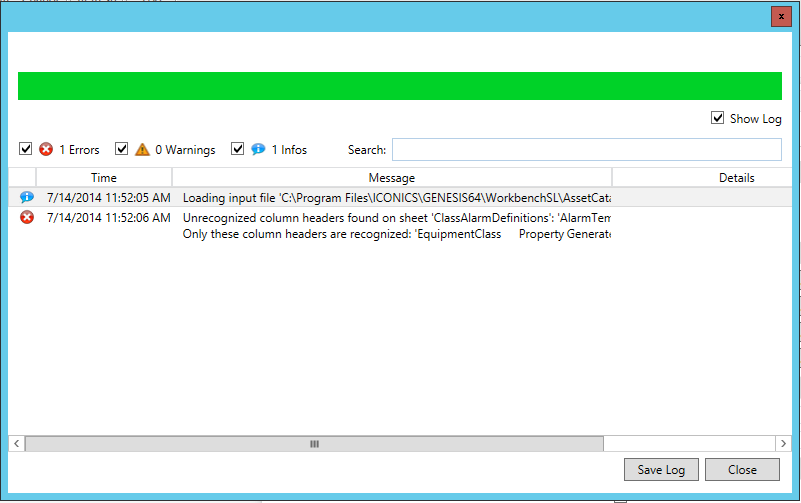
The Bulk Asset Configurator utility then proceeds to include your items from your selected Excel template into your selected asset catalog in the AssetWorX provider in the Workbench. You can see a status bar of the procedure in progress, as shown below. The file log is shown by default. This contains associated Errors, Warning and additional Info. You can opt to turn off the log by deselecting the Show Log checkbox in the top right corner. You can also opt to save the log via the Save Log button in the bottom right corner of the window.
Status and Info Window
Once you have completed your review of the log items or just wish to proceed, click the Close button to close the status/info window. You can now also close out of the Bulk Asset Configurator utility.
You can now open Workbench, and expand your project to show the Assets provider node in order to see your newly added assets from the Bulk Asset Configurator utility.
See Also:
About the Bulk Asset Configurator
Editing the Excel Auto Instantiation Template