|
|
The features on this page require a GENESIS64 Advanced license and are not available with GENESIS64 Basic SCADA . |

![]()
|
|
The features on this page require a GENESIS64 Advanced license and are not available with GENESIS64 Basic SCADA . |
![]()
In the Workbench Classic, the Project Explorer lists the Providers that are available in the project. You can add and remove providers as required for the project you are working in.
To add a provider:
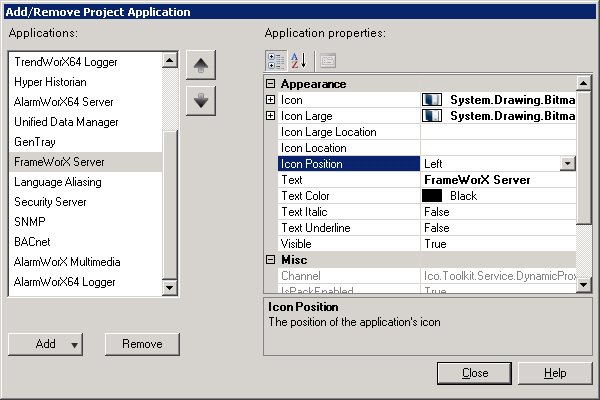
On the Project ribbon, click the Edit Project button . Or, at the top of the Project Explorer you can click the Edit Project icon button. The Add/Remove Project dialog box appears. Click here to see an example.
To remove an application: highlight the name in the Applications list box and click the Remove button.
To add an application: click the Add button and select the name from the drop down list box.
To edit or modify application properties: edit the property value in the Applications properties list box. Properties are described in the Project Properties topic.
For more information, refer to the Modifying the Workbench Classic Work Area topic.
See also: