![]()
![]()
The GENESIS32 File Extraction Utility is available through the GENESIS32 V9.3 (or later) Installation DVD. You must copy it over from the Tools directory to the machine containing the 32-bit files you wish to extract.
NOTE: ConverterWorX does not support the conversion of scripts and conversion of third-party controls cannot be guaranteed.
ActiveX conversion is supported for Alarm Viewer and Trend Viewer controls only.
The utility was designed to be a Small Footprint Application, able to run on legacy systems. Its essential functions are to:
GENESIS32 File Extraction Utility Process

* NOTE: There is a 4GB limit. If the databases to be converted are larger than 4GB, then there is a different approach. To convert logged data, users must provide a .udl file (that points to a former database) within the Importer project.
Some databases may contain both configuration and logged data. In such cases, users must provide the .udl file first to the Exporter to pull out the configuration data for the .xml file, and then also provide the .udl file to the Importer to handle the logged data.
Adding a File in the GENESIS32 File Extraction Utility
To Extract an Existing 32-bit File
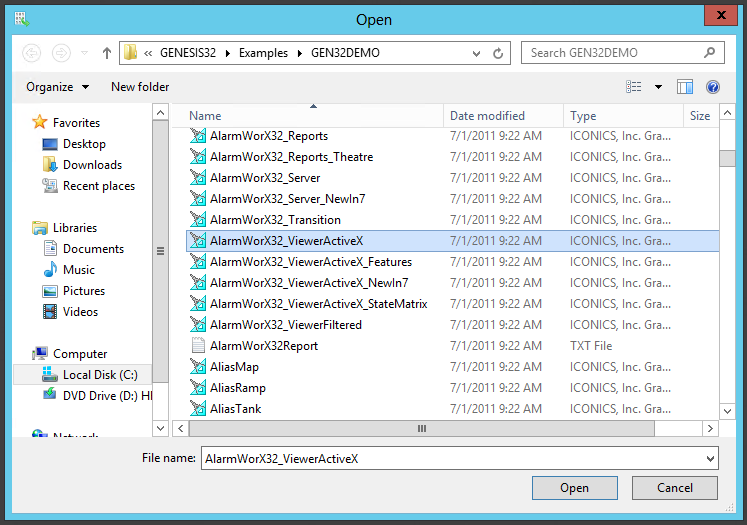
Click on the Add Files or Add Folder button. The 'Add Files' button will open a file browser, as shown below, which allows you to navigate to your intended 32-bit projects to extract. You can extract more than one individual file. Once selected, the file path will appear in the left side of the File Extraction Utility window.
Clicking 'Add File' Allows You to Browse for a Single 32-bit Project to Extract
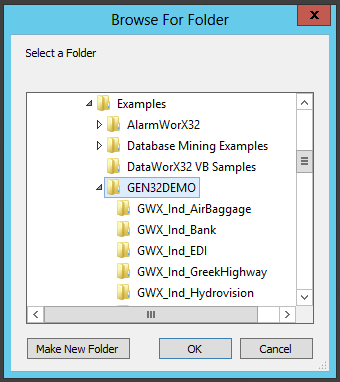
The 'Add Folder' button opens the Browse for Folder window, shown below, which allows you to navigate to a folder that contains 32-bit projects. Upon selection, the Extraction Utility will add that folder to the menu on the left side of the window. The Extraction process will then include all 32-bit projects contained within the selected folder.
Browse for Folder Window
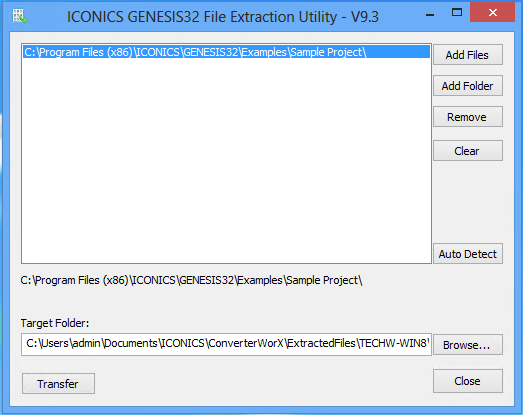
Should you wish to remove either an added single file or a folder from those listed in the left side of the File Extraction Utility window, you can first select the item and then click on the Remove button. To clear all listed files/folders, click on the Clear button.
The Auto Detect button adds active configurations (from the .ini file) and the .ini file itself.
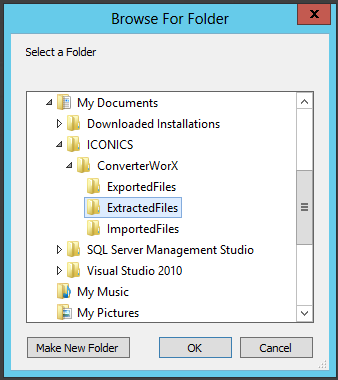
Next, you can set the Target Folder for your extracted files by clicking the Browse... button. This opens the Browse for Folder window, as shown below, allowing you to set the location for your extracted files.
Browsing for a Target Folder for the Extracted Files
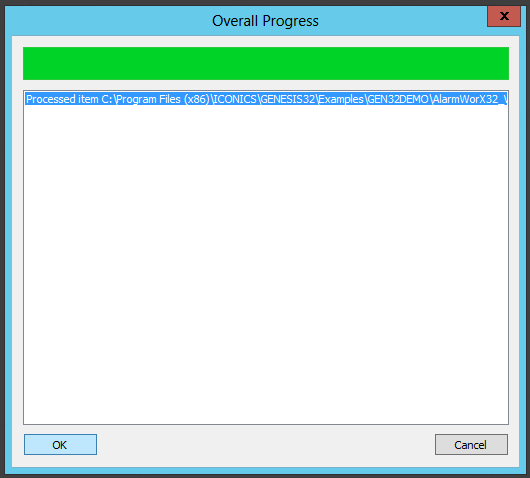
Once you have selected both the files/folders from which you wish to extract and the target folder, you can commence the actual extraction by clicking on the Transfer button. An Overall Progress Window will appear, with a progress bar at the top of the window and a list of the Processed Items beneath it. Click OK to close the Overall Progress window and then the Close button to exit the GENESIS32 File Extraction Utility.
Overall Progress Window
At this point, you may want to check the Target Folder you selected in Step 2 to verify that the extraction was successful, but this isn't necessary in order to proceed to the next step in the conversion process; the Exporting of these extracted files.
See Also:
Auto Configuration Shell/GENESIS64 ConverterWorX Utility