|
|
The features on this page require an add-on to work with GENESIS64 Basic SCADA. |

![]()
|
|
The features on this page require an add-on to work with GENESIS64 Basic SCADA. |
![]()
This section covers how to add ICONICS SNMP Connector to the Workbench64 configuration/runtime tool. For additional information, refer to the Project Explorer topic. SNMP Connector must already be installed to add it to the Workbench.
To add SNMP Connector to the GENESIS64 Workbench:
Click on the Edit Projects button within the Project Explorer navigation box on the left side of the Workbench.
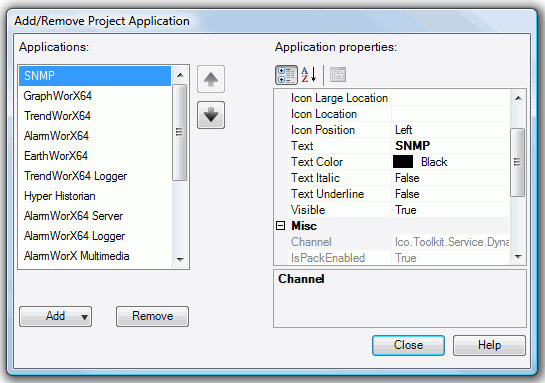
The Add/Remove Project Application settings appear. If SNMP Connect appears in the Applications list on the left side, click on it, then click Close. If it does not appear in the Applications list, click the Add button, select SNMP, then click Close.
Add/Remove Project Application Settings
|
|
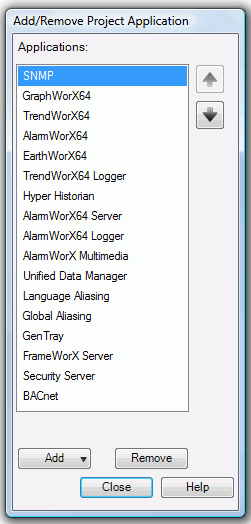
Note. At this time, you can also set the order of appearance for each separate application within the Project Explorer by clicking an individual application within the Applications list and then on the up or down arrow keys to move it towards the top or bottom of the list. |
Setting Application Order within the Project Explorer
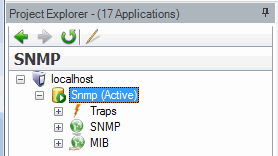
You should now see SNMP Connector within your list of selected applications within the Project Explorer.
SNMP Connector Loaded into the GENESIS64 Workbench
See also:
