|
|
The features on this page require a GENESIS64 Advanced license and are not available with GENESIS64 Basic SCADA . |

![]()
|
|
The features on this page require a GENESIS64 Advanced license and are not available with GENESIS64 Basic SCADA . |
![]()
As shown in the figure in the GenBroker topic, the Channels tab in the GenBroker Configurator contains four channels:
OPC direct
OPC over TCP/IP direct
OPC over SOAP/XML direct
OPC over DCOM direct
Using this tab, you associate each node with the channel that GenBroker is to use for the node. You can add, remove, and reconfigure nodes and channels. You can define which nodes on the network will be accessed from the current node that uses the method of communication you have chosen. Multiple nodes can share a channel.
To add a node to a communication channel:
Click the Channels tab. Click a channel button on the top of the tab; the Select a Node dialog box appears (shown below).
Select a Node Dialog Box
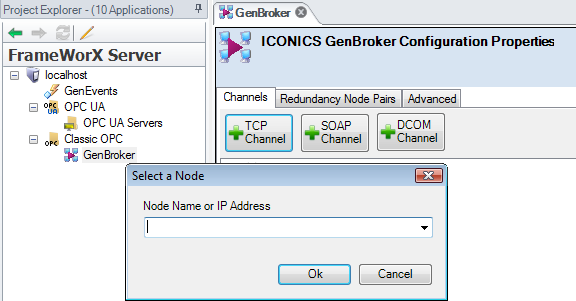
Select the node name and/or IP address from the drop-down list. However, if the nodes are not currently connected to the computer you are using, you can type one in the Node Name or IP Address field.
Click the OK button. The node name appears in the navigation tree below the Channel node.
Add nodes until all of the nodes to be accessed from the current node are defined for the channel each will use.
See Also: