![]()
![]()
The MergeWorX Plug-in identifies the CSV file to be used as the data source when fired by a trigger. Triggering is done at the level of the Plug-in. Consequently, you can have multiple instances of a Plug-in, each fired by its own trigger, each processing data from a different IO/factory floor device.
|
|
Note: Before you begin the steps provided in this topic, you should be familiar with the content and format of the CSV file, as described in the MergeWorX CSV File Formats topic. |
Note: If the MergeWorX provider node does not appear in the tree explorer, you can add it by double-clicking the project node at the top of the tree explorer (or selecting the project node then clicking on the Edit button in the Edit section of the Home ribbon in the Workbench). This opens the project properties in the right side of Workbench, where you can select which provider to add to the project by clicking on the checkbox to the left of its name and then Apply (or Apply & Close). When you close the project properties, your selected provider should now appear in the tree explorer.
To Add a Plug-in to MergeWorX:
Add Plugin From Tree Explorer

-OR-
Select the Plugins node, then click on the Add Plugin button, shown below, in the Edit section of the Home ribbon in the Workbench.
Add Plugin Button

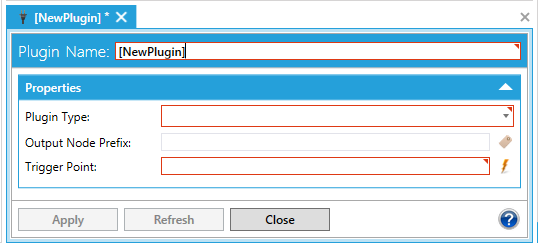
Plugin Properties in MergeWorX Provider in the Workbench
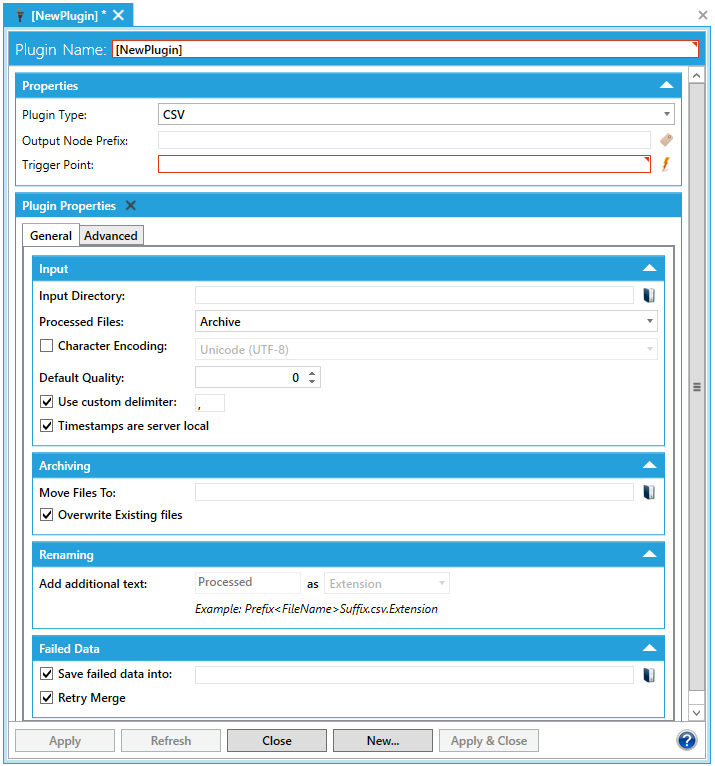
Expanded Plugin Properties Upon Selection of CSV Plugin
 button to find and select the node. This field is optional; you can leave it empty. But if you enter a string, it is used in the following way:
Specify the Trigger Point by entering the trigger that will start the data merge. Click the  Browse button to browse for the trigger to be used. For more information about the types of triggers you can use for the plug-in, refer to the Triggers topics.
If you have already selected a Plugin (from Step 3 above), you'll notice that the Plugin Properties section contains two tabs: General and Advanced. In the General tab, in the Input section, you can use the Input Directory field to locate and select the location of the CSV file that contains the data to be merged into Hyper Historian. Click on the  button to browse for your selected file.
Select the Processed Files option that specifies what is to happen to the CSV file after its data has been processed. The processed CSV file can be Archived (moved to another, archival directory), Deleted entirely or Renamed and left in the same directory.
You have the option of setting the Character Encoding. The default is set at Unicode (UTF-8). If you check the checkbox, you can change the encoding to one of multiple options.
In the Default Quality field, specify the quality code to be used when no quality code is provided in the CSV file. For a list of valid codes, refer to the Quality Codes topic.
The default delimiter in the CSV file is the comma (,). You can set a different one by clicking the checkbox next to Use custom delimiter and then entering your preferred delimiter in the text entry field.
The Timestamps are server local checkbox means that the timestamp in the CSV file (as it is string format and does not contain information or kind of time) is considered to be local to the processing server (if checked) or UTC (if unchecked).
If you have opted to Archive processed files (in Step 7), this activates the Archiving section, where you can select the location where processed files will be moved. Click on the button to browse to your selected directory. If you want the existing archived CSV file in that location to be overwritten each time a CSV file is archived, leave the check mark in the Overwrite Existing files checkbox.
If you have opted to Rename processed files (in Step 7), this activates the Renaming section, where you can specify how the file will be renamed. Use the pulldown menu to specify whether you want to add a Prefix (Prefix<Filename>.csv), Suffix (<Filename>Suffix.csv), or Extension (<Filename>.csv.Extension) to the file name, and then use the text entry field to enter the text to be appended to the file name.
In the Failed Data section, you can opt, via checkbox (enabled by default) to Save failed data into a preferred location. Once enabled, you can then click on the button to browse to your selected directory. You can also opt, via checkbox (enabled by default) to Retry Merge if the operation fails and you wish to merge the data again.
Go to the Advanced tab.
Advanced Tab in Plugin Properties in the MergeWorX Provider in the Workbench
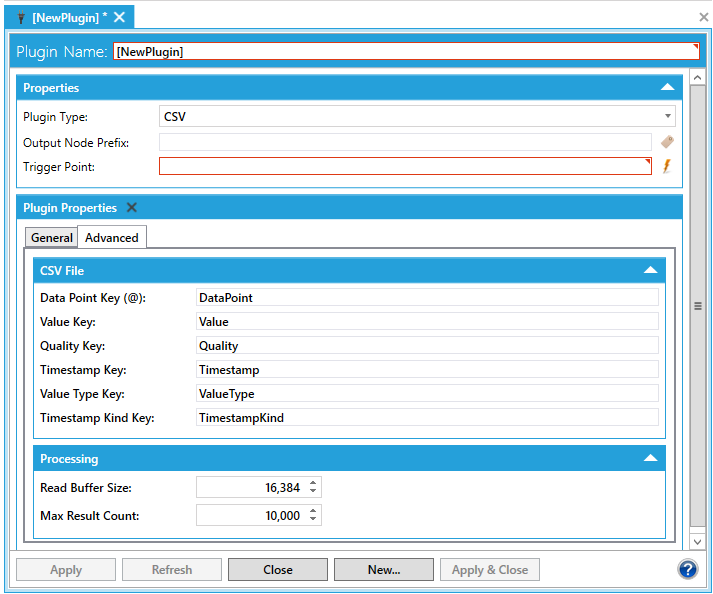
In the CSV File section, you can map header line keys for the CSV file if the default values are not used in the CSV file. For example, if the CSV file's data point key is not "DataPoint", map the key that the file uses to the plug-in by typing the file's key in the Data Point Key (@) field. Then, do the same for Value Kay, For more information and examples, refer to the MergeWorX CSV File Formats topic.
In the Processing section, you can use the Read Buffer Size field to specify how much data is read from the disk at one time. Use the Max Result Count field to specify the maximum number of rows that can be returned.
When you are done, click Apply to save the plug-in.
If the datapoint names in the CSV files are not fully-qualified Hyper Historian names or you need to do some processing with the data, then you must add MergeWorX tags to map data points in the CSV file to the Hyper Historian. How you do this is described in the Creating a MergeWorX Tag topic.
See also: