![]()
![]()
The Hyper Historian uses it's own set of licenses that are tracked separately by the Licensing server. Since your license sets a limit on the number of tags that can be tracked you should check the License Viewer to review your current licenses and your performance needs before moving a system from testing to production. Refer to the topic Licensing Overview for more information.
You can use the ICONICS TraceWorX utility to track the Hyper Historian 's performance characteristics. As part your set up you may want to turn these options on.
To monitor TraceWorX , do the following:
Click the File menu and select Tools, then TraceWorX.
Click the Hyper Historian Trace Level cell and select the category of events that you want to log. You can select: None, Severe Error, Error, Warning, Normal, Debug, Debug Verbose, or All.
Click the Save Changes button to enforce your selection. Refer to the figure below for comparison.
After you save your changes, click the Refresh All or Refresh Log Size button to see if the log file size has changed yet.
Note: An italicized name means that the changes have not yet been saved.
Logging Hyper Historian Events
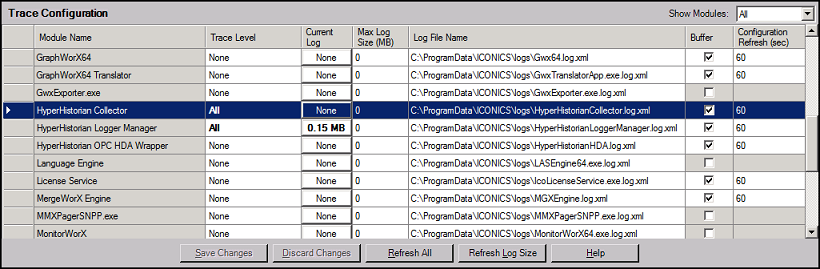
The log file is highlighted in the figure above, but its name and location can be altered as necessary. Consider writing your log file to a different disk than the one that stores your historical data. There are two benefits for doing this: it improves performance to have additional disk heads writing data, and should your data disk be off-line your trace log will be unaffected.
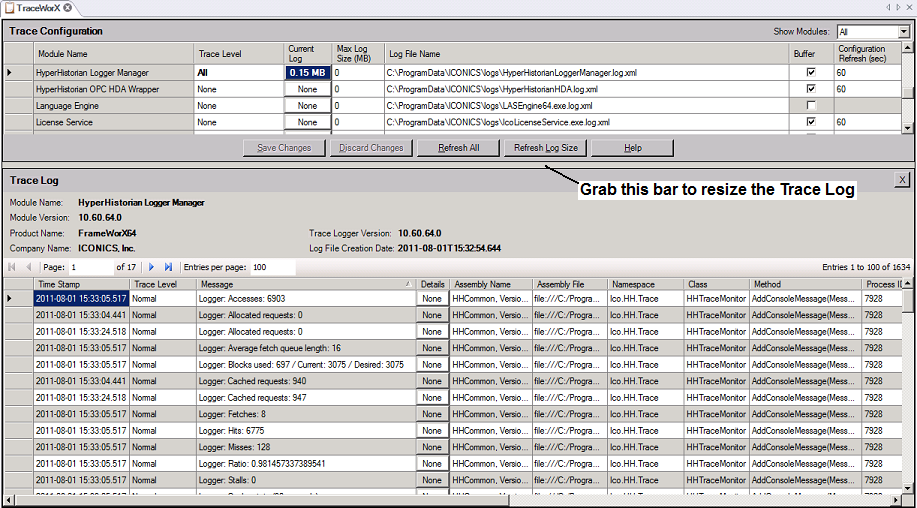
If the Current Log button displays a file size (for example, 0.15 MB), then trace events have been logged and are available for viewing. To examine the trace log:
Examining the Trace Log; the Log Appears in the Lower Half