![]()
![]()
To create a time/date object for use with 3D graphics:
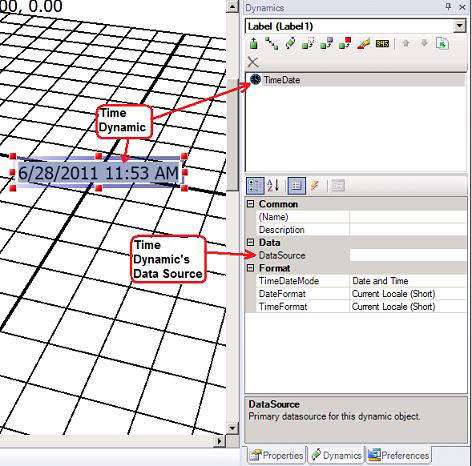
Click the Time button in the Text Objects section on the 3D Dynamics ribbon. This inserts a Time/Date object on the 2D design surface over the 3D viewport.
The Time object shows the system clock unless you supply an alternate data source. You can use the Time dynamic’s DataSource property to assign any appropriate time/date OPC tag to display in the label as well as do time/date arithmetic.
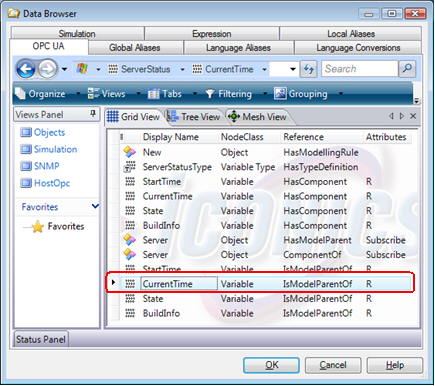
Click the DataSource ellipsis button ![]() to open the Data Browser where you then navigate to the tag and registers of a time OPC data source.
to open the Data Browser where you then navigate to the tag and registers of a time OPC data source.
When you have selected the data source, click OK.
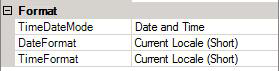
In the TimeDateMode property to either: Time Only, Date Only, Time and Date, or Date and Time. You can type any character in the Separator property to separate the time and date.
Set the DateFormat and/or TimeFormat to short or long; and if desired add a Description to (a text string stored in the Unified Data Browser); and add tooltip information that will be available to runtime users who use the dynamic.
To return to the 3D viewport, double click inside the viewport or select it from the Explorer.
See also:
Properties for 3D Process Point and Data Entry Object Dynamics