|
|
Available with GENESIS64 Basic SCADA. |

![]()
|
|
Available with GENESIS64 Basic SCADA. |
![]()
To Attach an Existing SQL Server Configuration Database using BACnet:
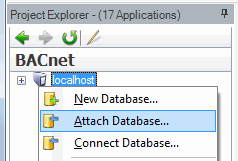
Right-click on the top level Workbench "server" (e.g. "localhost") and select "Attach Database". In addition to standard editing commands (Paste, Cut, Copy, etc.), you also have the option of refreshing any individual database or parent.
Attaching an Existing SQL Server Configuration Database through the Project Explorer in Workbench64
-OR-
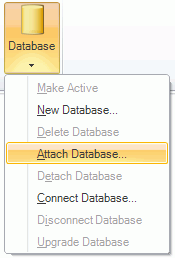
Click the Database button in the Home ribbon at the top of the Workbench64 screen and select "Attach Database". Other menu options using this method include "Make Active", "New Database", "Delete Database", "Detach Database", "Connect Database", "Disconnect Database" or "Upgrade Database"
Attaching a SQL Server Configuration Database through the Workbench64 Ribbon
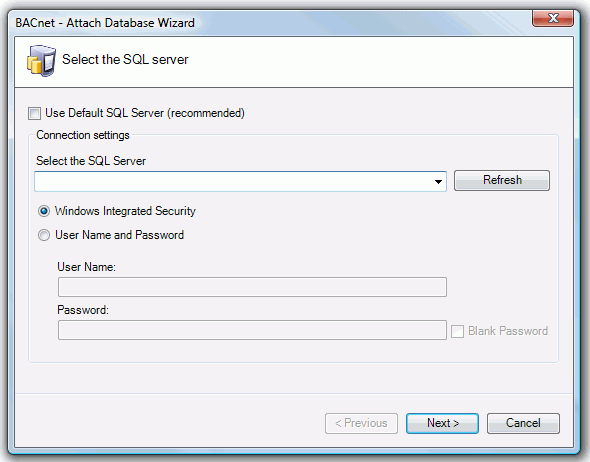
This will bring up the BACnet-Attach Database Wizard. You have the option of selecting the Default SQL Server (checked by default). Should you deselect the checkbox, in order to enter your own connection settings, you can then select the SQL Server via a pulldown menu and then decide upon using Windows Integrated Security or providing a specific User Name and Password. Make you selection then click Next to proceed.
BACnet - Attach Database Wizard
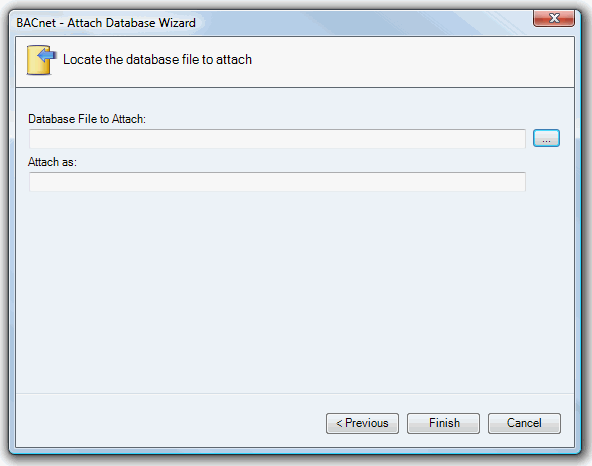
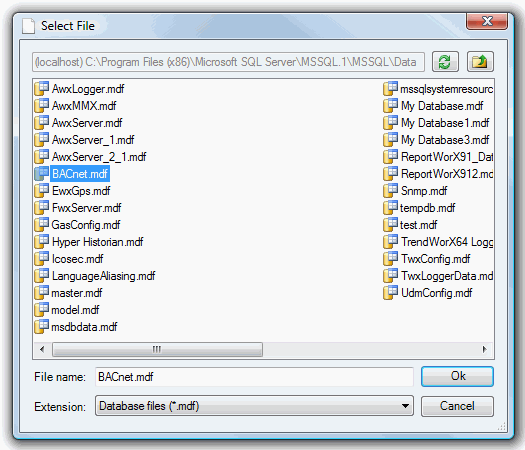
You will then be asked to locate the database file to attach. Click on the ellipses button […] to bring up a file explorer from which you can select your intended database file.
Locate the Database File to Attach
File Explorer to Select Database File to Attach
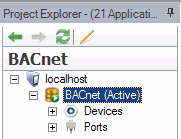
Your Attached SQL Server Configuration Database will now appear in the Project Explorer underneath the Workbench server (e.g. "localhost").
See also:
Creating a New SQL Server Configuration Database
