![]()
![]()
Global labels and structures defined in a GX Works3 project can be imported collectively into the Workbench by using this function.
The global labels and structures are imported as tags and device structures correspondingly in the Workbench.
Note: There are several restrictions on using this function. Please check the Specification Restrictions.
1. Create or prepare a GX Works3 project file.
[Note: Please build (shortcut: F4) the project before saving the file to prevent an error.]
2. Open the Workbench and expand the Project Explorer, then the Data Connectivity node, and then the Mitsubishi Electric FA node to show any added devices. Right-click your selected device, such as in the image below. Then, click Import global labels….

-OR-
2. Select your preferred Mitsubishi Electric device beneath the Mitsubishi Electric FA node in the Project Explorer in the Workbench and then click on the Import global labels… button shown below in the Edit section of the Home ribbon.

3. This opens the Import global labels option window (dialog) shown below in the central section of the Workbench. Select the Import Mode, and then click the Folder Icon to open the file window (dialog) to select a GX Works3 file or manually type in a file path. Click OK to execute the import.

General Settings
· Description - Enter a description of the import to show it on Recent Tasks.
Import Settings
Import Mode - Select an import mode from the following options:
a. Only Create new items: Create only items that do not exist in Workbench yet. Use this option only if new items are added to a GX Works3 project and need to reflect the change on the Workbench.
b. Only Update old items: Update only items that already exist in the Workbench. Use this option only if the existing items in a GX Works3 project are updated and need to reflect the change in the Workbench.
c. Create and Update: Create items that do not exist yet and update the items that already exist in the Workbench. Use this option to import the GX Works3 project for the first time.
File – Enter a GX Works3 file path to import (the file browser can be used by clicking the folder icon).
4. The waiting message “Extracting global labels from the GX Works3 file…” appears in the Import global labels options window. Please wait until the message disappears and the task is displayed in Recent Tasks.

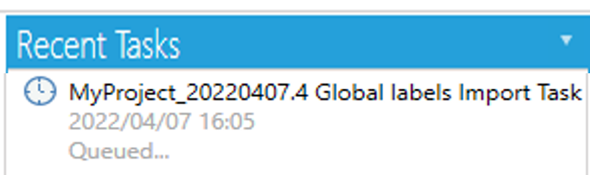
5. While the import task is executed in the background, the following icon appears in Recent Tasks.
6. When the import task is done, one of the following icons appears in Recent Tasks.
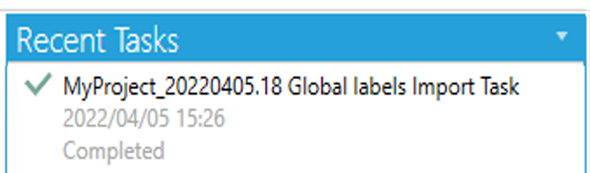
a. Completed icon – All elements in a GX Works3 file are successfully imported.
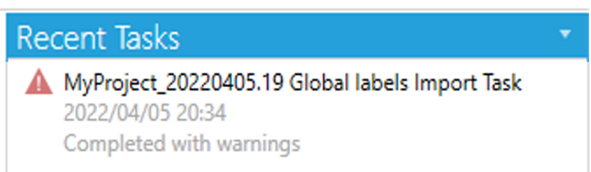
b. Completed with warnings icon – The import task is done, but there were one or more errors which occurred during the process and some elements might not be imported.
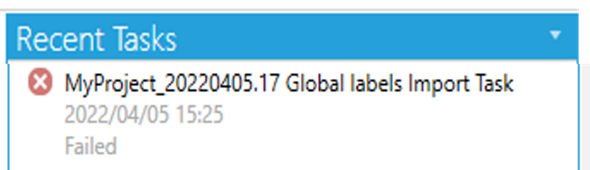
c. Failed icon – The import task failed, and the elements were not imported.
Note:
a. The details of the import task can be checked by right-clicking the task and selecting View Log.
b. Please refresh the tree to reflect the import to the device.
See Also: