|
|
The features on this page require an add-on to work with GENESIS64 Basic SCADA. |

![]()
|
|
The features on this page require an add-on to work with GENESIS64 Basic SCADA. |
![]()
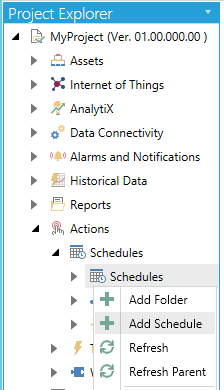
Schedules in the Workbench lets you create new schedules and folders, either through the Project Explorer or top toolbar. The best way to manage schedules is to create a folder for each set of resources you wish to manage. Then, you can place all of the schedules that you create for that resource in that folder. This organizational scheme is the best way to view your schedules as a group or to determine which of the schedules you have defined is running and which are not.
To Create a Schedule
New Schedule in the Project Explorer
-OR-
Select the Schedules node then click on the Add Schedule button, shown below, in the Edit section of the Home ribbon in the Workbench.
Add Schedule Button

Schedule Properties Window in Workbench

The Schedule properties are split over the following six (6) tabs:
See also: