![]()
![]()
The Workbench is a centralized web-based environment for the configuration of all GENESIS64 components. The Workbench can also act as an advanced operator interface for service management and has built-in project management functionality.
This topic will walk you through the steps of managing, packing, and deploying a GENESIS64 project using the Workbench.
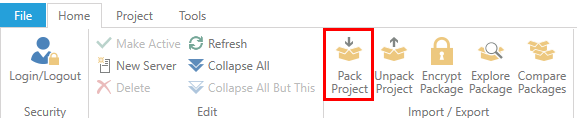
With the Workbench already open and your project complete, it is now time to pack the project. From the Home tab in the Ribbon at the top of the Workbench, click the Pack Project button.
Pack Project Button
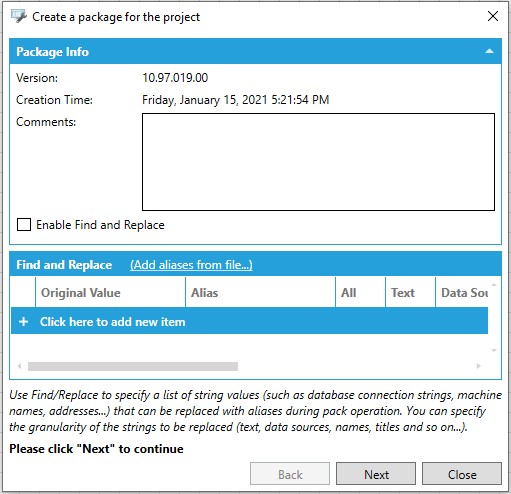
The “Create a package for the project” dialog will appear. You can check Enable Find and Replace, if you want to replace any name or item.
Create a Package for the Project Dialog
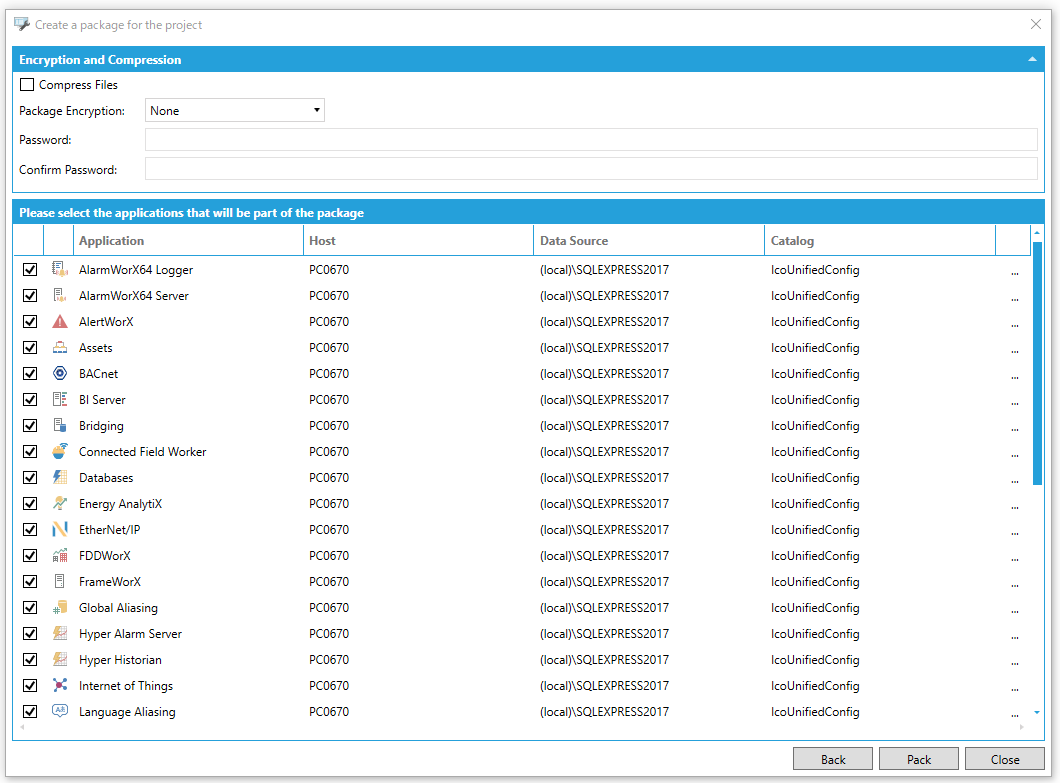
Click Next to choose which configurations/files you want to pack. In here, you can see Package information, and also select which files from which providers (and which databases) that you want to be included in the package. You can also select the type of encryption and choose a password for the package.
Selecting the Content of the Package
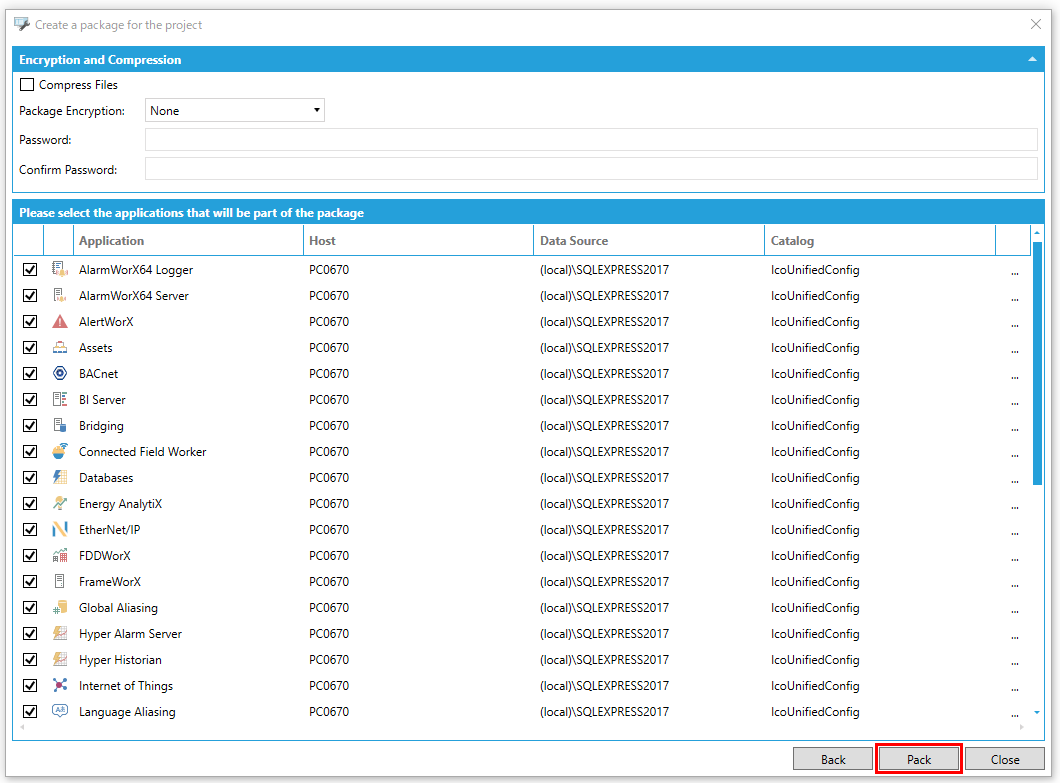
Click on the Pack button to create a package for your project.
Pack Button
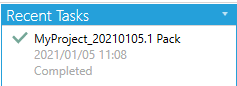
In Recent Tasks, you can see the status of the packing process.
Recent Tasks – Packing Process
If the packing process is completed, you can download and save the packed project. This can be done by right-clicking on the packed project in Recent Tasks and choosing the Download Package option. Now, you are able to choose the destination folder and save the packed project.
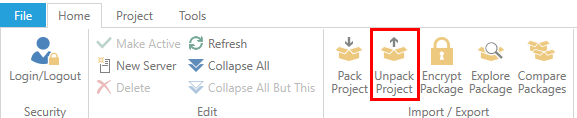
Open the Workbench, go to the Home tab, and click the Unpack Project button.
Unpack Project Button
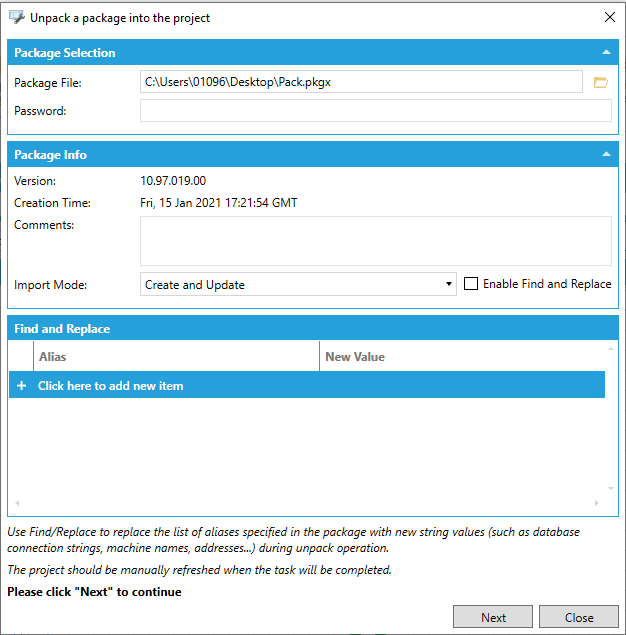
The “Unpack a package into the project” dialog will appear.
First you have to choose a packed project. Click on the  button (Package File) and choose the destination of your packed file. You can choose to create new items, update existing items, delete nonexistent items, and activate databases when you unpack the project. You can also check Enable Find and Replace, if you want to replace any name or item.
Selecting the Package to be Unpacked
Click Next. Now, you have to choose with parts of the packed project you want to unpack. Click Next.
Selecting the Parts of the Package to be Unpacked
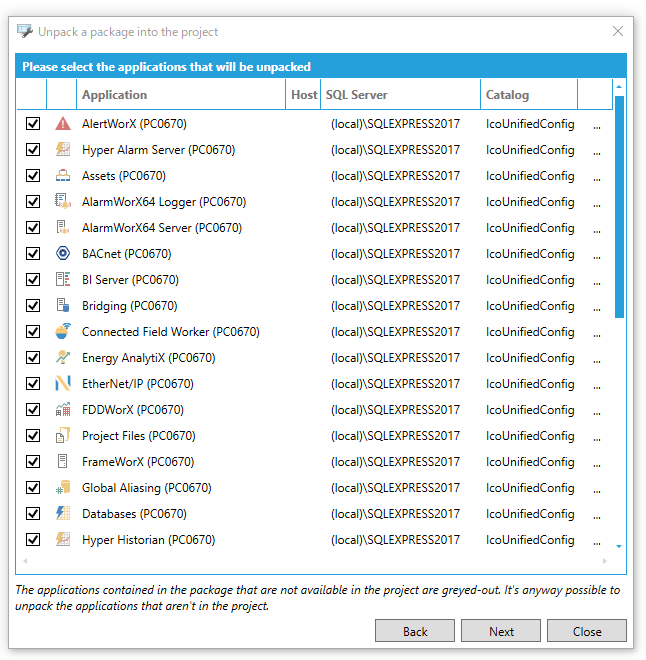
Click Unpack. You will have the option to view the unpack process in Recent Tasks. After unpacking process is finished, click on Refresh in Home tab in Edit section to refresh you project.
Congratulations. You have just deployed your packed project, and can now run it on the deployed machine.
See Also: