![]()
![]()
See Configuring Counters for description of Counters in Hyper Alarm Server. The remainder of this topic shows how to add a new Counter.
To Add a Counter
Start the Workbench, then expand your project. Next, expand the Alarms and Notifications node to show the Hyper Alarm Server node. Expand the Hyper Alarm Server node and then Product Configuration to show the Counters node
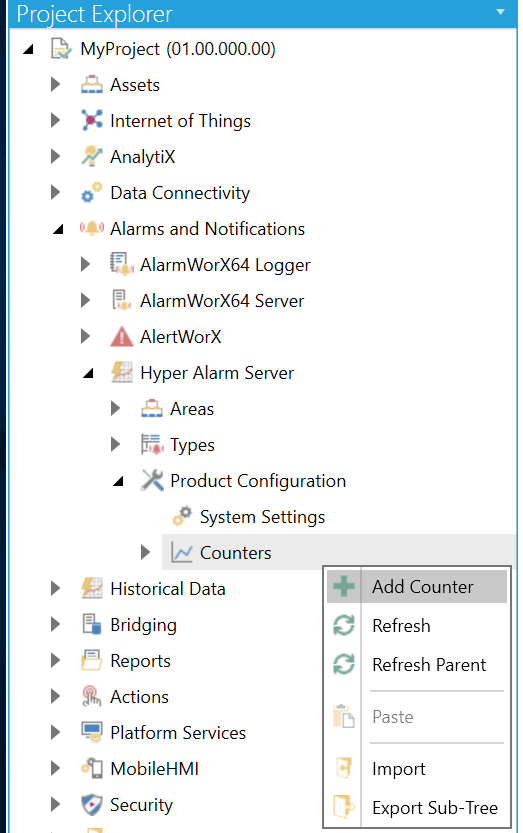
Right-click the Counters node in the navigation tree and select Add Counter, as shown in the figure below.
Add Counter from the Project Explorer
-OR-
Select the Counters node in the Project Explorer, then click on the Add Counter button, shown below, in the Edit section of the Home ribbon in the Workbench.
Add Counter Button

This opens the Counter properties window, shown below, beneath the Project Details section in the Workbench.
Counter Properties

Description - Enter a description in the text entry field. This field only serves for documentation purposes, its value does not appear anywhere else.
Enabled - Default is true. Uncheck if the counter should not be processed by the Hyper Alarm Server runtime, but you do not want yet to entirely delete the counter.
Expression - The result of the expression should a Boolean value or a value that can be converted into a Boolean. Based on the result, the counter determines whether to include the alarm. As stated earlier, all alarms on the current and on all nested Areas are candidates, except if they are in the Inactive Acknowledged state. Filtering can be done based on any of the fields of the alarm, but no other inputs into the expression are allowed, especially no outside inputs like OPC UA points. This section of the properties functions similarly to ICONICS' Expression Editor.
Counter type - Use the pulldown menu to select from either Simple count (The counter returns the number of alarms that match the Expression.) or Maximum Severity (The counter returns the maximum severity of all the alarms that match the Expression. If no alarms match, then the value of the counter will be empty. ).
Once you have completed setting the properties, click Apply to save them and then Close to return to the Workbench.
See Also: