In AssetWorX, the Product Configuration node is where you set your system settings. In the Project Explorer, under localhost > [the name of your AssetWorX database. In our examples, we've named it 'AssetWorX'] > Product Configuration, select Other Settings. This displays the Other Settings window, shown below. Within the Other Settings window are the General and Caching tabs.
General Tab
On this tab, you can enter the following information:
Equipment custom root name
Equipment classes custom root name
Next custom identifier
Expose global catalog - Click this button if you want to enable globally unique names.
Global catalog root computer - If 'Expose global catalog' checkbox has been checked, you'll be able to provide the name of the root computer. All global requests will be forwarded to that computer. For more information, see Distributed Asset Catalog Runtime.
Other Settings - General Tab

Caching Tab
Other Settings - Caching Tab

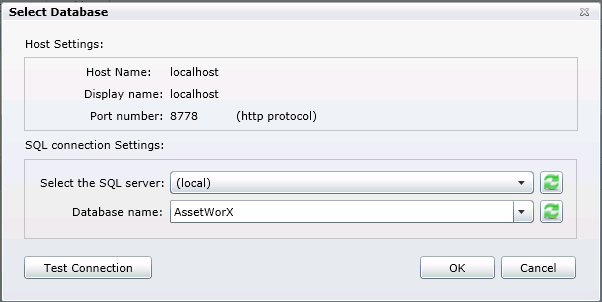
Data Store - The Data Store section of the Caching tab within 'Other settings' allows you to set a data storage location. Clicking on the 'Change Connection' button opens the following window:
Select Database Window

Use the pulldown menus to select a SQL server and Database name. Should you wish to make sure the connection will work, click on the 'Test Connection' button. Once you have made you selections, click the 'OK' button to return to the Caching tab of the 'Other settings' window. Your selections will now appear in the 'Data source:' and 'Catalog:' fields.
Caching period - The Caching period section of the Caching tab allows you to set a time period for caching data.
Recurrence Type - Choose from One time only, Time interval or Specific dates and times.
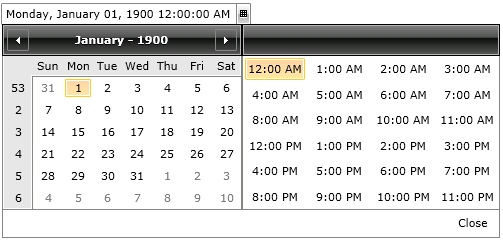
Starting At - You can enter a day, date and time in the text entry field OR click on the calendar button (![]() ). Clicking the calendar button opens a calendar selection tool, as shown below.
). Clicking the calendar button opens a calendar selection tool, as shown below.
Calendar Selection Tool

Select your date and time then click 'Close'. Your selected day, date and time will appear in the text entry field.
Recur every - Set the amount of days/minutes/hours/seconds you wish the caching to recur. Highlight a day/minute/hour/second section within the text entry field and use the up and down arrows to change in set increments.
Click 'Apply' to save your settings or 'Apply & Close' to save your settings and return to the main the Workbench/AssetWorX provider screen.
See also:
Product Configuration in the AnalytiX Catalog