In the Ethernet/IP Manager in the Workbench, you can opt to create a folder to contain items for MicroLogix Devices.
To Create a Folder:
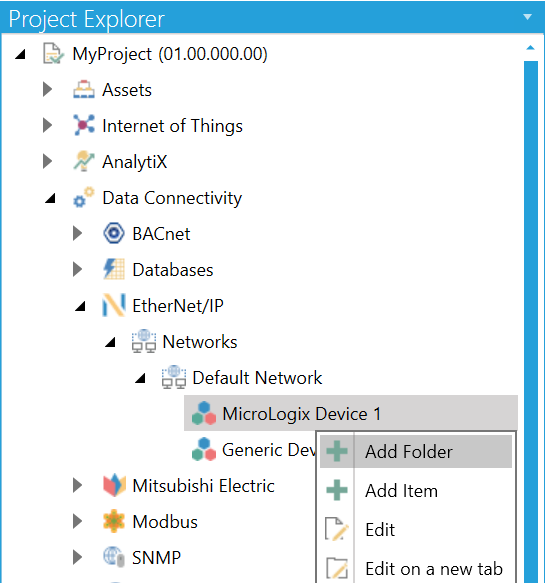
Open the Workbench then expand your project in the Project Explorer, then the Data Connectivity node, and then the Ethernet/IP node, and then the Networks node and then your selected Network. Right-click on your selected MicroLogix Device, then click on Add Folder, as shown below.
Add Folder from the Project Explorer in the Workbench
-OR-
Select your preferred MicroLogix Device, then click on the Add Folder button, shown below, in the Edit section of the Home ribbon in the Workbench.
Add Folder Button
This opens the Folder properties, shown below, in the middle of the Workbench. Enter a name for the Folder in the Name text entry field.
Folder Properties
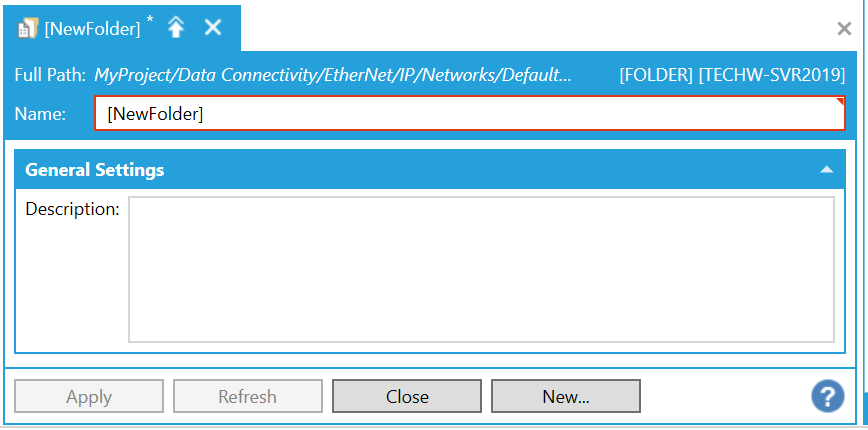
General Settings
Description - Enter a description for the folder to distinguish it from others.
Once you have completed making changes to your folder, click Apply to save the changes and Close to return to the Workbench. Your new folder will now appear in the Project Explorer.
See Also: