GENESIS64 uses a security model that is both granular and additive. You can set individual rights and access based on users and groups, create named policy settings that can be applied to users and groups, and control access to individual applications, features, systems, and more based on time settings if you wish.
Security protection is applied to the following items within the GENESIS64 system:
The security system contains two components: the Security Server, which manages user logins, and security system clients contained within the applications in the GraphWorX64 family (e.g. GraphWorX64, TrendWorX64, AlarmWorX64, etc.). Any stimulus (i.e., a user login or logout) that causes a change in security status will be immediately posted to the affected clients.
This topic provides an overview of GENESIS64 Security basic concepts. For more detailed information, refer to the Retrieving Advanced Security Information topic.
Configuring the Security Server
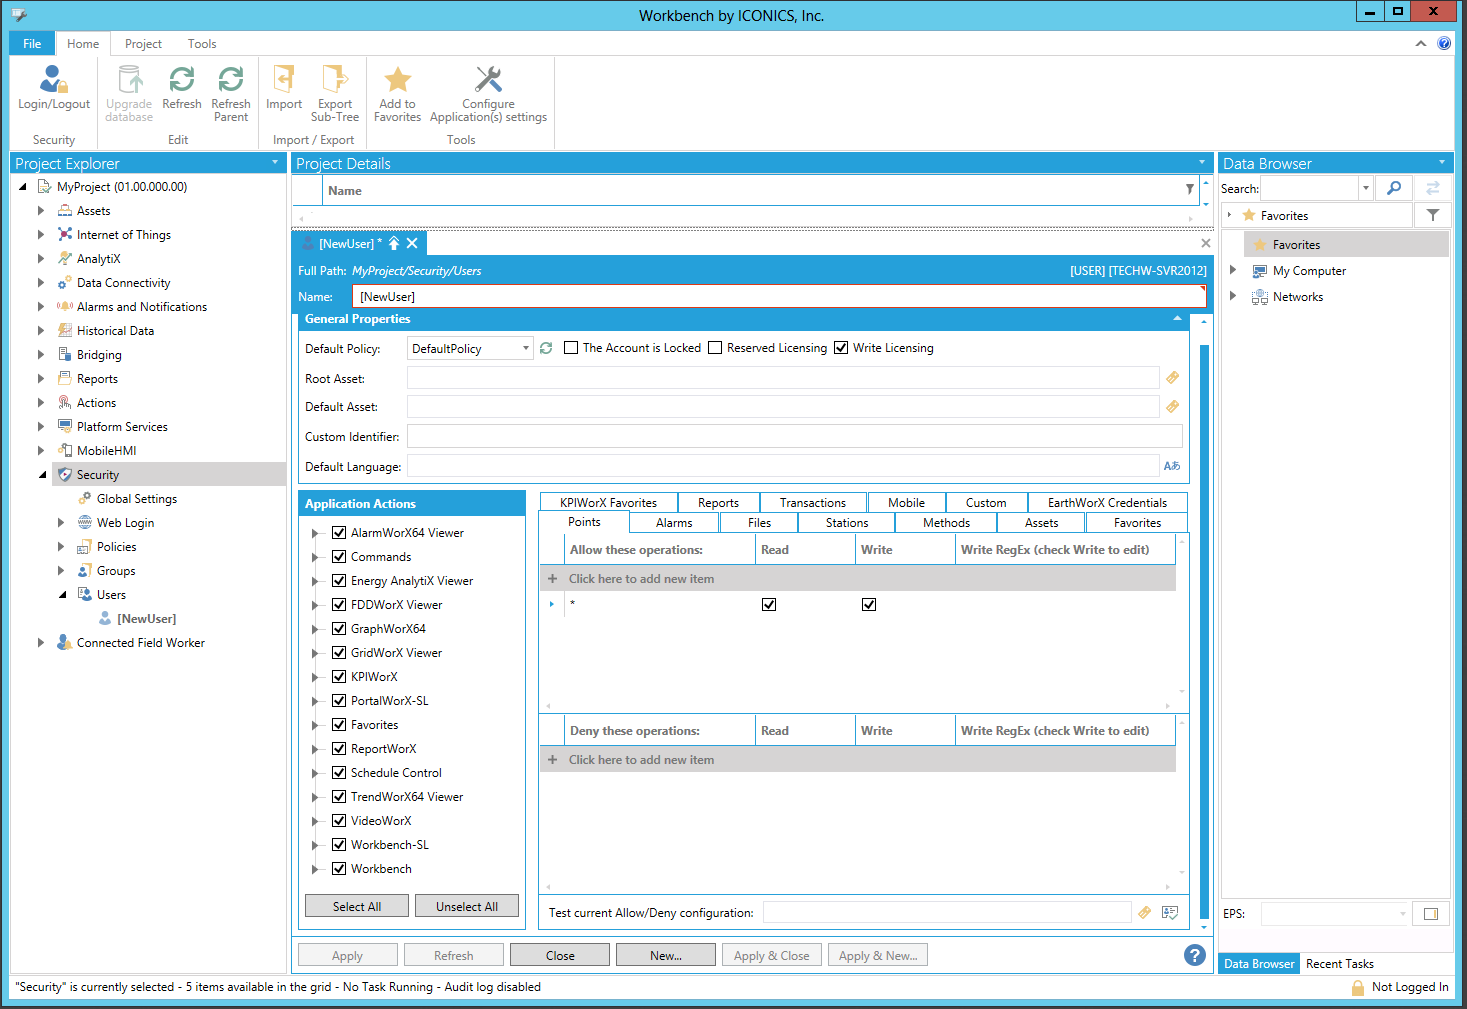
Open the Workbench, then expand the current project to show the Security provider node, as shown below.
Security Provider Selected within the Workbench
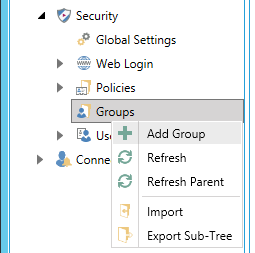
Adding a User Group in the Project Explorer
-OR-
Select the Groups node then click on the Add Group button in the Edit section of the Home ribbon in the Workbench, shown below.
Add Group Button

This opens the Group properties, as shown below, in the right side of the Workbench.
Group Properties
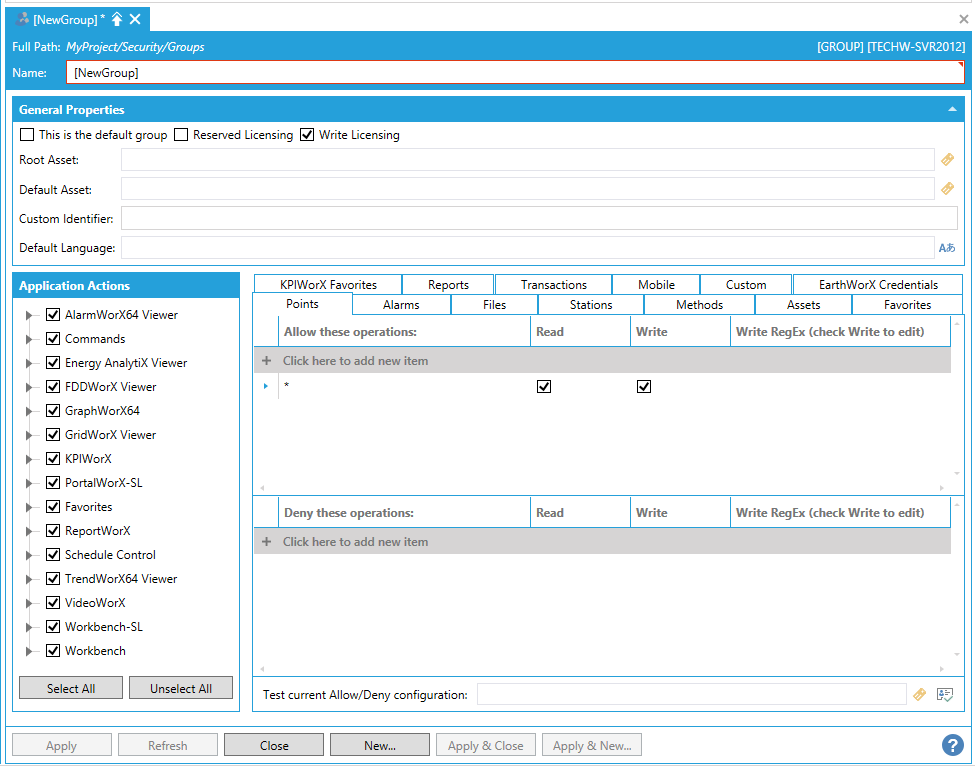
Name this group "Administrators" and click Apply. (For help with the part of the instructions, refer to the Users and Groups and Security Privileges for Users and Groups topics.).
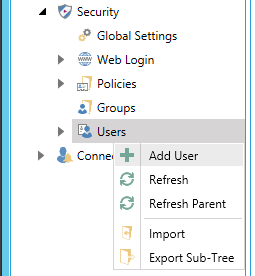
Next, you will add a user. Right-click the Users node then select Add User, as shown below.
Adding a User in the Project Explorer
-OR-
Select the Users node then click on the Add User button, shown below, in the Edit section of the Home ribbon in the Workbench.
Add User Button

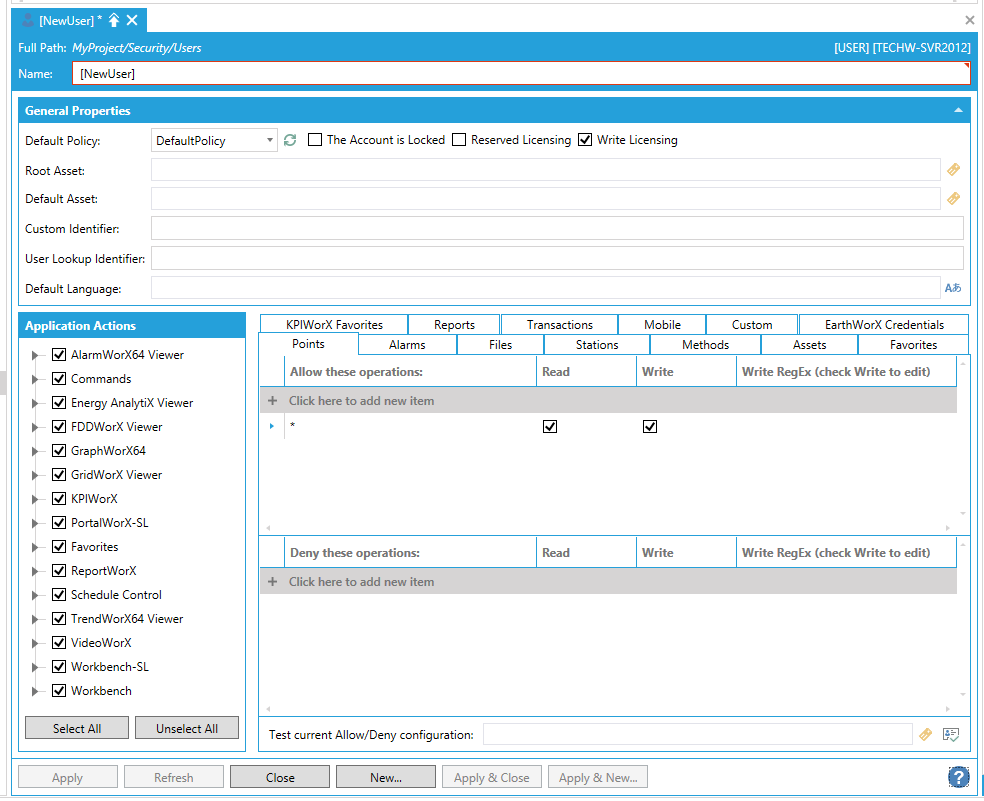
User Properties
NOTE: The first user you add to security is always the system administrator with all permissions granted. This will prevent you from being logged out of your own system. Also, as soon as you create this user, security will start and you will be logged out of the security, please log in to continue.
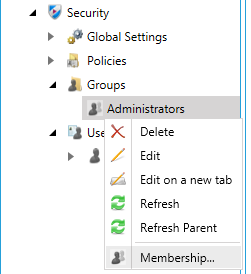
Set Group Membership in Project Explorer
-OR-
Select your group (in this example, "Administrators") then click on the Membership button, shown below, in the Edit section of the Home ribbon in the Workbench.
Membership Button

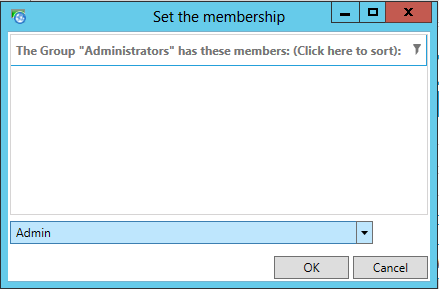
Adding a User to a Group
Removing GraphWorX64 Exit Runtime Permission in the Workbench
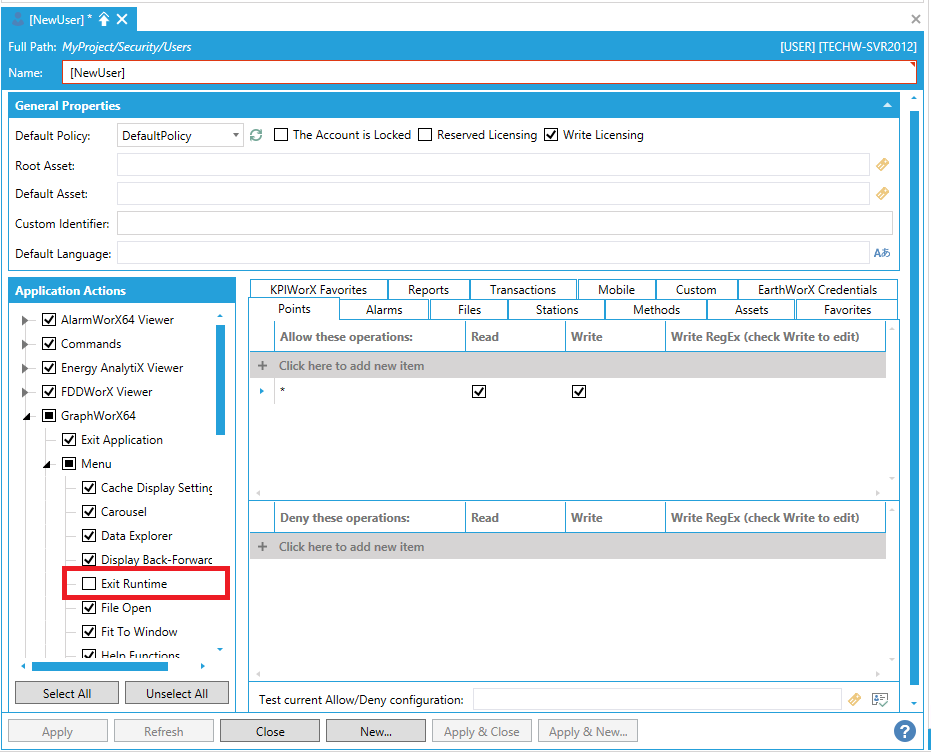
NOTE: This protects GraphWorX64 display from being stopped by an unauthorized person.
NOTE: Users privileges are either allowed or denied. When a user is added to a group, that user is given the group's privileges. However, a privilege denies access, that denial always takes precedence over an allowed privilege when access is set.
Account policies are a set of rules that you can apply to a users. They dictate items such as password complexity, password life, account lockout and other items. You can create a new Account Policy by right-clicking the Account Policies folder and selecting Account Policy. Once you create the policy, you can associate the policy to a user in the User Properties. By default, when you create a user, it uses the Default Policy. For more information, refer to the Account Policies topic.
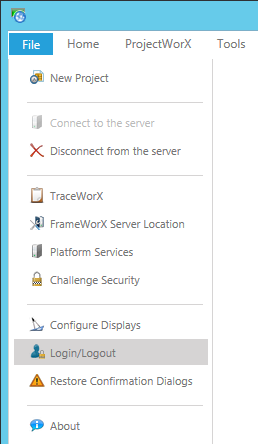
Login/Logout from File Menu in the Workbench
-OR-
In certain instances (based on which components of which providers you are currently using), you can click on the Login/Logout in the Security section of the Home ribbon in the Workbench.

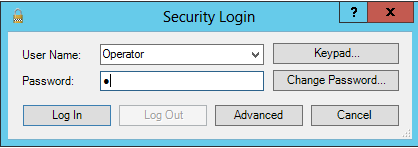
Security Login Dialog
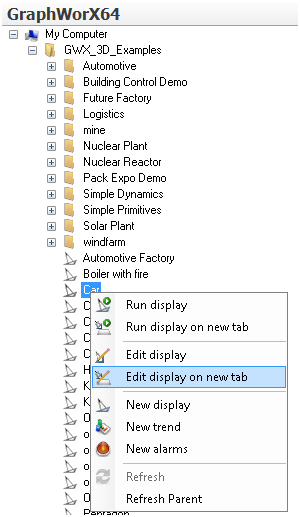
Open a GraphWorX64 Display in Configuration Mode
See Also:
Modifying the Access Denied Screen
Securing Desktop for Operations