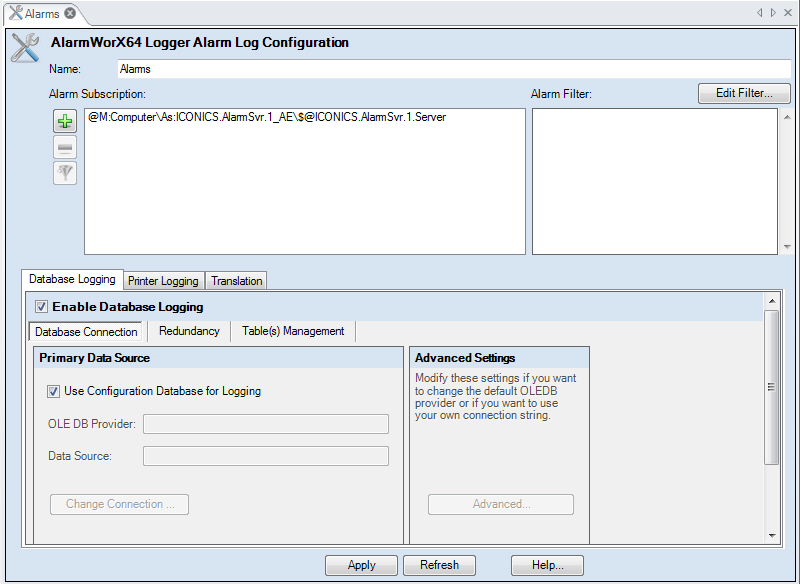
Alarm Log Configuration Form

Configure options on the Printer Logging tab of the AlarmWorX Logger Alarm Log Configuration form to send alarm events to printer(s) so that a written record may be made of your log file. The option requires that you check the Enable Printing check box on the Printer Logging tab of the AlarmWorX64 Logger configuration properties, to enable this option. For additional information, refer to Configuring the Logger.
The Printing Logging form has the following fields:
Printer Select the Primary Printer from the drop-down list. The AlarmWorX64 Logger sends each event directly to the printer as soon as it is received. This works best with a dedicated ink jet or dot matrix printer that will print one line at a time, rather than a page-oriented printer like a laser printer. Laser printers will still work, but the page will not be ejected until it is full.
All event notifications will print on the Primary Printer unless an error is detected (offline, out of paper, etc.), in which case the Backup Printer will be used. Switchover from Backup to Primary occurs automatically when the error condition is cleared on the Primary Printer.
Backup Printer Select the Backup Printer from the drop-down list. The Backup Printer will be used whenever an error is detected (offline, out of paper, etc.) on the Primary Printer. Switchover from Backup to Primary occurs automatically when the error condition is cleared on the Primary Printer.
Height Enter the number of lines your printer prints on a single page using its default font. The logger prints events "one line at a time," by sending raw text to the printer, bypassing the normal Windows page device context printing. Printers that accept this raw text will use an internal font to render the characters. The number of lines that will fit on a page using this internal font needs to be entered here. If you cannot find this information in the printer manual, you may need to experiment to find an acceptable value. A value of 58 will be safe for most printers.
Width Enter the number of characters the printer is capable of printing on a single line using its default font.
Header and Footer Button Click the Header and Footer button to display the Header and Footer definition dialog box to edit the lines of text that will appear at the top and bottom of each printed page. The header and footer may contain more than one line. The following symbols will be replaced at runtime with their appropriate values:
%d = Name of the configuration
%n = Computer name the logger is running on.
%p = Page number.
The AlarmWorX64 Logger supports printing using character sets other than the standard 7-bit ASCII codes appropriate for English. Since the logger does not use "normal" Windows printing, the setup to use other character sets is more involved than for other typical Windows programs.
To Select the Desired Locale and Language:
Click Start > Control Panel and select the Regional and Language Options command.
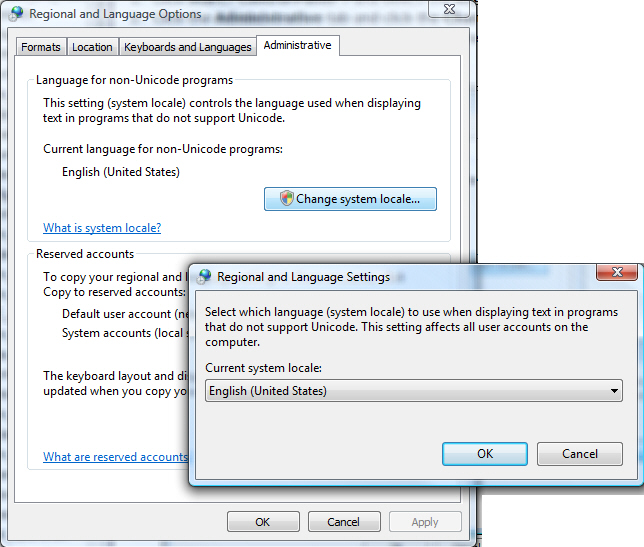
Click the Administrative tab (shown below) and click the Change System Local button.
Locale Settings dialog box

Select the desired system locale; then click the OK button twice to confirm your selection.
|
|
Note: You must set the desired language in the Windows Control. It is not enough to choose the language only within GENESIS64 . |
By selecting the desired language in Windows, the Logger will convert the UNICODE characters to the 8-bit ASCII version using the DOS code page for the selected language. In order for the characters to print properly, the printer must be configured to use the correct code page.
The code page for the printer is selected by sending the printer special non-printable ASCII characters called control codes. The control codes are listed in the first column (Decimal 0 - 31) of the ASCII chart.
The configuration of the header and footer for the printed alarms understands the ASCII control codes so for example the character sequence ^[ will be interpreted as the ESC code (Decimal 27) instead of the two literal characters ^ and [.
The proper control code sequence to select a particular language varies by printer manufacturer and model. Please refer to the printer manual for your printer to obtain the correct code sequence. For example, the following sequence will assign the PC866 Russian code page to character table 1 and then make character table 1 active for International (non-US) Epson printers:
^[ ( t 3 0 1 14 0 ^[ t 1
To view the header configuration, click the Header and Footer button on the Printer Logging tab of the AlarmWorX32 Logger Configurator.