The following steps detail installation of Collectors from ICONICS' Hyper Historian installation media.
See Hyper Historian Collector System Requirements.
Note: You cannot install any 10.8x or later product from Remote Desktop when using a shared drive. In such instances, it is suggested that you copy the installation's sources to a local drive or share the drive via Windows networking rather than via Remote Desktop.
Note: If your operating system requires a login name, you must log in with administrator capability before installing Hyper Historian software.
To run the Hyper Historian applications, you must be logged into the operating system with an account that is a member of the Administrators group or the Power Users group.
Before installing ICONICS software, be sure that all other applications are closed and/or disabled.
Insert the Hyper Historian product DVD into your DVD-ROM drive. If Autorun is enabled on your system, the DVD introduction starts automatically. Otherwise, browse to your DVD-ROM drive and run the Default.hta file.
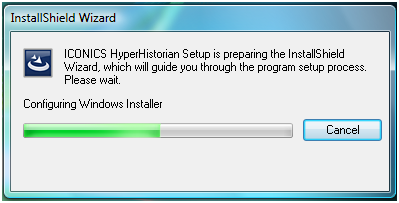
Hyper Historian Setup
An Open File – Security Warning dialog box may open, notifying you of an Unknown Publisher and asking if you are sure you wish to proceed in installing the software. Click Run to continue.
The Hyper Historian installation starts and displays the following Menu screen.
Hyper Historian Menu

This screen remains open throughout the installation process. From this screen you will start the Collector installation.
You will have the choice of installing either 32-bit or 64-bit Collectors from the initial install screen, as shown in the following figure.
Collectors Highlighted

Once you have selected your preferred Collector (32- or 64-bit), the Hyper Historian Collector Installation Welcome screen appears. Click Next.
The ICONICS License Agreement appears. Read the license agreement, then select I accept the terms in the license agreement, and click Next.
The Customer Information screen appears. Enter you user and company name, and click Next.
The Ready to Install the Program screen appears. Click the Install button to install the remote collector. A status bar appears as well as a Windows Command box during the installation.
When the installation is done, the User Setup wizard begins. Click Next to proceed. (You can ignore any extra windows that remain open; they will close when the final steps of the installation have been completed.)
In the User Setup dialog box, you can choose to use either a local machine account or a domain security account, as well as create a new user or use an existing user account.
User Setup Window
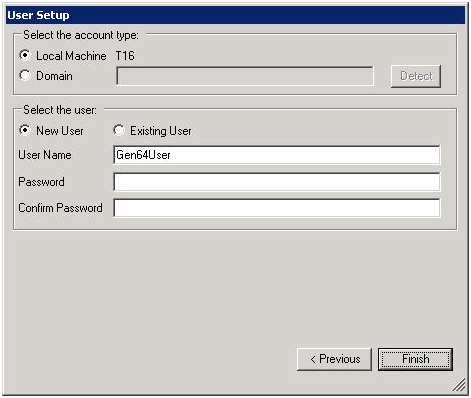
Either accept the local machine account or click the Domain radio button and enter the domain machine account.
Either select the New User radio button and enter the User Name and Password for that account; or select the Existing User radio button and select the User Name of the account then provide the password for that account. Then click the Finish button.
The Wizard Completed dialog box appears. Click Finish to close the dialog box. The installation of the Hyper Historian remote collector is complete.
See Also:
Hyper Historian Collector System Requirements